
E 350 V10-6.8L VIN S (2006)
Tie Rod: Service and Repair
Tie Rod End - Outer
Tie Rod End - Outer
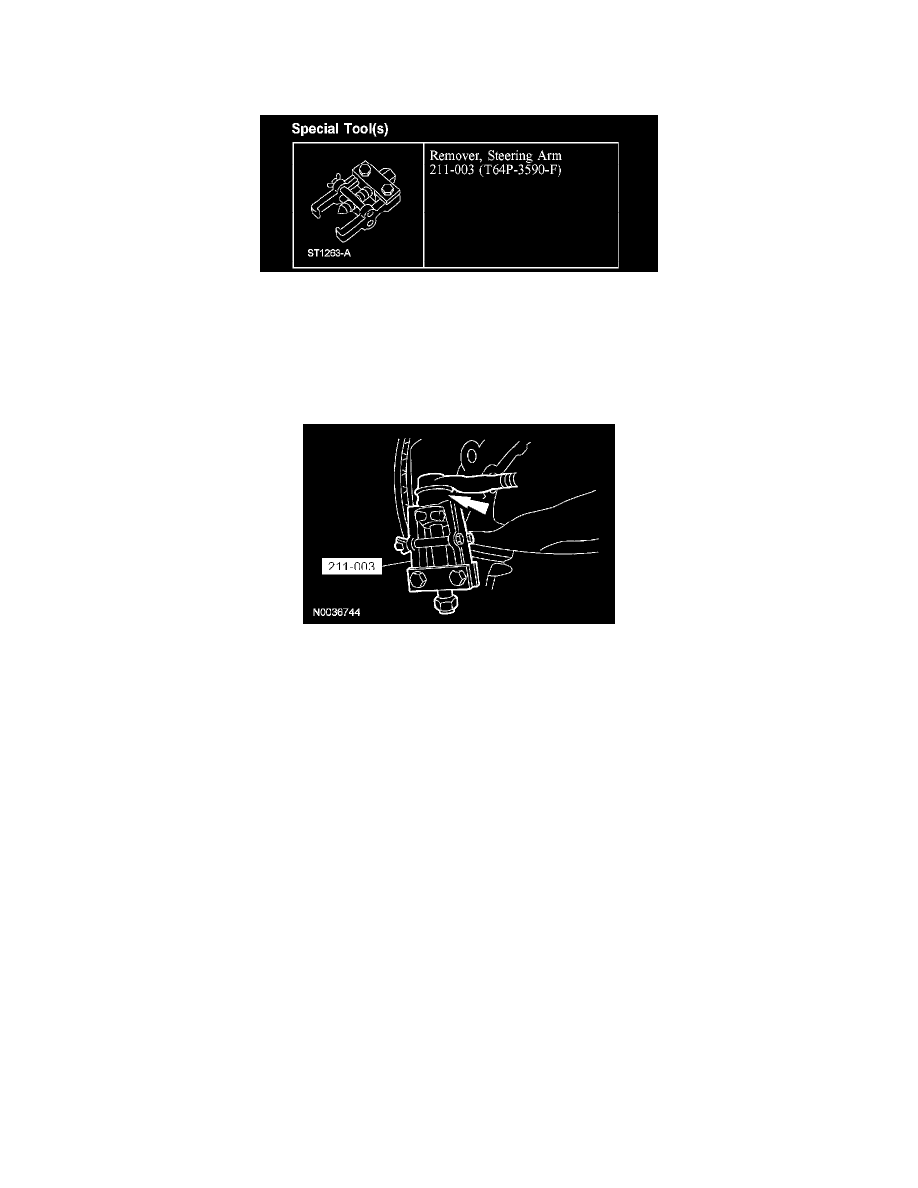
Special Tool(s)
Removal and Installation
1. With the vehicle in NEUTRAL, position it on a hoist.
2. Remove the outer tie-rod end cotter pin and nut.
^
Discard the cotter pin.
^
To install, tighten to 95 Nm (70 ft. lbs.).
3. Using the special tool, separate the outer tie-rod end from the wheel spindle.
4. NOTE: For reference during installation, count and record the number of turns required to remove the inner tie-rod end from the tie rod adjusting
sleeve.
Loosen the outer tie-rod sleeve clamp nut and remove the outer tie rod end.
^
To install, tighten to 49 Nm (36 ft. lbs.).
5. NOTE: When tightened, the tie rod adjusting sleeve bolts, nuts and clamps must be positioned within a limit of 45 degrees (±). The threaded
ends of the LH adjusting sleeve bolts point towards the front of the vehicle. The threaded ends of the RH adjusting sleeve bolts point rearward.
To install, reverse the removal procedure.
6. Check and, if necessary, align the front end.