
E 350 V8-4.6L SOHC VIN W (2005)
4. Remove the tie rod.
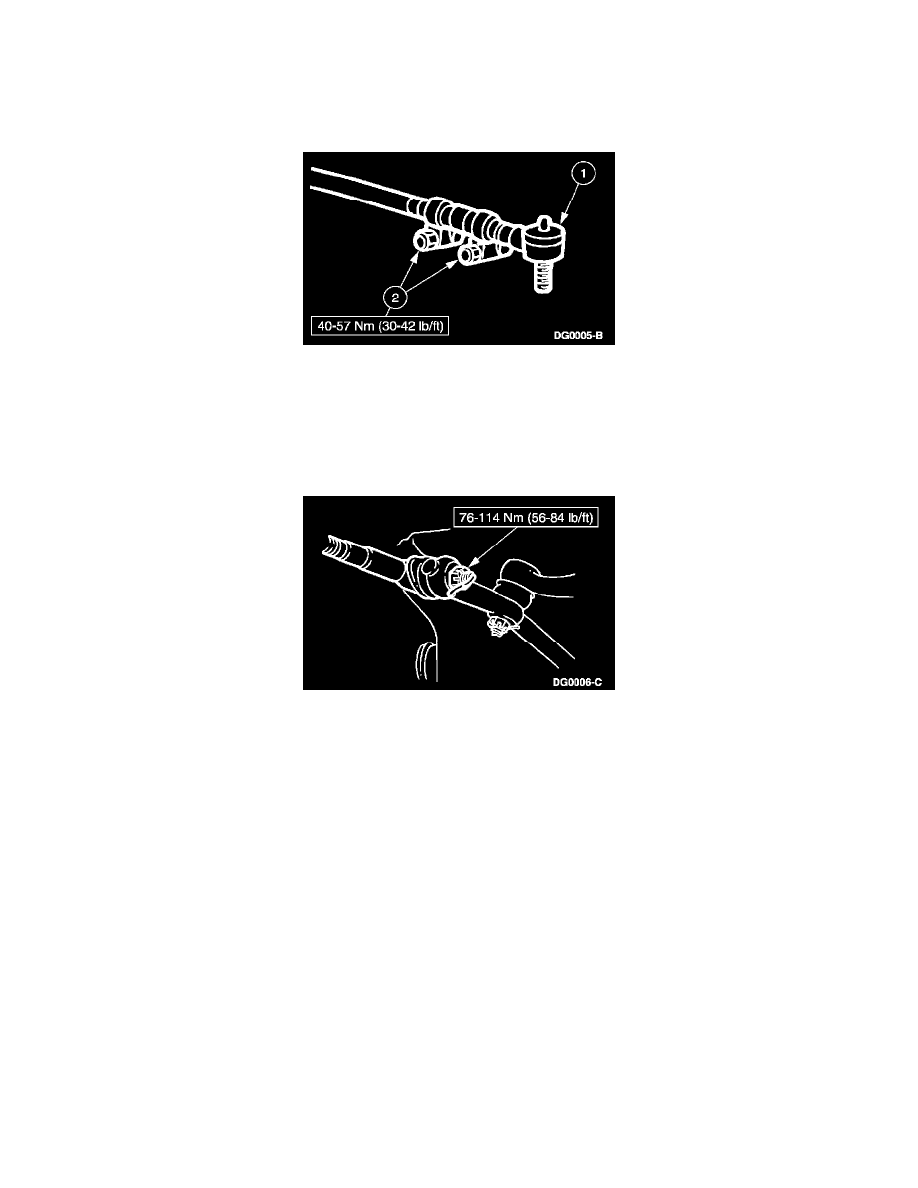
1. Loosen the bolts on the tie rod adjusting sleeve clamp.
2. Count and record the number of turns required to remove the tie rod end from the tie rod adjusting sleeve clamp.
Installation
1. NOTE: The two bolts and nuts on the tie rod adjusting sleeve clamp for the tie rod end must be positioned within a limit of 45 degrees (+/-). The
threaded ends of the bolts on the left tie rod end point toward the front of the vehicle. The threaded ends of the bolts on the right tie rod end face
rearward.
Install the tie rod end.
1. Turn the tie rod end into the tie rod adjusting sleeve clamp with the same number of turns as required for removal.
2. Tighten the tie rod end adjusting sleeve clamp bolts.
2. NOTE: Make sure the ball stud is seated in the taper, to prevent rotation while tightening.
Install the castle nut and a new cotter pin.
3. Check toe-in.