
E 350 1 Ton Van V10-6.8L VIN S (1997)
5. Using the Seal Remover in combination with the Impact Slide Hammer, remove the pinion seal.
INSTALLATION
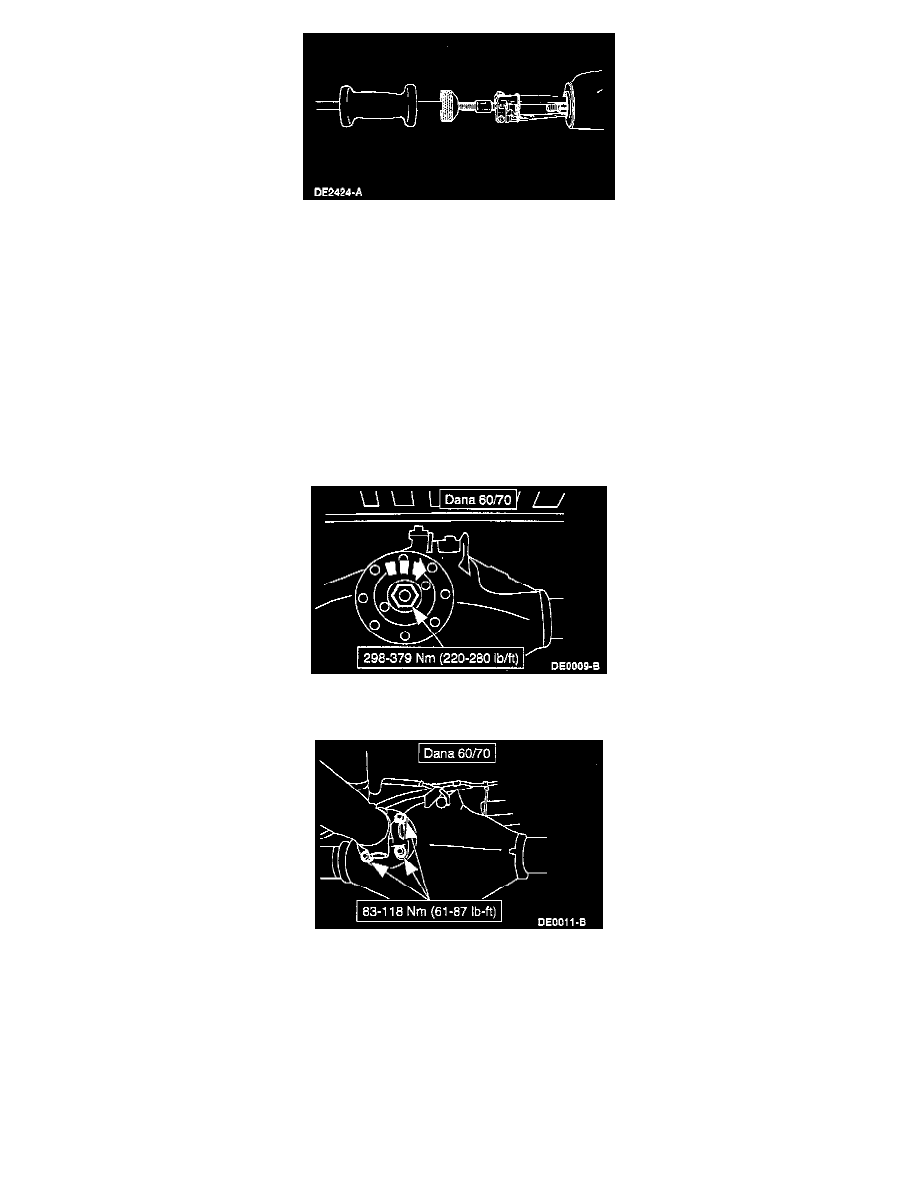
1. Clean the rear axle drive pinion seal seat. Coat the seal (rubber) lips with a small amount of Premium Rear Axle Lubricant X4-80W90-QL or -KL
or equivalent meeting Ford specification WSP-M2C197-A. Drive the pinion seal into the housing, using the Pinion Seal Replacer.
CAUTION: Installation without the proper tool can result in early seal failure. If the pinion seal becomes cocked during installation, remove and
install a new one. Use care to ensure the garter spring remains in place during assembly. If the spring is dislodged, the pinion seal must be
replaced.
2. Coat the inside of the rear axle universal joint flange with a small quantity of Premium Rear Axle Lubricant or equivalent meeting Ford
specification WSP-M2C197-A, and install the rear axle universal joint flange on the drive pinion shaft. For Model 80, install the rear axle
universal joint flange using the Companion Flange Replacer.
NOTE:The rear axle universal joint flange must never be hammered on or installed with power tools.
3. Install the pinion retaining nut on the drive pinion shaft and tighten. Hold the rear axle universal joint flange with a suitable rear axle universal
flange holding tool while tightening the nut.
4. Connect the driveshaft to the rear axle universal joint flange as originally positioned. Tighten the bolts.
5. Raise the vehicle, remove the safety stands and then lower the vehicle to road position. Check the level of axle lubricant and add the specified
lubricant, if necessary.