
E 350 Van V8-7.3L DSL (1988)
10. When removing various valves from valve body, keep all parts covered with your finger except the bore the valve is being removed from. Remove
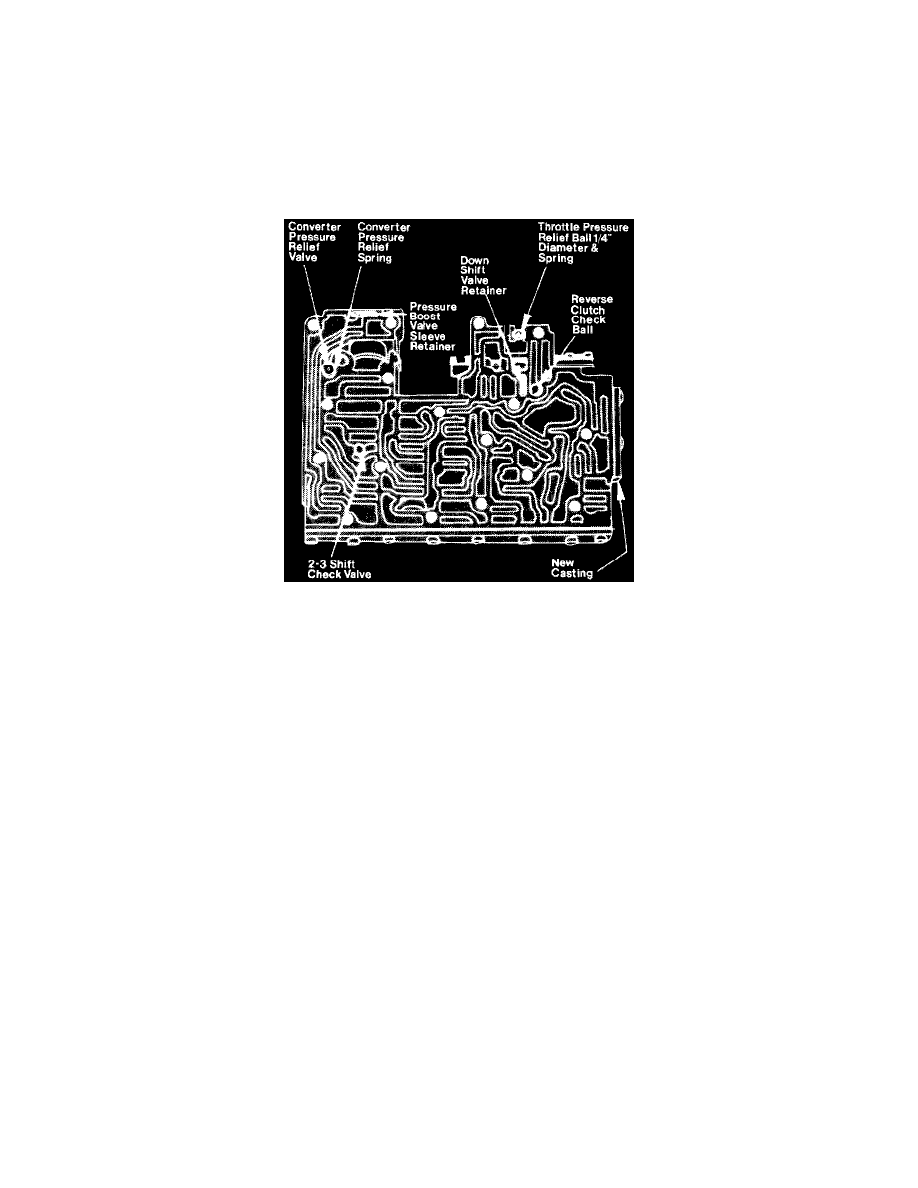
the 1-2 shift capacity scheduling and accumulator valves and springs, as shown in the Upper Valve Body Disassembled images.
11. Remove 2-3 backout valve and spring. Do not remove the 3-2 shift timing valve plug (manual low valve) if it is peened, preventing its removal.
This condition will not affect transmission operation and is not cause for valve body replacement.
12. Remove 2-3 shift valve, spring, and throttle modulator valve.
13. Remove 1-2 shift valve, D2 shift valve and spring.
14. Remove coasting boost valve and spring.
15. Remove cut back control valve to complete the disassembly of the control valve.
ASSEMBLY
Valve Body Details And Check Balls
1. Reverse procedure to assemble the control valve. During the procedure, place the converter relief valve spring in its bore. Coat the check ball with
petroleum jelly and place it on top of the spring. Place the 2-3 check ball in its cavity. Torque all screws and bolts.