
E 450 V10-6.8L (2008)
Part 2
Removal and Installation
All latches
1. If equipped, remove the door trim panel.
2. If equipped, position the watershield aside.
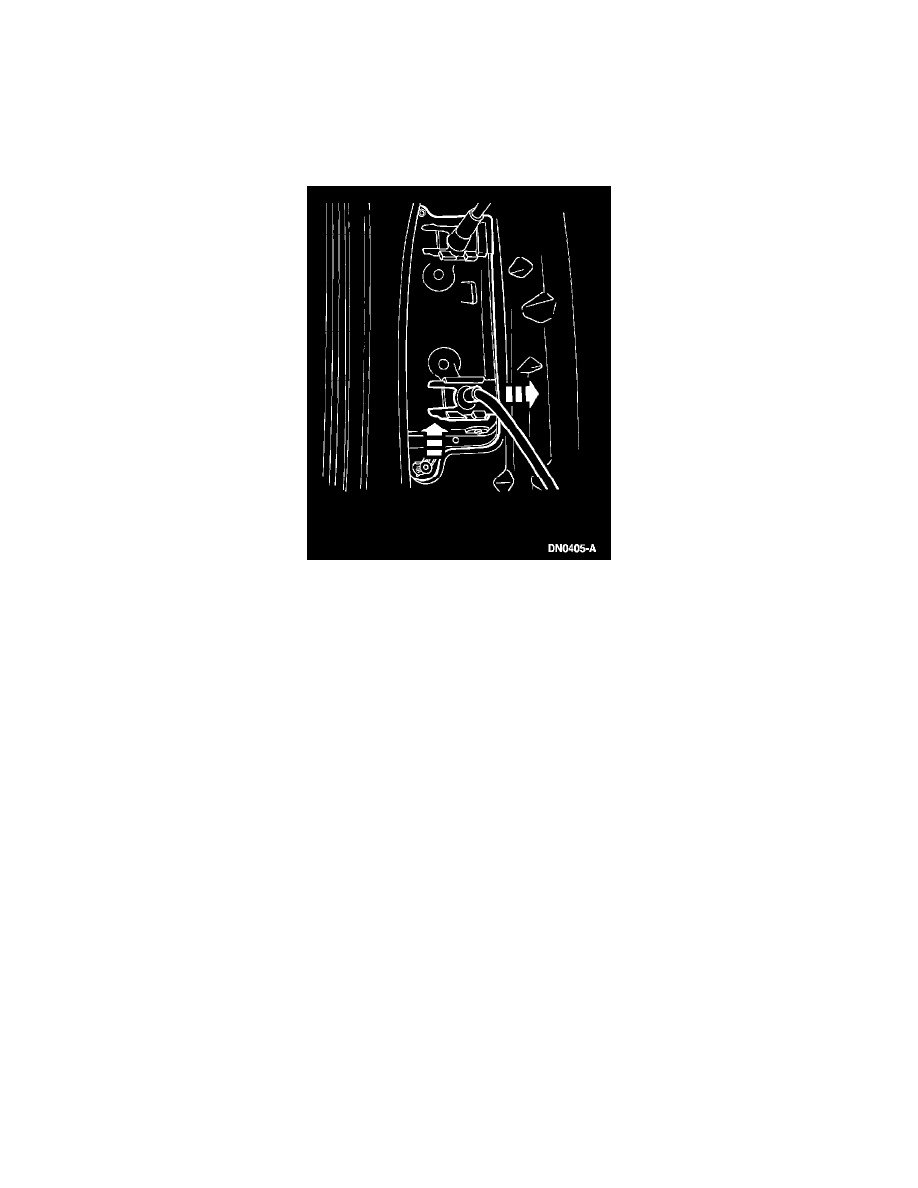
3. Release the appropriate actuation cable clip by pushing the bottom keeper of the clip upward and sliding the clip toward the outside of the door.
4. Disconnect the appropriate cable from the interior door handle.
Upper latch
5. Release the upper latch cable locator from the door.
6. Remove the 3 upper door latch screws.
-
To install, tighten to 12 Nm (9 lb-ft).
7. NOTE: Some vehicles have insulating foam in the door frame. A fishing line may be needed to aid in installing the new latch and cable assembly
through the foam.
Remove the upper latch and cable assembly.
Lower latch, rear door
8. Remove the 3 screws and the lower door latch.
-
To install, tighten to 12 Nm (9 lb-ft).
Lower latch, side door
9. Remove the 2 screws and the lower door latch.
-
To install, tighten to 12 Nm (9 lb-ft).
All latches
10. To install, reverse the removal procedure.