E 450 V8-6.0L DSL Turbo (2007)

17. CAUTION: Only use hand tools to compress the valve springs. Do not use power tools or engine damage can occur.
NOTE: If the rocker arm is severely worn, insert a small pry bar between the exhaust rocker arm and bridge to gain clearance by compressing the
valves slightly.
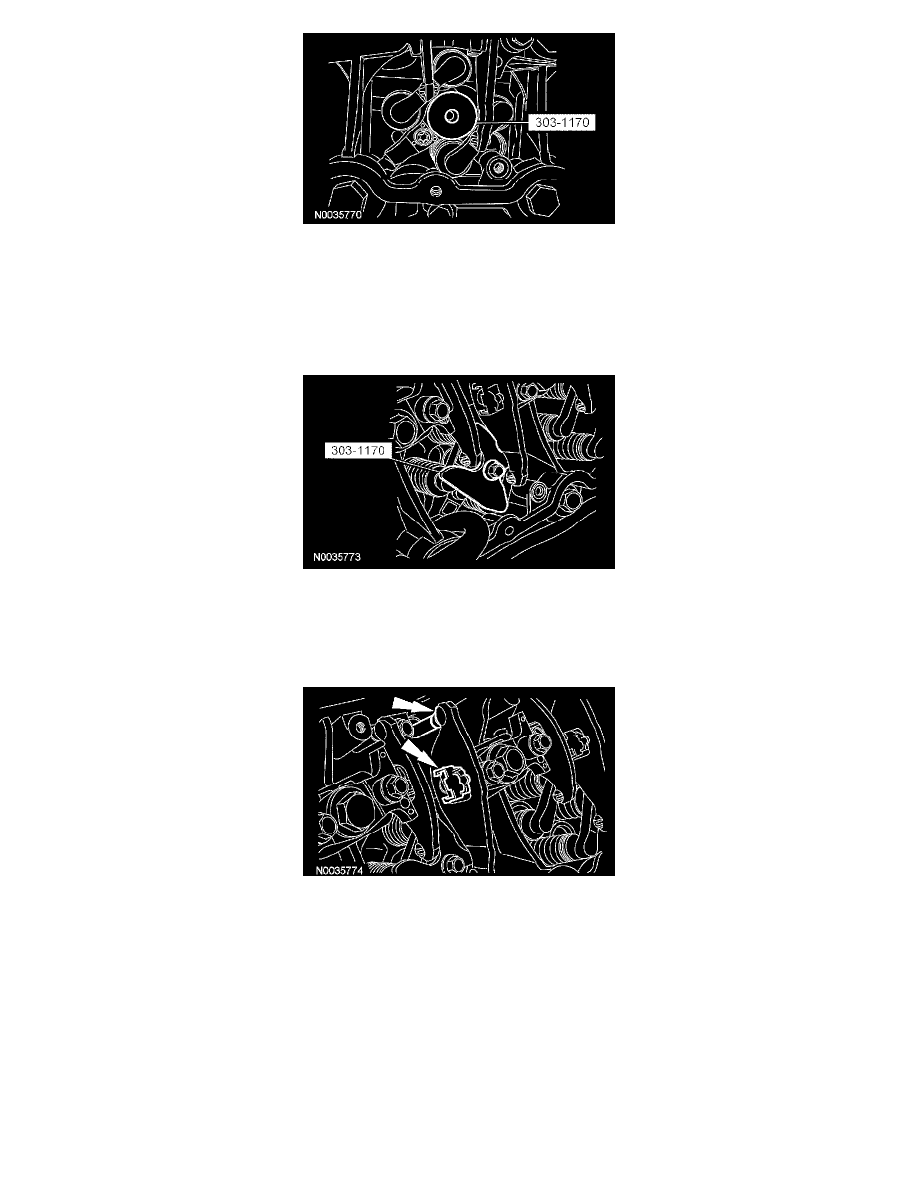
Install the special tool plate on top of the bridges with the small point of the plate in between the exhaust rocker and bridge. Install the special tool
bolt and compress the valve springs until the plate contacts the top of the tool base.
18. NOTE: When removing the rocker arm, be careful not to drop the ball from the fulcrum plate or rocker arm socket.
Disengage the rocker arm from the push rod. Then rotate the rocker arm out while compressing down on the rocker arm retaining clip.
^
Remove and discard the rocker arm retaining clip.
^
Repeat the step for the other rocker arm.
19. CAUTION: To prevent engine damage, keep the push rods in the order in which they were removed. Install the push rods back in their
original positions.
Remove the push rod.
^
Inspect each push rod for wear and deposits which may restrict the flow of oil into the rocker arm assembly. Install new push rods as
necessary.
^
Check the push rod for flatness by rolling them on a flat surface if not within specification. Install new push rods as necessary.
