
Econoline E350 1 Ton V8-5.4L CNG VIN M (1999)
INSTALLATION
1. Follow the removal procedure in reverse order.
^
To install the front upper body side trim panel, start at the lower pillar, then work to the second lower pillar.
^
To install the rear lower body side trim panel, start with the clip to the heater housing, then snap the trim panel into the panel clips.
^
To install the rear upper body side trim panel, start with the rear lower portion of the panel at the pillar.
Right Side
REMOVAL
1. Remove the rear seats to access the quarter trim panels.
2. Remove the jack stowage cover (regular wagon).
^
Lift the jack stowage cover slightly upward and pull away from the body side.
3. Remove the jack stowage cover (extended wagon).
^
Lift the jack stowage cover slightly upward and pull away from the body side.
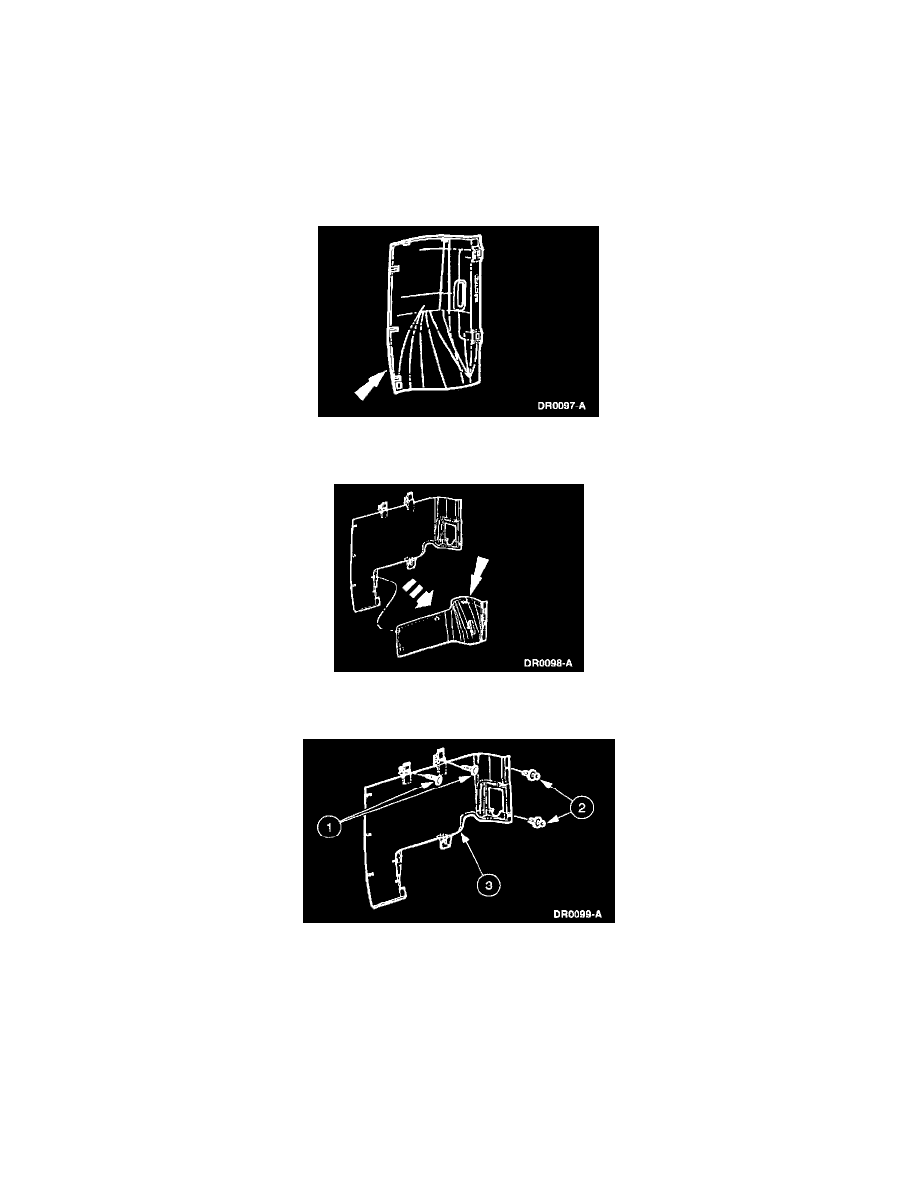
4. Remove the lower rear body side trim panel (extended wagon).
1
Remove the screws.
2
Remove the pushpins.
3
Remove the lower rear body trim panel.
5. Pull the rear door weatherstrip off at the rear door opening to access the trim panel rivets.