
Econoline E350 1 Ton V8-5.4L Prop SOHC VIN Z (1998)
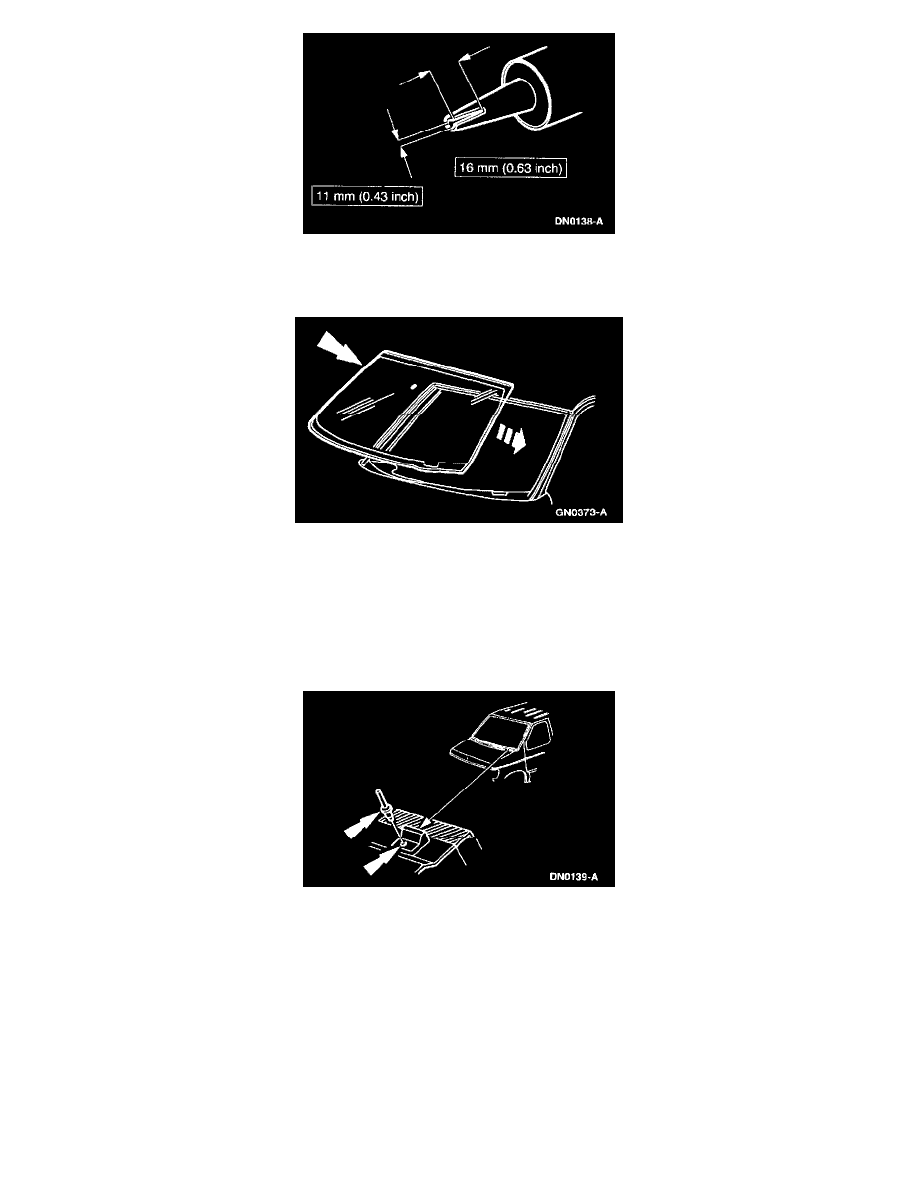
9. Apply an 11-mm (0.43-inch) wide bead of Urethane High Viscosity Adhesive WSB-M2G316-B to the entire primed area of the windshield glass.
NOTE: The windshield glass must be positioned within 10 minutes of applying the urethane sealant.
10. Position the windshield glass on the vehicle pinch weld, aligning it with the marks.
CAUTION: After replacing the urethane-installed glass, the vehicle must not be driven until the urethane has cured. The curing times at
temperatures above 13°C (55°F) and relative humidity above 50% is 12-24 hours (decreasing at higher temperatures and lower humidities).
Inadequate curing of the urethane can adversely affect the strength of the urethane sealant bond.
NOTE: Before installing the windshield glass, open the windows to prevent the windshield glass from being pushed out by air pressure if a door
is closed.
11. Position the windshield glass stops on the vehicle. Make sure the windshield glass is aligned and rivet the stops in position, using a 385974-S rivet.
12. Wipe off any excess urethane sealant and apply a 6-mm (0.23-inch) bead of Pumpable Foam Dam ESB-M46309-A between the windshield
header seal and the urethane sealant.
13. Fill the cavities between both the LH and RH sides of the windshield header seal and the sheet metal, using RTV Sealer ESB-M4G92-A for a total
length of 50 mm (2 inches) from the base of the A-pillars.
14. Install the inside rear view mirror.
15. Install the roof trim panel.
16. Install (push on) the LH and RH A-pillar mouldings.
17. Install the cowl top vent panel.
18. Install the windshield wiper pivot arms.