
Edge AWD V6-3.5L (2009)
4. Remove the 2 scrivets from the RH upper cowl panel grille.
5. Remove the 2 bolts from the RH upper cowl grille panel and remove the RH upper cowl grille panel.
-
To install, tighten to 6 Nm (53 lb-in).
6. Remove the 2 scrivets from the LH upper cowl grille panel.
7. Remove the 2 bolts from the LH upper cowl grille panel and remove the LH upper cowl grille panel.
-
To install, tighten to 6 Nm (53 lb-in).
Lower cowl panel grille
8. Remove the wiper arm and wiper pivot shaft assembly.
-
Disconnect the electrical connector.
-
Remove the 2 bolts.
-
To install, tighten to 7 Nm (62 lb-in).
9. Remove the 2 bolts from the upper left lower cowl grille panel extension and remove the panel.
-
To install, tighten to 6 Nm (53 lb-in).
10. Remove the 4 bolts from the upper right lower cowl panel extension and remove the panel.
-
To install, tighten to 6 Nm (53 lb-in).
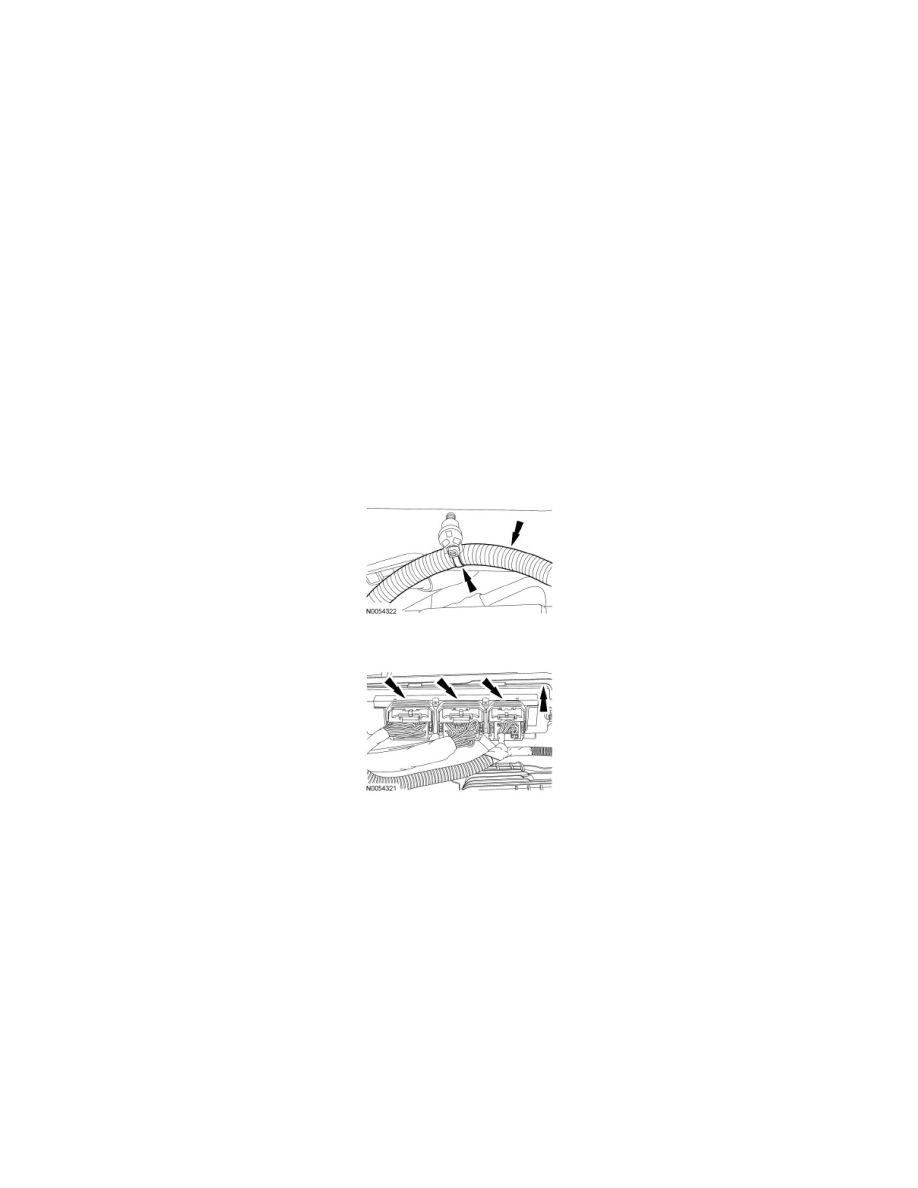
11. Disconnect the wiring harness from the retainer on the left front of the lower cowl grille panel.
12. Disconnect the electrical connectors from the PCM.
13. Remove the evaporative purge valve and bracket from the center of the lower cowl panel grille and set aside.
14. Remove the 5 bolts and 3 nuts from inside the lower cowl grille panel.
-
To install, tighten to 9 Nm (80 lb-in).
15. Remove the bolt from the lower cowl panel-to-front of dash.
-
To install, tighten to 20 Nm (177 lb-in).
16. Remove the lower cowl grille panel and PCM from the vehicle.
Upper and lower cowl grille panel
17. NOTICE: Incorrect installation of the lower/upper cowl panel grille may cause damage to the windshield. Make sure the cowl panel grille
clips are located under the windshield prior to installation.
To install, reverse the removal procedure.
-
Transfer the components as necessary.
-
Adjust the pivot arms.