
Edge AWD V6-3.5L (2009)
5. NOTE: Use either a high-ratio, electric or battery-operated caulk gun that will apply the urethane adhesive with less effort and a continuous bead.
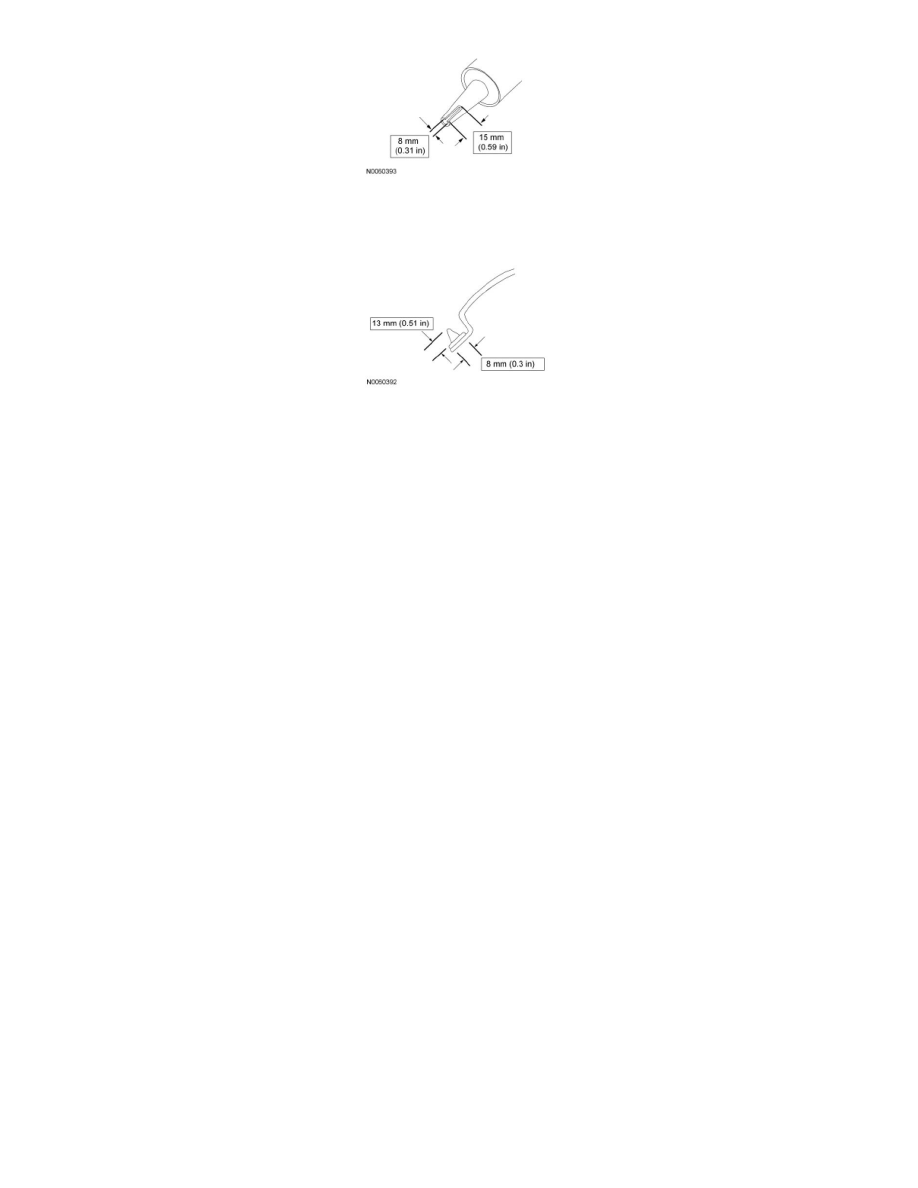
Apply urethane adhesive on top of the existing trimmed urethane adhesive bead, making sure there are no gaps in the bead.
6. Install the roof opening panel module assembly.
1. NOTE: Make sure the roof opening panel module assembly does not come into contact with the urethane adhesive bead.
With the aid of assistants, hold the roof opening panel module assembly approximately 50.8 mm (2 in) over the body structure.
2. Line up the locator pin to the front hole and rear guide pin to the rear hole.
3. NOTICE: Make sure the windshield moulding does not get pinched under the roof opening panel module assembly.
NOTE: Make sure the roof opening panel module is lowered straight down and does not shift.
Carefully lower the roof opening panel module assembly into position on the body.
7. NOTICE: When installing urethane adhesive-installed parts, the vehicle must not be driven until the urethane adhesive has cured.
Adequate cure time is specified on the drive away chart for each urethane adhesive product as the temperatures and humidity vary.
Inadequate or incorrect curing can adversely affect the retention of the roof opening panel module assembly.
Firmly apply downward pressure to the entire sealing edges of the roof opening panel module assembly to make sure it is seated correctly.
8. Install the air deflector assembly. For additional information, refer to Air Deflector See: Roof and Associated Components/Sunroof /
Moonroof/Sunroof / Moonroof Windguard/Service and Repair/Air Deflector.
9. Attach the bottom of the concertina blind to the guide track in the most forward position.
10. NOTE: Do not install the headliner at this time.
If installing a new roof opening panel module assembly, install the front and rear shade assemblies but do not carry out the roof opening panel
motor initialization at this time. For additional information, refer to Roof Opening Panel Motor - Shade See: Roof and Associated
Components/Sunroof / Moonroof/Sunroof / Moonroof Motor/Service and Repair/Roof Opening Panel Motor - Shade.
11. Manually move the sliding front glass mechanisms forward until they are flush against the track hard-stops.
12. Carefully move the front and rear shades rearward to the fully OPEN position by pushing at the edges closest to the tracks.
13. NOTE: Do not install the headliner at this time.
Install the roof opening panel shade motor but do not carry out the roof opening panel motor initialization at this time. For additional information,
refer to Roof Opening Panel Motor - Shade See: Roof and Associated Components/Sunroof / Moonroof/Sunroof / Moonroof Motor/Service and
Repair/Roof Opening Panel Motor - Shade.
14. NOTE: Do not install the headliner at this time.
Install the roof opening panel sliding glass motor but do not carry out the roof opening panel motor initialization at this time. For additional