
Edge AWD V6-3.5L (2009)
Sunroof / Moonroof Interior Trim Panel: Service and Repair
Roof Opening Panel Trim - Side
Roof Opening Panel Trim - Side
Removal
1. Remove the ditch mouldings and clip strip.
2. Remove the end cap.
3. WARNING: Always wear eye protection when servicing a vehicle. Failure to follow this instruction may result in serious personal injury.
WARNING: Wear protective gloves when handling components or parts that have pointed or sharp edges. Failure to follow this
instruction may result in serious personal injury.
NOTICE: Protect the painted roof area next to the side trim panel to prevent damage to the paint.
NOTICE: Make sure the cutting blades are changed where the cutting depth changes to avoid damage to the body or glass panel seals.
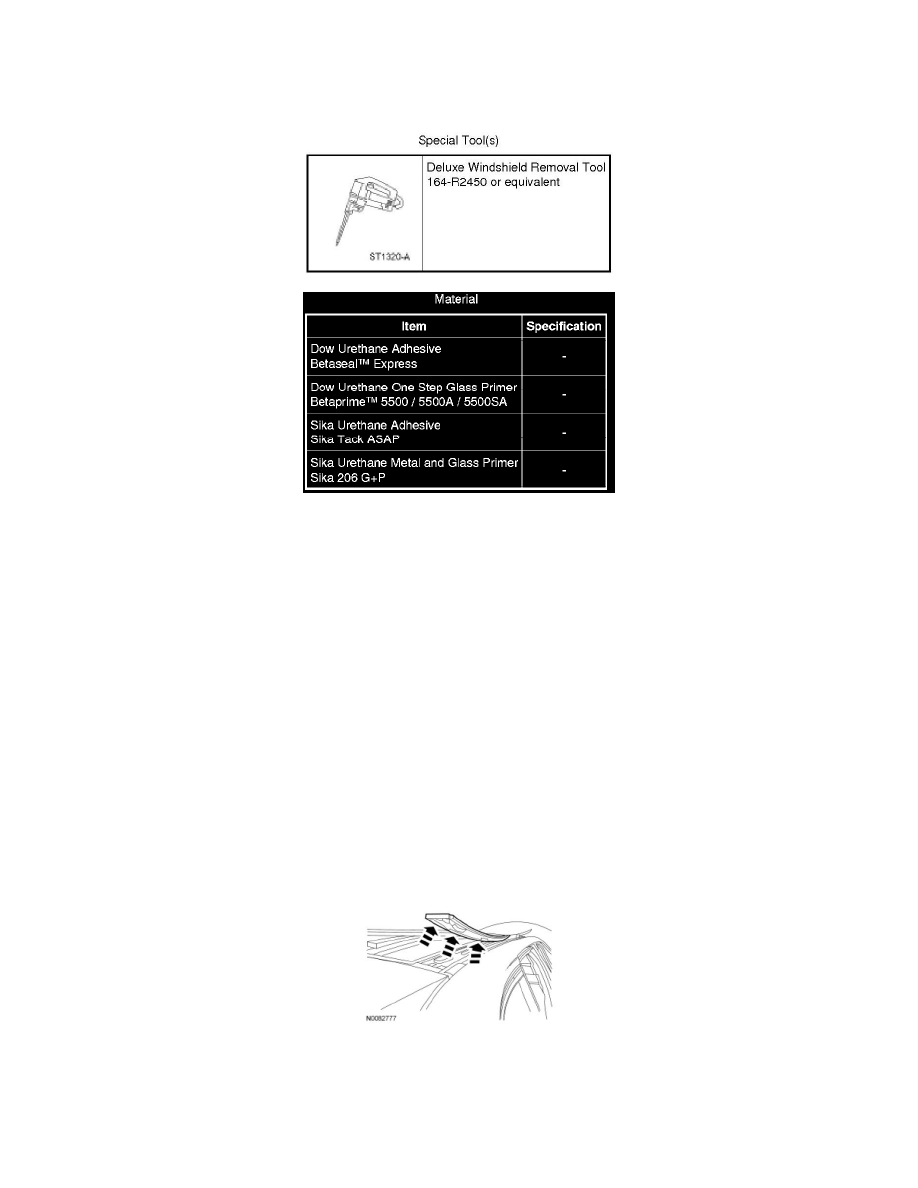
NOTE: Lubricate the urethane adhesive with water to aid the Deluxe Windshield Removal Tool when cutting the urethane adhesive. When using
the Deluxe Windshield Removal Tool, place the flat side of the knife against the side trim panel.
NOTE: Position the sliding glass panel as required for necessary access.
Begin cutting the urethane adhesive at the rear of the side trim panel while bending the trim panel upward as needed for access. Work forward
through all urethane adhesive and rubber net pads. Remove and discard the side trim panel.
Installation
NOTE: For additional material guidelines, refer to the manufacturer's installation information.
1. NOTE: Avoid scratching the painted surfaces. For minor scratches or exposed metal, see the manufacturer's recommendations.