
Edge AWD V6-3.5L (2009)
Sunroof / Moonroof Motor: Service and Repair
Roof Opening Panel Motor Block and Drive Tube Assembly - Sliding Front Panel
Roof Opening Panel Motor Block and Drive Tube Assembly - Sliding Front Panel
Removal
NOTICE: The gearing on the shade motor assembly (silver label) is different than the sliding glass motor assembly (black label). If the shade
motor or the sliding glass motor is installed in the incorrect location, the sunshade and/or glass panel travel distance will be affected and
damage to some of the components may result.
NOTE: There may be a special service replacement fastener available if a screw hole becomes stripped during installation. For additional information,
refer to Roof Opening Panel - Exploded View See: Sunroof / Moonroof Panel/Service and Repair/Roof Opening Panel - Exploded View.
1. Remove the roof opening sliding glass panel. For additional information, refer to Roof Opening Panel Glass - Front Sliding See: Sunroof /
Moonroof Panel/Service and Repair/Roof Opening Panel Glass - Front Sliding.
2. Remove the front and rear shade assemblies. For additional information, refer to Roof Opening Panel Motor - Shade See: Roof Opening Panel
Motor - Shade.
3. Remove the roof opening panel shade motor. For additional information, refer to Roof Opening Panel Motor - Shade See: Roof Opening Panel
Motor - Shade.
4. Remove the roof opening sliding glass panel motor. For additional information, refer to Roof Opening Panel Motor - Sliding Front Panel See:
Roof Opening Panel Motor - Sliding Front Panel.
5. Manually move the sliding front glass mechanisms and shade mechanisms rearward.
6. NOTE: Make note of all the cable wrap locations, they must be reinstalled at the exact same locations.
Cut cable wraps to the motor block and drive tube assembly and wiring harness.
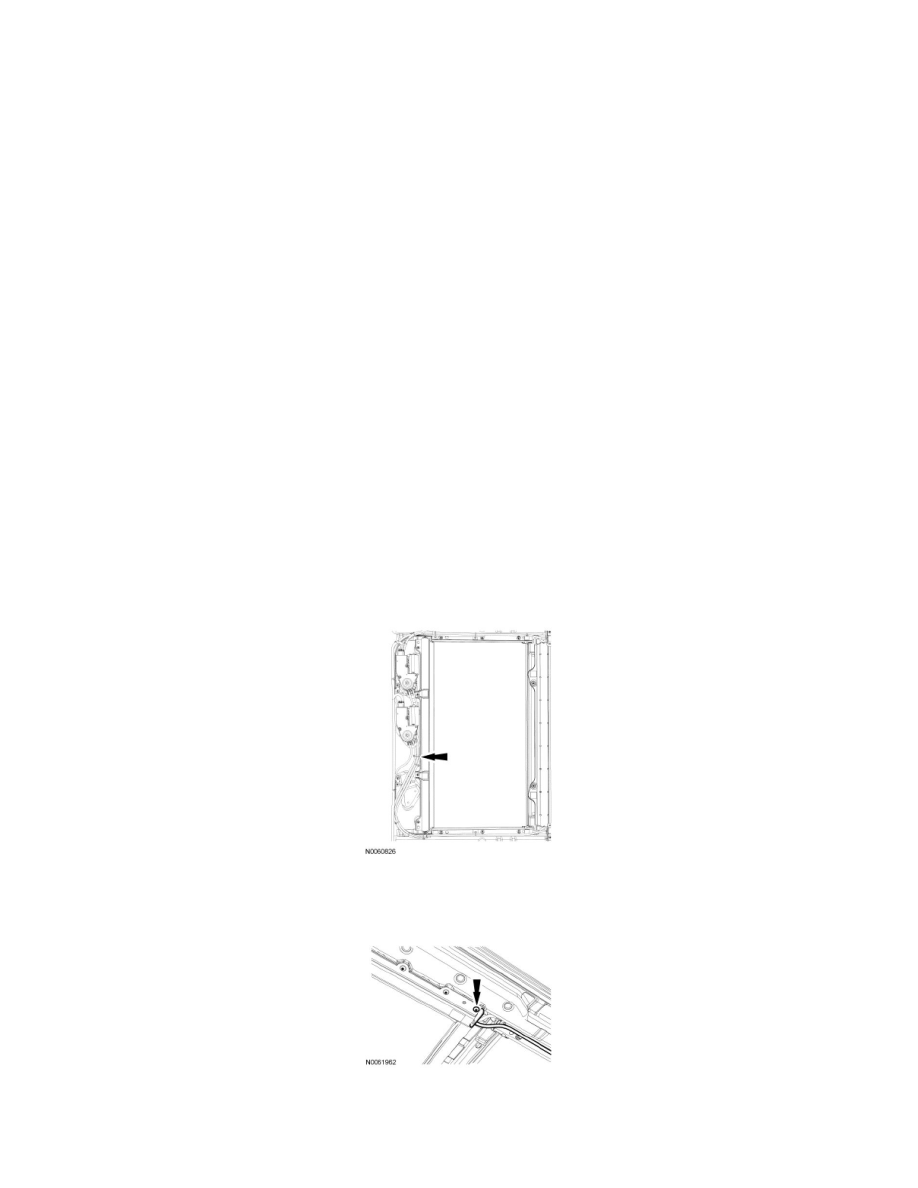
7. NOTE: LH shown, RH similar.
Remove the front drive tube bracket-to-guide track screws.
8. NOTE: Carefully mark the location of each guide track in 3 places before removing any fasteners. The guide tracks must be installed in exactly
the same position. LH shown, RH similar.