
Edge AWD V6-3.5L (2009)
Seat Cover: Service and Repair
Rear Seats
Seat Backrest Cover - Rear, 40 Percent
Seat Backrest Cover - Rear, 40 Percent
Removal and Installation
NOTE: A new heater mat will come assembled on a new foam pad.
1. Remove the 40 percent cushion. For additional information, refer to Seat Cushion - Rear, 40 Percent See: Seat Cushion/Service and
Repair/Removal and Replacement/Rear Seats/Seat Cushion - Rear, 40 Percent.
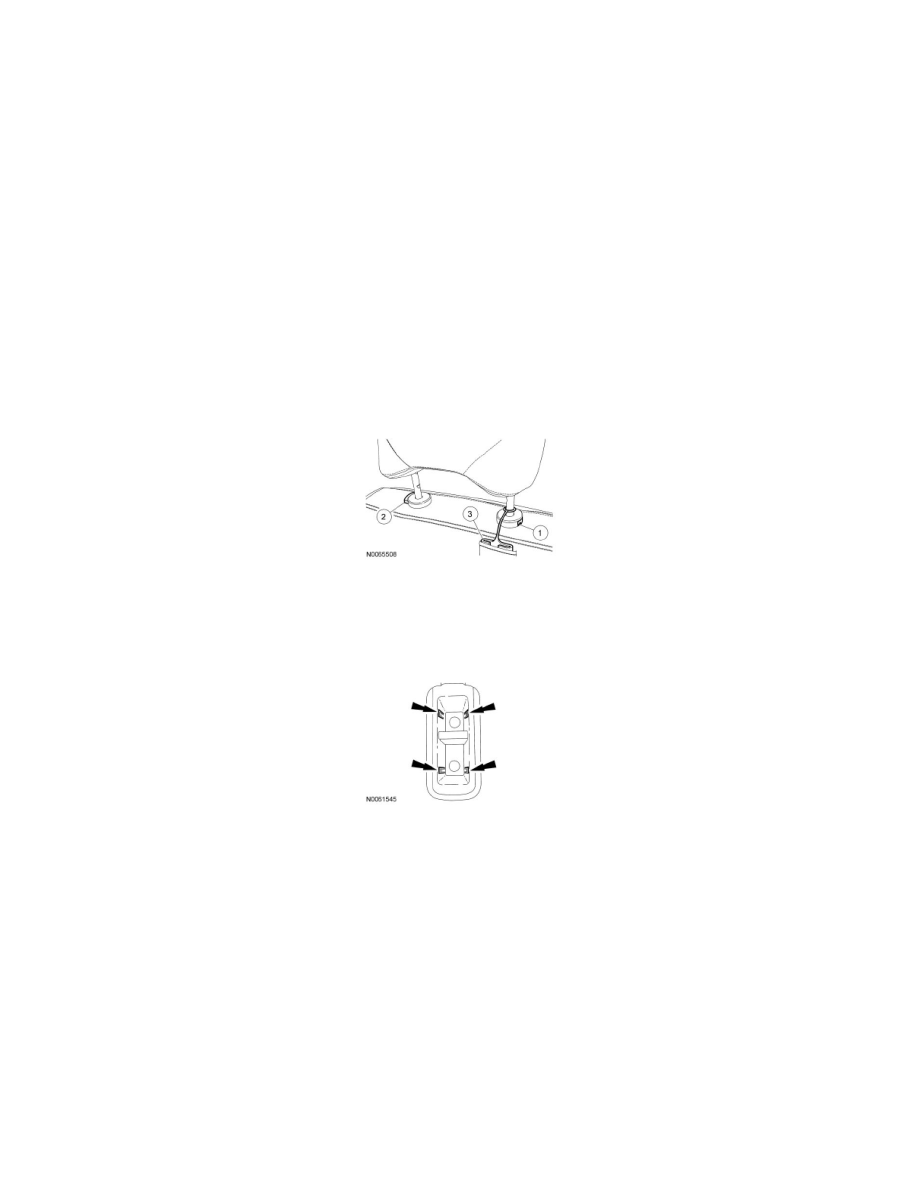
2. Remove the head restraint.
1. Push in the hole, lift up on the head restraint and release one side of the head restraint.
2. Push the release button and remove the head restraint.
3. Remove the safety belt comfort guide.
3. Pull out and remove the 2 head restraint guides.
-
Discard the slave head restraint guide.
-
For installation, install a new slave head restraint guide.
4. Release the tabs and remove the child safety seat tether anchor bezel.
5. Release the backrest trim cover lower J-clip.
-
If equipped, pull the heated seat electrical connector through the backrest trim cover opening.
6. At the rear inboard side of the backrest, access the zipper tucked up behind the back panel and unzip the zipper.
7. Remove the pin-type retainer attaching the backrest trim cover to the lower rear of the backrest frame and around the lower anchors and tethers for
children.
8. Remove the pin-type retainer from inside the safety belt comfort guide pocket.
9. NOTICE: Use care when separating the backrest trim cover from the hook-and-loop strips, or the hook-and-loop strips can be torn from
the backrest foam pad.
Partially invert the backrest trim cover to the retaining clips in the backrest foam pad.
10. Release the clips and separate the backrest trim cover from the backrest foam pad and remove.
11. To install, reverse the removal procedure.