
Edge AWD V6-3.5L (2009)
Seat Backrest Cover - Rear, 60 Percent
Seat Backrest Cover - Rear, 60 Percent
Removal and Installation
NOTE: A new heater mat will come assembled on a new foam pad.
1. Remove the 60 percent seat. For additional information, refer to Seat - Rear, 60 Percent See: Service and Repair/Rear Seats/Seat - Rear, 60
Percent.
2. Remove the 60 percent cushion. For additional information, refer to Seat Cushion - Rear, 60 Percent See: Seat Cushion/Service and
Repair/Removal and Replacement/Rear Seats/Seat Cushion - Rear, 60 Percent.
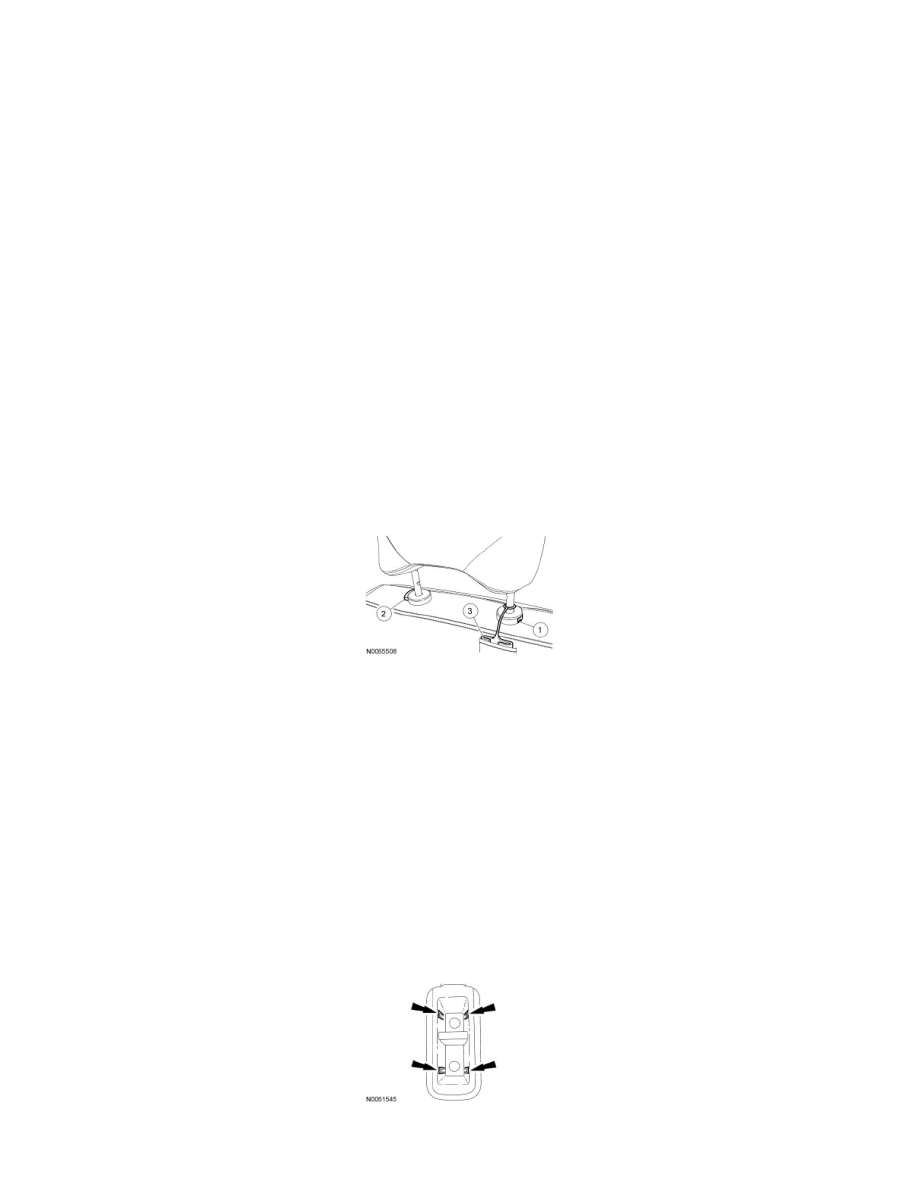
3. NOTE: Make sure the safety belt webbing is not twisted prior to installation.
Remove the bolt and separate the safety belt retractor belt and buckle anchor from the riser.
-
To install, tighten to 65 Nm (48 lb-ft).
4. Remove the head restraint.
1. Push in the hole, lift up on the head restraint and release one side of the head restraint.
2. Push the release button and remove the head restraint.
3. Remove the safety belt comfort guide.
5. NOTE: Always install a new slave head restraint guide.
Pull out and remove the master and slave head restraint guides.
6. Remove the armrest bracket trim cover pin-type retainer and the armrest bracket trim cover.
-
Cycle the armrest up and down to aid trim cover removal.
7. Remove the armrest bolt.
-
To install, tighten to 25 Nm (18 lb-ft).
8. Remove the armrest.
-
With the armrest upright, tip the outboard side of the armrest to disengage the stop from the backrest frame channel.
9. Remove the pin-type retainer in the armrest pocket, attaching the backrest trim cover to the backrest.
10. Release the tabs and remove the child safety seat tether anchor bezel.
-
Repeat for the other child safety seat tether anchor bezel.
11. Remove the safety belt bezel screw cover, the screw and the safety belt bezel.