
Edge AWD V6-3.5L (2009)
1. Position the wheel bearing and wheel hub and install 4 new bolts.
-
Tighten to 133 Nm (98 lb-ft).
AWD vehicles
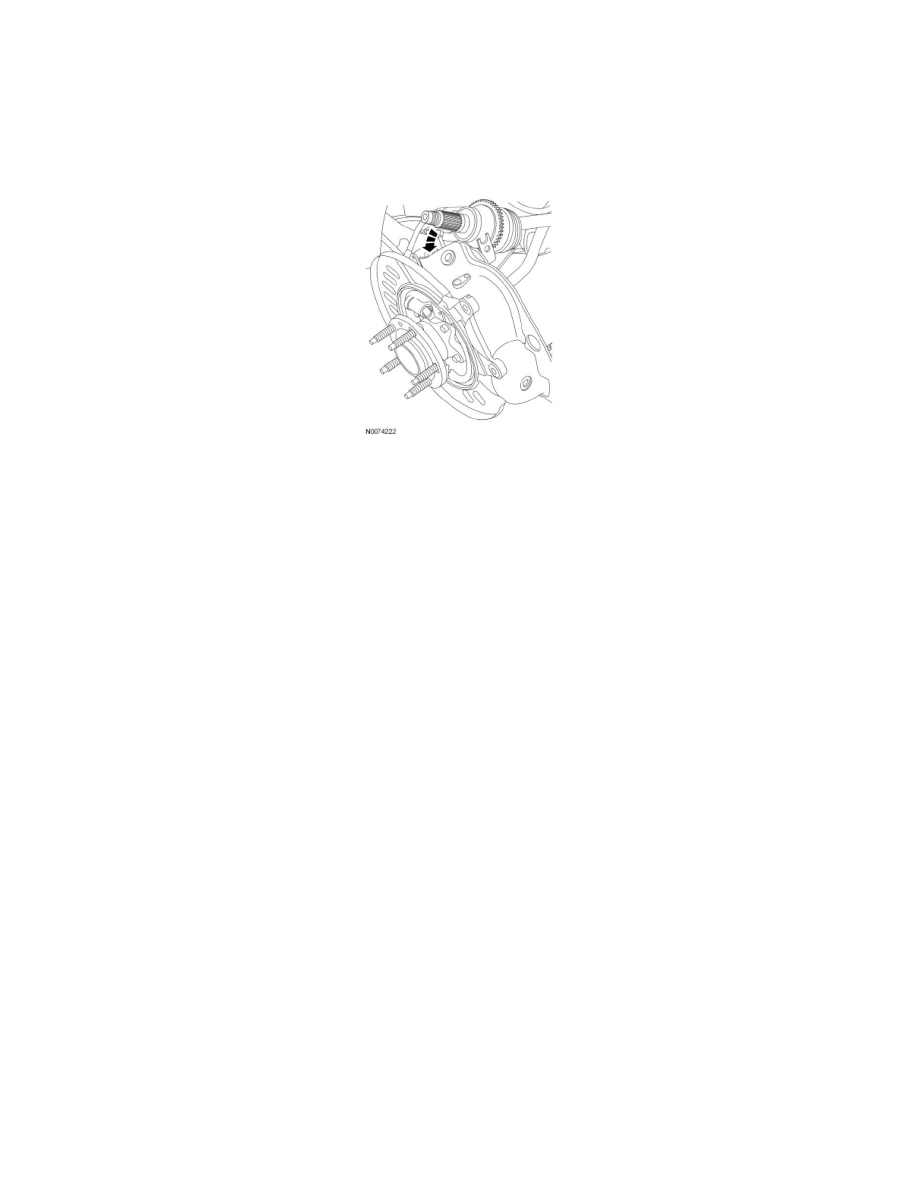
2. Position the halfshaft through the wheel knuckle and into the wheel bearing and wheel hub.
3. Position the wheel knuckle onto the toe link and lower arm.
4. Loosely install the new toe link outboard bolt and nut.
5. Loosely install the new lower arm outboard bolt and nut.
6. Loosely install the new shock absorber lower bolt and nut.
7. Using the jack, raise the suspension and install the upper arm outboard bolt and nut.
-
Tighten the bolt to 175 Nm (129 lb-ft).
8. Tighten the toe link outboard bolt to 175 Nm (129 lb-ft).
9. Tighten the lower arm outboard bolt to 150 Nm (111 lb-ft).
10. Tighten the shock absorber lower nut to 80 Nm (59 lb-ft).
11. Position the stabilizer bar link and install the new upper link nut.
-
Tighten the nut to 40 Nm (30 lb-ft).
12. Install the brake hose bracket bolt.
-
Tighten the bolt to 7 Nm (62 lb-in).
13. Position the wheel speed sensor and install the bolts.
-
Tighten the bolt to 7 Nm (62 lb-in).
-
Clip the 2 wheel speed sensor harness retainers to the upper arm.
FWD vehicles
14. Attach the wheel speed sensor to the wheel bearing and wheel hub and install the bolt.
-
Tighten to 7 Nm (62 lb-in).
All vehicles
15. Install the brake disc.
16. Position the brake caliper and anchor plate assembly and install the 2 bolts.
-
Tighten to 55 Nm (41 lb-ft).
AWD vehicles