
Edge AWD V6-3.5L (2009)
3. NOTICE: If the clockspring is left unattended by the technician between centralizing the clockspring and installing it to the multifunction
switch housing, the centralizing procedure must be repeated. Failure to follow this instruction may result in component damage and/or
system failure.
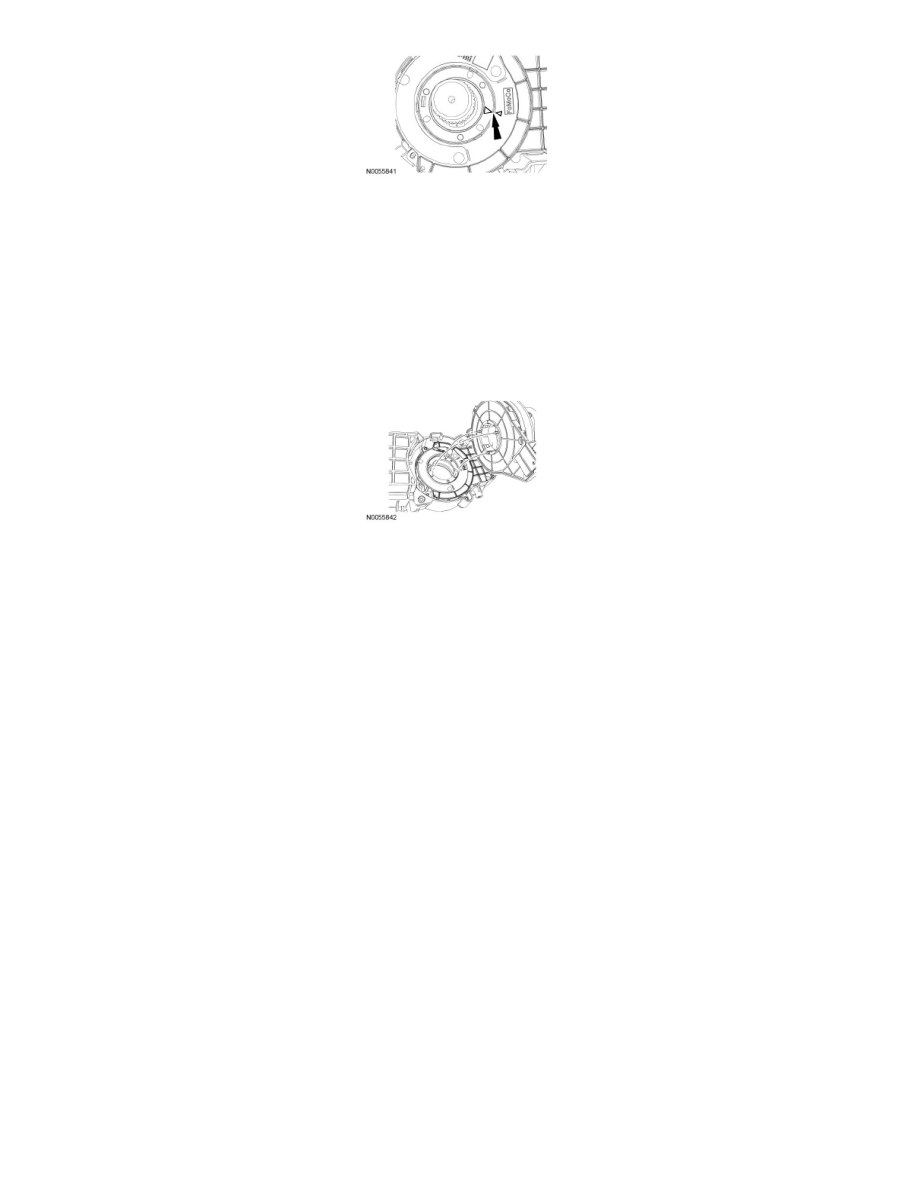
NOTE: For vehicles equipped with a steering angle sensor and/or adaptive headlamps, slight rotation of the clockspring rotor might be needed to
seat the 3 clockspring locator pins into the steering angle sensor and/or adaptive headlamps sensor ring. Very slight rotation is possible on a new
clockspring with the sealing key installed.
NOTE: Make sure the clockspring is fully seated into the multifunction switch housing before installing the clockspring screws.
Install the clockspring and the 2 screws.
4. Connect the clockspring electrical connector.
5. Install the lower steering column shroud and the 3 screws.
6. Attach the upper steering column shroud to the lower steering column shroud.
7. NOTICE: If not installing a new clockspring, and the vehicle is left unattended by the technician between the installation of the
clockspring to the multifunction switch housing and installing the steering wheel, the centralizing procedure can be repeated at this time
with the clockspring being installed in the multifunction switch housing. Failure to follow this instruction may result in component
damage and/or system failure.
Install the steering wheel.
-
If a new clockspring is being installed, and after the steering wheel installation, remove the clockspring sealing key.
8. Install the driver air bag module. For additional information, refer to Driver Air Bag Module See: Air Bag/Service and Repair/Driver Air Bag
Module.