
Edge AWD V6-3.5L (2009)
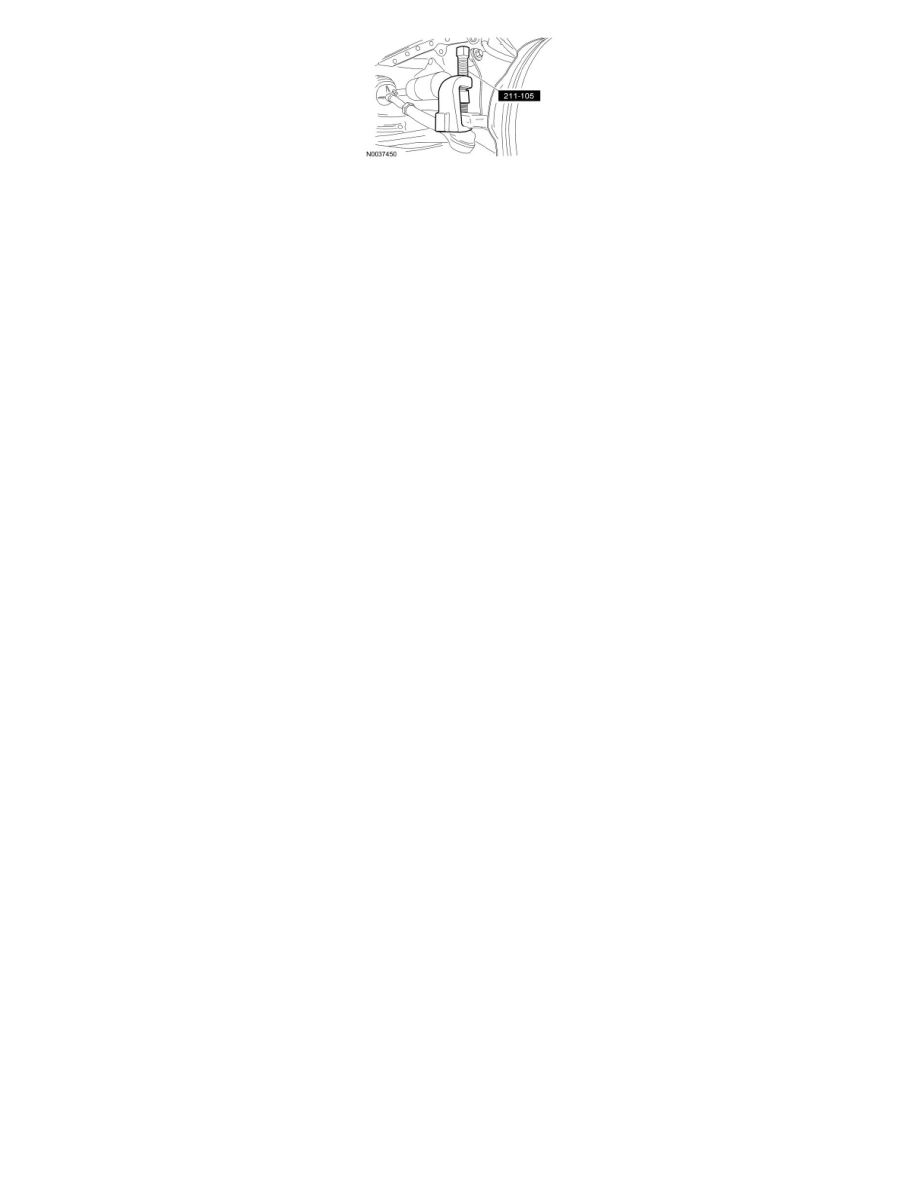
16. NOTE: RH shown, LH similar.
Remove the 2 lower ball joint bolts and nuts and separate the lower ball joints from the wheel knuckles.
-
Discard the bolts and nuts.
-
To install, tighten the new nuts to 55 Nm (41 lb-ft).
17. Remove the upper nut, loosen the lower nut and remove the engine roll restrictor heat shield.
-
To install, tighten to 11 Nm (97 lb-in).
18. Remove the engine roll restrictor-to-subframe bolt.
-
To install, tighten to 103 Nm (76 lb-ft).
19. Using a suitable jack, support the subframe.
-
Support the subframe in the center rear area of the subframe.
20. NOTE: During installation, the subframe brackets are loosely installed with the support bracket bolts. Align the index marks made in Step 2, then
tighten the rear subframe nuts prior to tightening the support bracket bolts.
Remove the 2 nuts, 4 bolts and the subframe support brackets.
-
Discard the nuts and bolts.
-
To install, tighten the new nuts to 133 Nm (98 lb-ft).
-
To install, tighten the new bolts to 90 Nm (66 lb-ft).
21. Remove and discard the 4 subframe nuts.
-
To install, tighten the new nuts to 133 Nm (98 lb-ft).
22. Using the jack, lower the subframe approximately 76.2 mm (3 in).
23. Remove the 4 bolts, 2 stabilizer bar brackets and bushings.
-
Discard the bolts.
-
To install, tighten the new bolts to 63 Nm (46 lb-ft).
24. Remove the stabilizer bar.
25. To install, reverse the removal procedure.
26. Check and, if necessary, align the front end.