
Edge FWD V6-3.5L (2007)
2. WARNING: Always wear safety goggles when using a spring compressor. Failure to follow these instructions may result in personal
injury.
Position the shock and spring assembly in a suitable spring compressor.
3. Compress the spring enough to relieve the tension on the shock and spring assembly.
4. CAUTION: Do not use an impact wrench on the shock absorber rod nut.
NOTE: Use the holding feature to prevent the shock absorber rod from turning while removing the nut.
While holding the shock absorber rod, remove and discard the rod nut.
5. Remove the shock absorber assembly and spring lower seat.
6. Remove the dust boot and jounce bumper.
7. Remove the shock absorber upper mount and spring upper seat.
8. Carefully release the tension on the spring compressor and remove the spring.
Assembly
1. Install the lower spring seat, jounce bumper and dust boot onto the shock absorber.
2. WARNING: Always wear safety goggles when using a spring compressor. Failure to follow these instructions may result in personal
injury.
Position the shock and spring assembly in a suitable spring compressor.
3. Install the spring, shock absorber upper mount and spring upper seat.
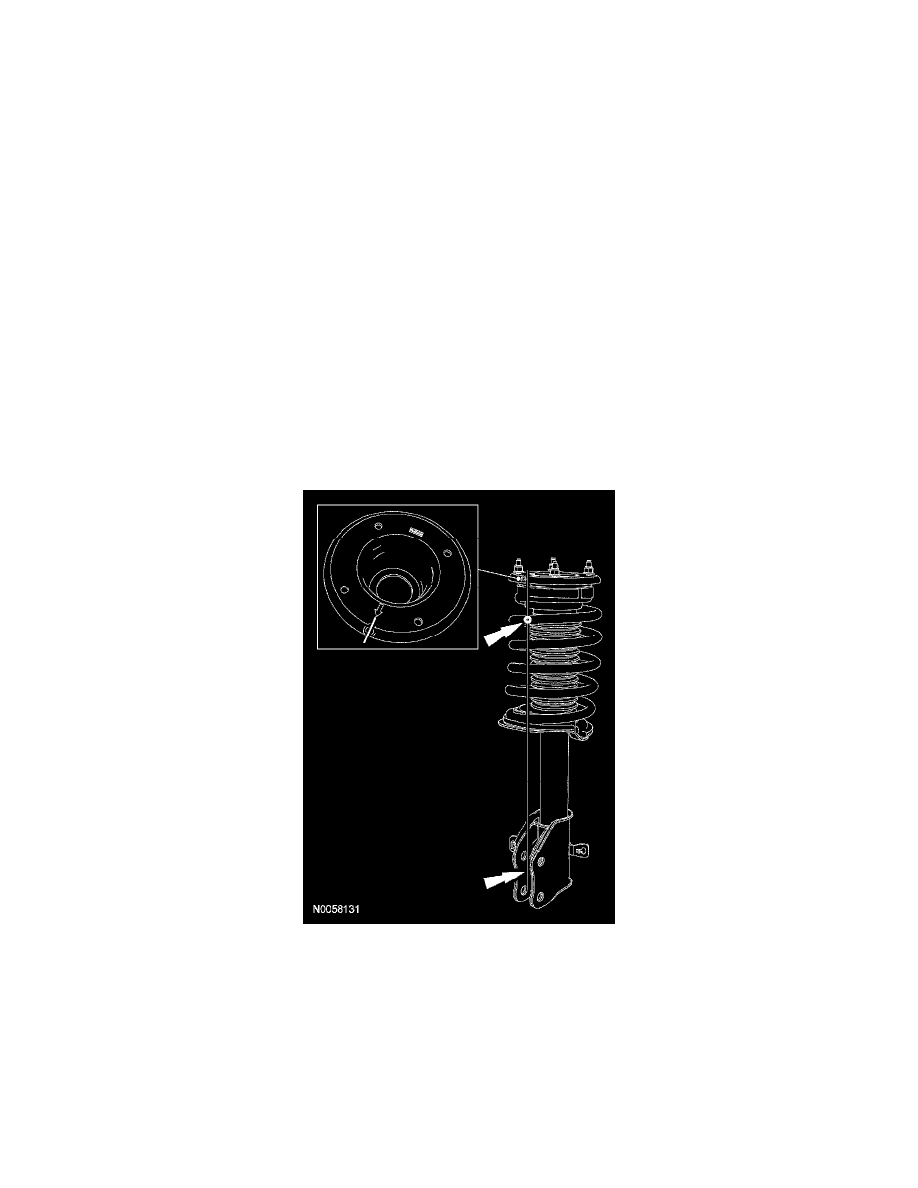
4. Align the arrow on the upper mount perpendicular to the center of the shock absorber lower mount.
5. Compress the spring enough to relieve the tension on the shock and spring assembly.
6. Position the end of spring within 0-10 mm (0-0.39 inch) of the upper spring mount.