
Escape 2WD L4-122 2.0L DOHC VIN B SFI (2001)
7.
With the aid of an assistant, position the center bearing support of the new driveshaft onto the safety stand. Position the rear of the driveshaft into
the differential yoke, then position the front of the driveshaft into the power take off.
CAUTION:
The rear of the driveshaft must be bolted to the differential yoke before the center bearing support nuts are installed.
8.
Install the straps with new bolts to secure the rear of the driveshaft to the differential yoke. Tighten the bolts to 23 Nm (17 lb-ft).
9.
Install new nuts to the center bearing support. Tighten the nuts to 48 Nm (35 lb-ft).
10.
Install the center bearing support ground strap to the floor pan. Tighten the bolt to 40 Nm (30 lb-ft).
NOTE:
If front driveshaft bolts are missing or damaged, order Part Number YL8Z-4529-AA, quantity of one (1).
11.
Install new bolts and washers to secure the front of the driveshaft to the power take off. Tighten the bolts to 37 Nm (27 lb-ft).
12.
Remove the safety stand from under the center bearing support.
13.
Lower the vehicle.
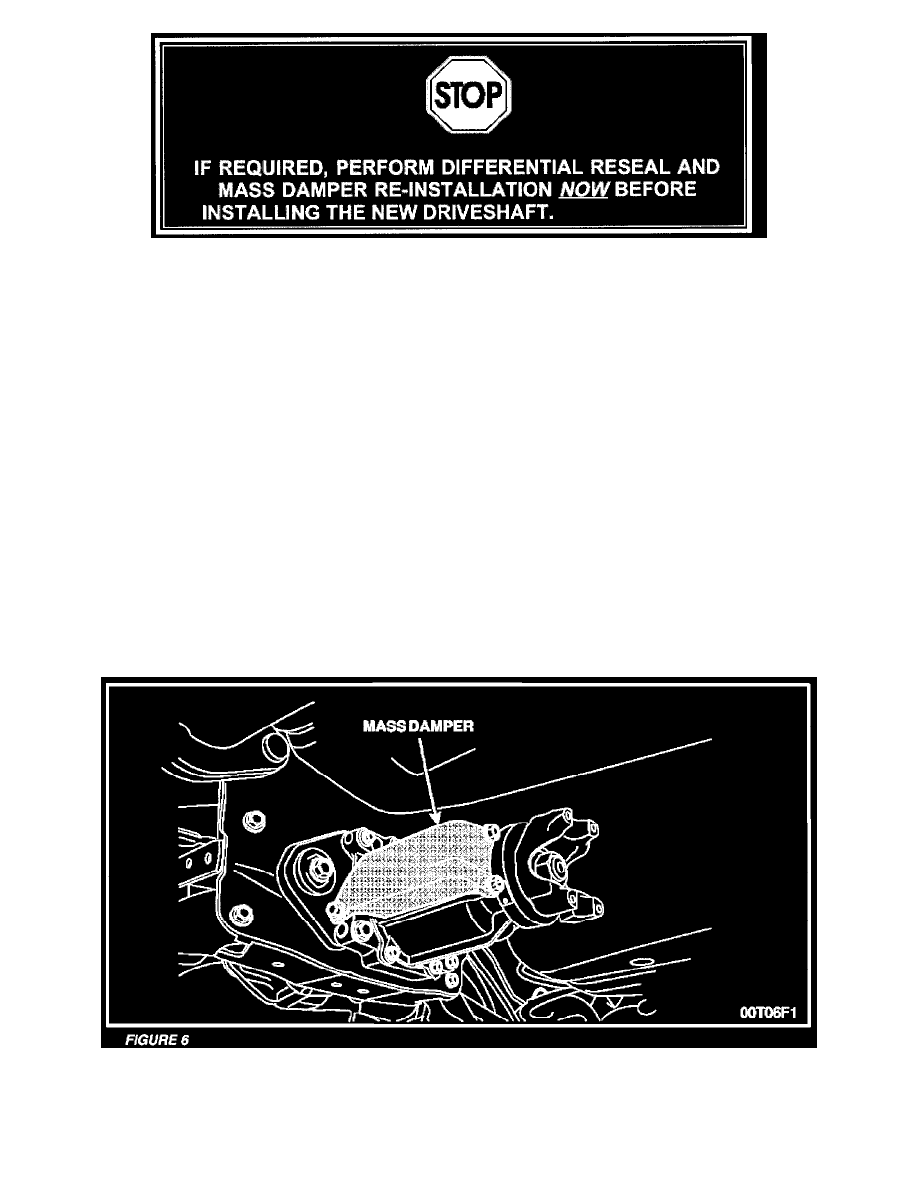
DIFFERENTIAL RESEAL AND MASS DAMPER RE-INSTALLATION
1.
Disconnect the electrical connector from the rotary blade coupling.
2.
Remove the mass damper. See Figure 6.
3.
Position a drain pan under the differential assembly.