Escape 2WD L4-122 2.0L DOHC VIN B Zetec SFI (2003)

Seat Belt Height Adjuster: Service and Repair
Removal and Installation
REMOVAL
WARNING: ALL SAFETY BELT ASSEMBLIES INCLUDING RETRACTORS, BUCKLES, FRONT SEAT BELT BUCKLE SUPPORT
ASSEMBLIES (SLIDE BAR), SHOULDER BELT HEIGHT ADJUSTERS (IF SO EQUIPPED), CHILD SAFETY SEAT TETHER
ATTACHMENTS, AND ATTACHING HARDWARE SHOULD BE INSPECTED AFTER ANY COLLISION. ALL BELT ASSEMBLIES
SHOULD BE REPLACED UNLESS A QUALIFIED TECHNICIAN FINDS THE ASSEMBLIES SHOW NO DAMAGE AND OPERATE
PROPERLY. BELT ASSEMBLIES NOT IN USE DURING A COLLISION SHOULD ALSO BE INSPECTED AND REPLACED IF EITHER
DAMAGE OR IMPROPER OPERATION IS NOTED.
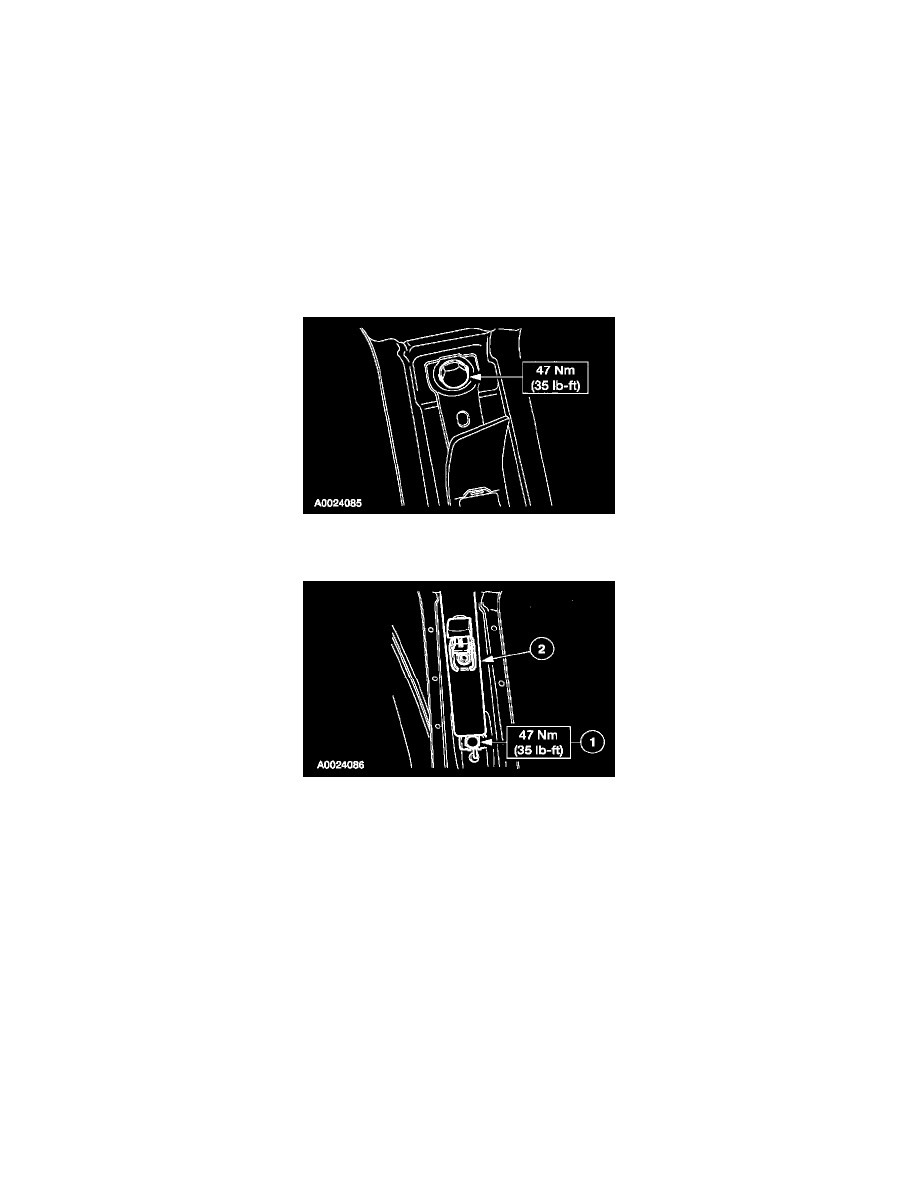
NOTE: The driver side is shown, the passenger side is similar.
1. Remove the B-pillar trim panel.
2. Lower the height adjuster.
3. Remove the upper height adjuster bolt.
4. Raise the height adjuster.
5. Remove the height adjuster.
1
Remove the bolt.
2
Remove the height adjuster.
INSTALLATION
1. To install, reverse the removal procedure.
^
Make sure that the front safety belt retractor is not in the Automatic Locking Retractor (ALR) mode.
NOTE:
^
Make sure the safety belt webbing is not twisted prior to installation.
^
Make sure to tighten bolts to specification.
2. Check the active restraint system for correct operation.
^
Carry out the Emergency Locking Retractor (ELR) Mode Functional Test to make sure that the new retractor operates correctly. See: Testing
and Inspection/Component Tests and General Diagnostics
