
Escape 2WD L4-122 2.0L DOHC VIN B Zetec SFI (2003)
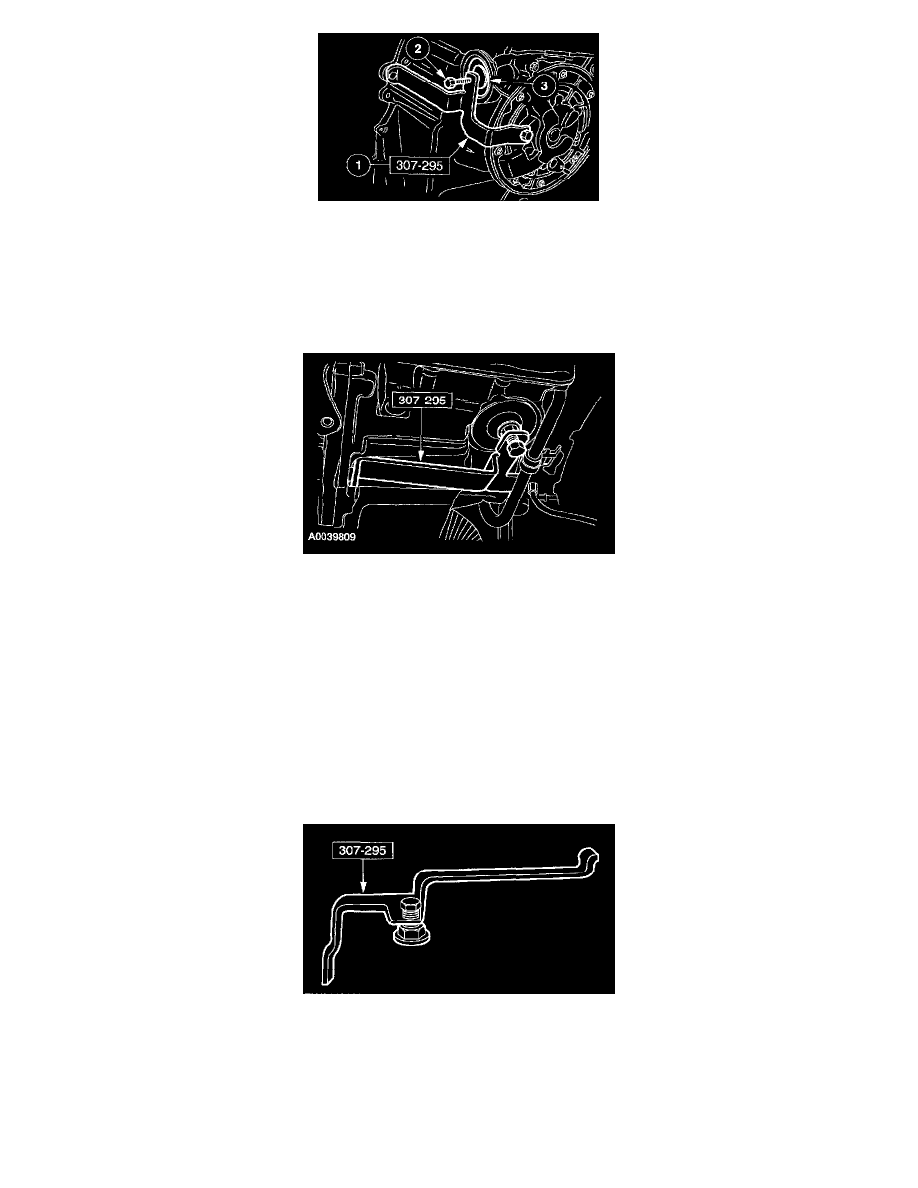
5. CAUTION: Do not use a screwdriver to remove the retaining ring or damage to the case may occur. Use only snap ring pliers to remove the
retaining ring.
Using the special tool, remove the servo retaining ring.
1
Install the special tool.
2
Compress the servo assembly by tightening the bolt.
3
Remove the retaining ring.
6. Remove the special tool.
7. Remove the servo cover assembly.
8. Remove the intermediate and overdrive servo piston and return spring.
9. Wipe the servo piston and the servo cover cap with a lint-free cloth.
10. CAUTION: Do not clean the rubber sealing surfaces of the servo piston and the servo cover cap with cleaning solvent or damage to the sealing
surface may result.
Inspect the servo piston for cracks on its pressure surfaces and in the sealing area. Look for damage near the point where the servo piston is
attached to the servo rod.
11. Squeeze the servo piston lip for flexibility. If the lip feels brittle, install a new piston.
12. Inspect the servo retainer spring for cracks, breaks or deformation.
Installation
1. WARNING: Servo return spring force is very high. Failure to follow these instructions may result in personal injury.
Assemble the special tool.