
Escape 2WD V6-3.0L (2009)
Exhaust Pipe: Service and Repair
Exhaust Y-Pipe
Exhaust Y-Pipe - 3.0L
Removal
1. With the vehicle in NEUTRAL, position it on a hoist.
2. Disconnect the LH Catalyst Monitor Sensor (CMS) electrical connector.
3. NOTICE: Only use hand tools when removing or installing the spring nuts or damage may occur to the exhaust Y-pipe flange studs.
NOTE: When loosening the converter-to-exhaust Y-pipe spring nuts, alternately loosen the nuts from side to side.
Remove and discard the two 10-mm exhaust catalytic converter-to-exhaust Y-pipe spring nuts.
4. NOTICE: Remove the exhaust Y-pipe gasket by simultaneously pulling up and twisting the gasket off the pipe. Do not pry under the
gasket or damage to the flange may occur.
Remove and discard the 4 exhaust Y-pipe nuts and remove the Y-pipe.
-
Discard the gaskets.
Installation
1. Inspect the exhaust Y-pipe flange studs for damage.
-
If damaged, replace stud(s), or if stud comes out when removing nut(s), replace the stud(s).
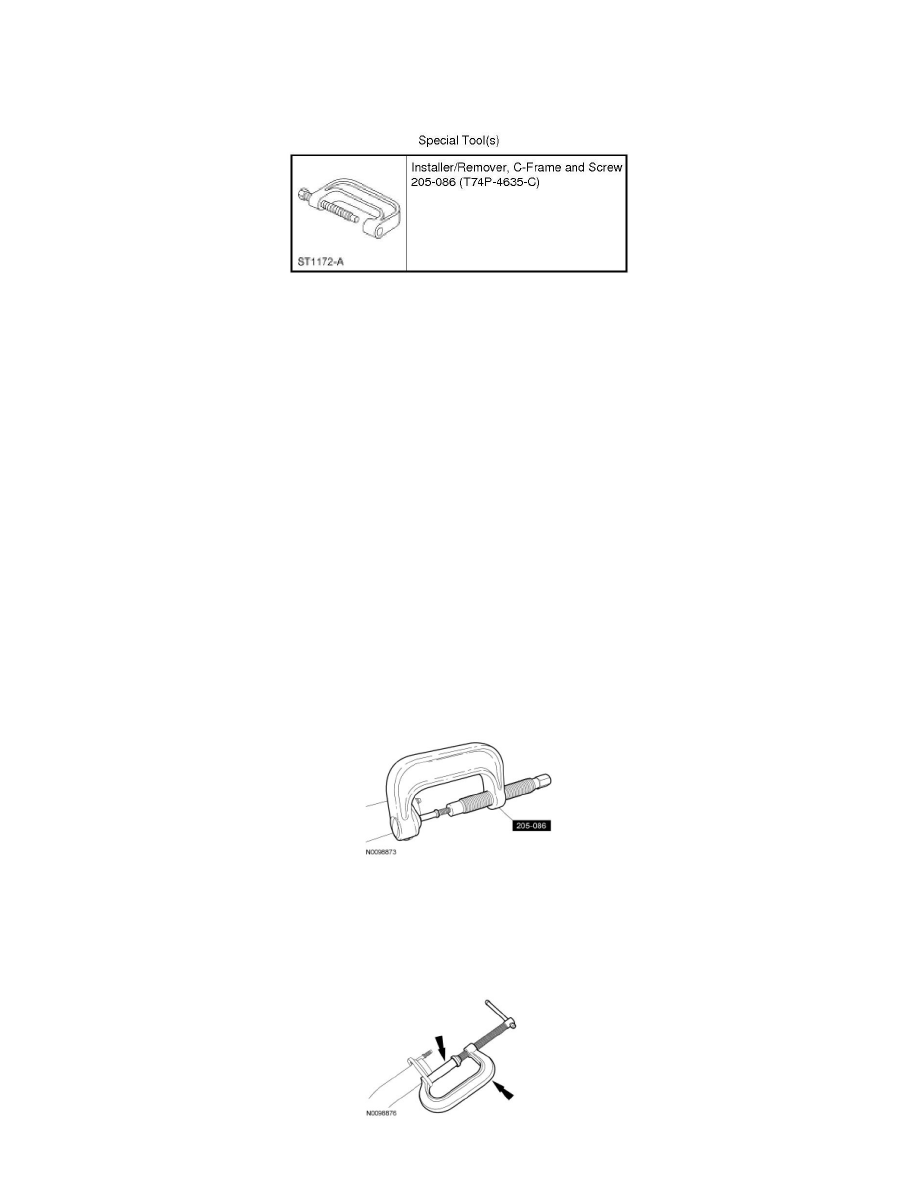
2. If replacing the Y-pipe flange stud(s), use the C-Frame and Screw Installer/Remover to push the 10-mm stud(s) out of the flange.
3. NOTE: When positioning the new 10-mm stud in the exhaust Y-pipe flange, make sure to line up the new stud seat knurls with witness knurl
grooves in the exhaust Y-pipe flange.
If replacing the exhaust Y-pipe flange stud(s), use a C-clamp and a deep well socket to push the 10-mm stud fully into the flange.
-
Make sure the stud is fully and evenly seated into the flange.