
Escape 4WD L4-2.5L (2010)
12. Remove the 2 pin-type retainers from the OCS bladder and seat cushion frame.
13. Feed the OCS hose and pressure sensor through the seat cushion frame opening and remove as an assembly with the bladder.
Seat with OCS system service kit
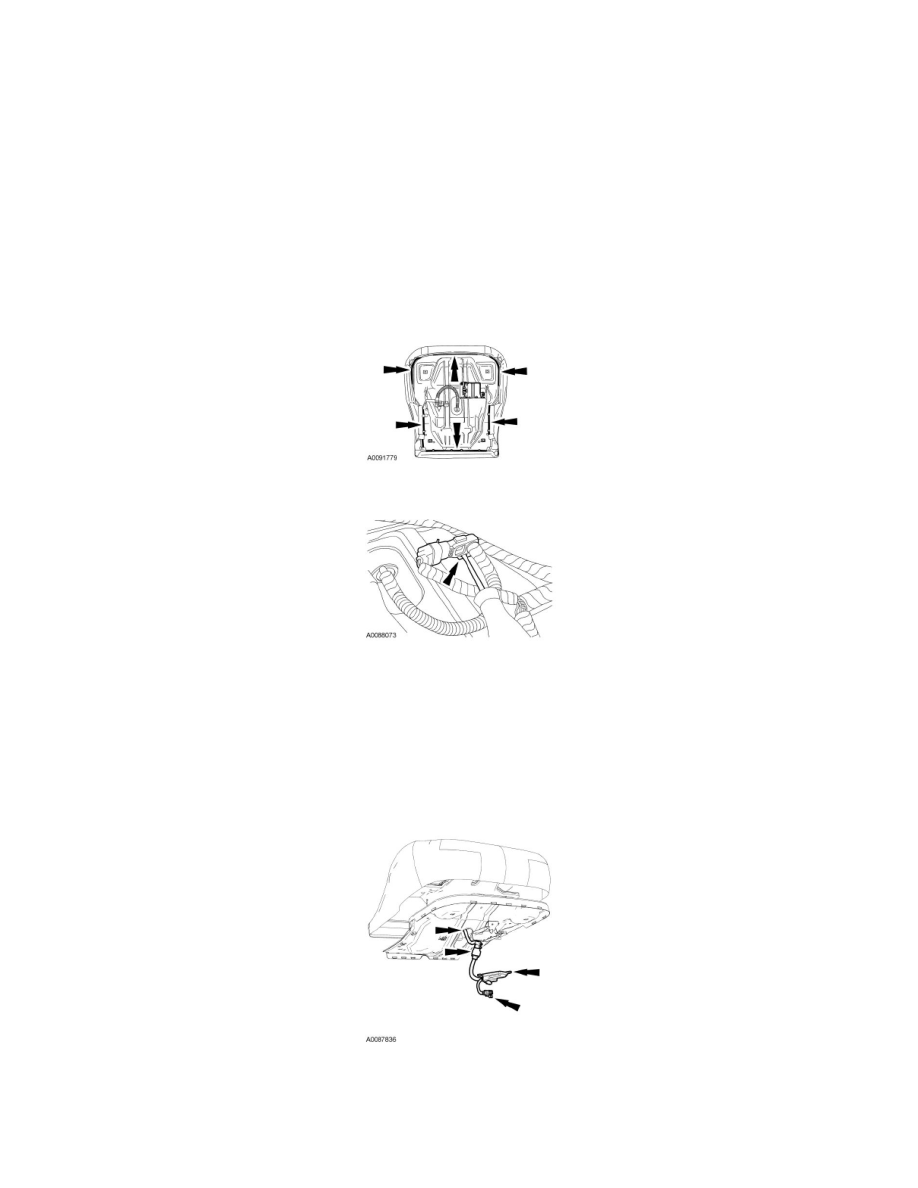
14. Disconnect the electrical connector and wiring clips in the following sequence.
1. Disconnect the seat wire harness OCSM electrical connector from the service part OCS electrical connector.
2. Release the 2 wiring clips on the wiring harness from the cushion frame.
15. NOTICE: Use care when separating the seat cushion trim cover from the hook-and-loop strips or the hook-and-loop strips may be torn
from the seat cushion foam pad.
Release all cushion cover retainers and remove the cushion cover.
16. Bend the retaining tab away from the pressure sensor, then slide the pressure sensor off the bracket.
17. NOTICE: Care must be taken to prevent damage to the seat cushion frame when removing the rivets.
Remove the 2 rivets and detach the OCSM from the seat cushion frame.
18. Remove the OCS.
-
Pull all the OCS components (hose, pressure sensor, wire harness, OCSM and connectors) through the seat cushion frame opening.
Assembly
All seats
1. Bend the retaining tab back on the pressure sensor component bracket.