
Escape 4WD L4-2.5L (2010)
11. Using a suitable depth gauge, measure the distance from the top of Shim Selection Gauge # 307-300 to the transaxle case step above the
intermediate (2, 6) clutch Record this as measurement B. See Figure 58.
12. Subtract measurement B from measurement A. The clearance should be between 0.240 mm (0009 in) and 260 mm (0.102 in). If the clearance is out
of range, check the intermediate (2,6) clutch pack for correct installation. If the intermediate (2, 6) clutch pack is correctly installed, call the SSSC
for authorization to replace the intermediate (2, 6) clutch pack.
13. NOTE: When the intermediate (2, 6) clutch is correctly installed, a friction plate is on top.
Remove the top intermediate (2, 6) clutch friction and steel plate and correctly install the plates back in the transaxle case.
14. Install the One-Way Clutch (OWC) assembly.
15. Install the rear planetary carrier/center ring gear assembly.
16. NOTE: The position of the low/reverse pressure plate is important. When installing the center support, the long support legs must fit through the
low/reverse pressure plate and rest on the OWC.
Position the low/reverse pressure plate so that the center support legs fit through the pressure plate and rest on the OWC and install the low/reverse
pressure plate. See Figure 59.
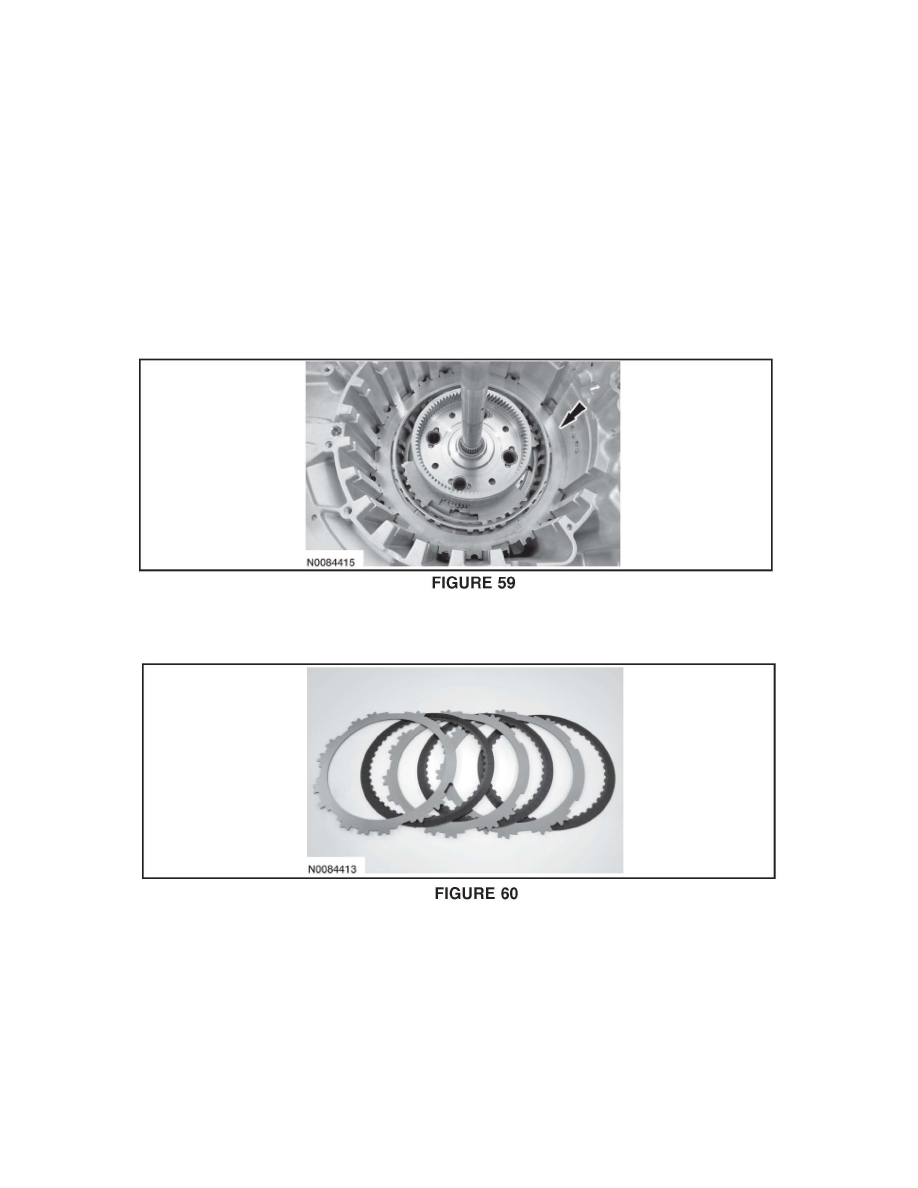
17. Soak the original low/reverse clutch pack in clean automatic transmission fluid. See Figure 60.
18. Align the low/reverse clutch pack with the pressure plate and install it in the transaxle case, temporarily reversing the wave spring and top steel
plate.