
Escape 4WD V6-181 3.0L DOHC VIN 1 Duratec (2003)
11.
Align drill perpendicular (90 degrees to surface of headliner) so that pin will be flush with headliner surface (Figure 7).
NOTE
USE SAFETY GLASSES OR GOGGLES TO PROTECT EYES FROM CHIPS WHEN DRILLING HOLES.
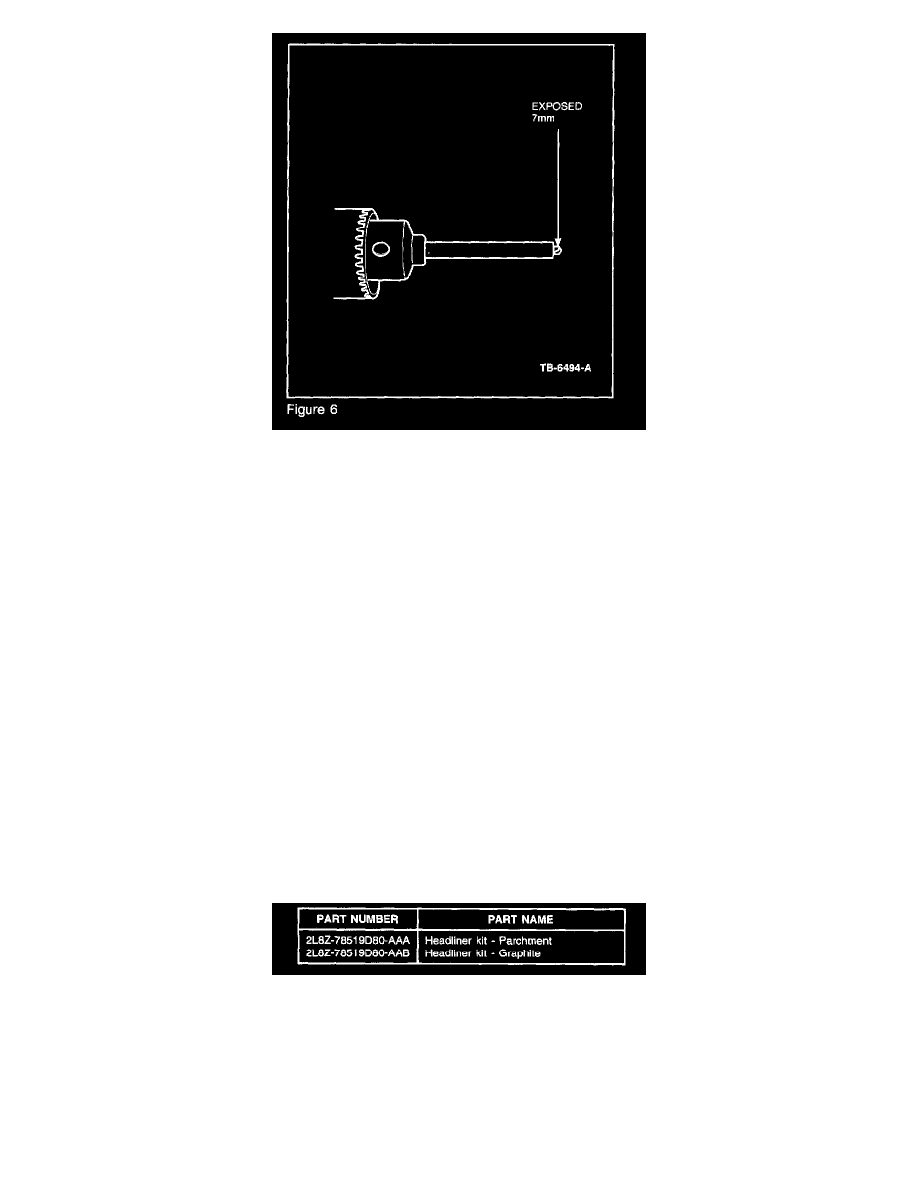
12.
Drill holes using the 7 mm (9/32 inch) drill bit with protective sleeve.
13.
Before inserting the push-pins, remove any debris/metal shavings that have accumulated on the headliner and/or rear cargo department as a result
of drilling the holes.
NOTE
DO NOT INSERT PUSH-PINS YET.
14.
Rotate electrical connector and harness to original position.
15.
Insert new pins into holes until headliner is 2 mm (.080 inch) above glass blackout line.
NOTE
BE CAREFUL NOT TO PULL HEADLINER UP TOO FAR. THIS WILL CAUSE GAPPING AT C AND D PILLAR TRIM. PUSH-PINS CAN
BE REMOVED AND RE-INSTALLED TO DESIRED LENGTH.
16.
Verify electrical function of center dome lamp, rear dome lamp and rear wiper.
17.
Install D-pillar trim and push-pins in original locations. Make sure clips and pins are properly positioned and seated.
18.
Inspect headliner and trim positioning.
Parts Block
OTHER APPLICABLE ARTICLES: NONE
SUPERSEDES: 01-23-7
WARRANTY STATUS: Eligible Under Provisions Of New Vehicle Limited Warranty Coverage
OPERATION
DESCRIPTION
TIME