
Escape 4WD V6-3.0L (2008)
-
To install, tighten to 115 Nm (85 lb-ft).
All vehicles
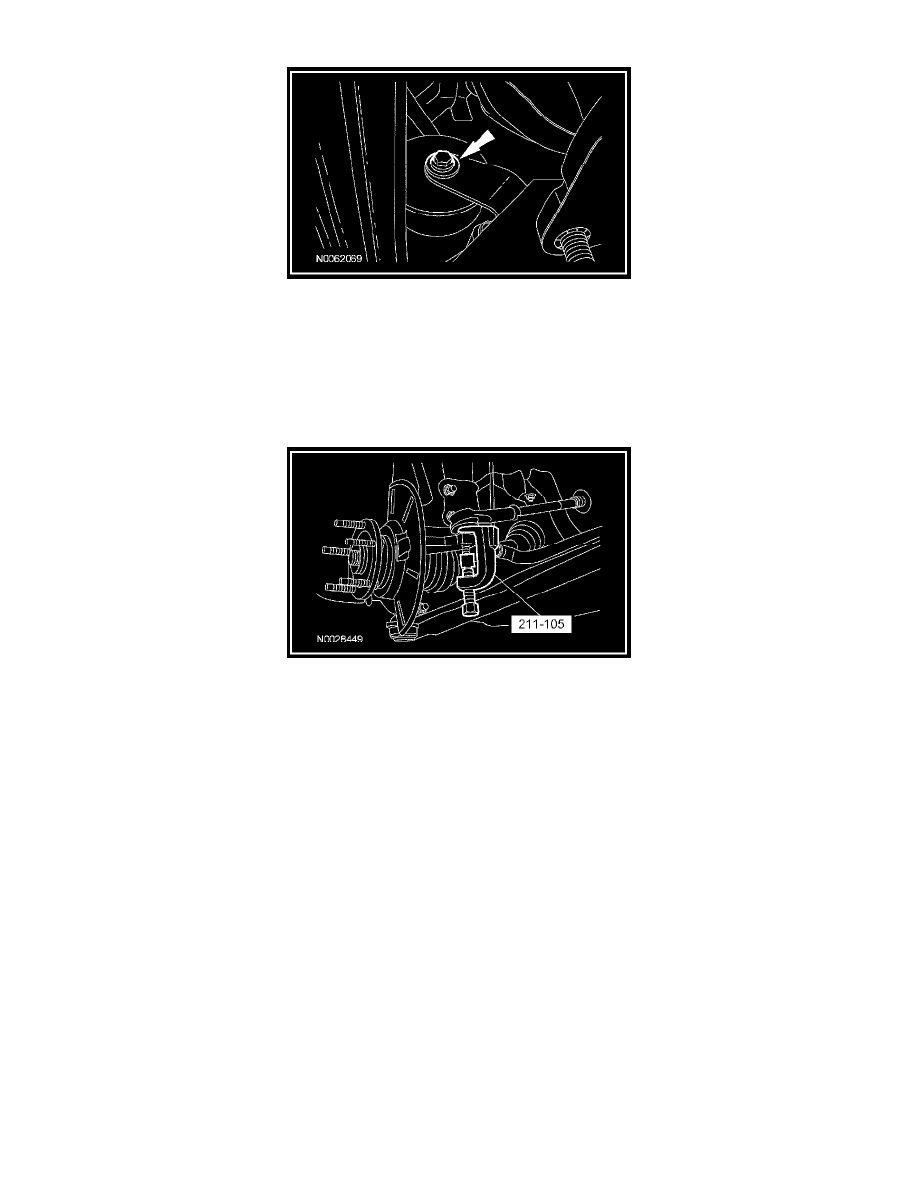
15. Remove the power steering coupler bolt. Discard the bolt.
-
To install, tighten to 63Nm (46 lb-ft).
16. Remove the 2 outer tie-rod end nuts. Discard the nuts.
-
To install, tighten to 55 Nm (41 lb-ft).
17. Using the Tie-Rod End Remover, separate the tie rod from the wheel knuckle.
18. NOTE: Use the hex-holding fixture to prevent the ball stud from turning while removing and installing the stabilizer link nut.
Remove the 2 lower stabilizer bar link nuts. Discard the nuts.
-
To install, tighten to 55 Nm (41 lb-ft).
19. Remove the 2 lower control arm ball joint pinch bolt nuts and pinch bolts. Discard the nuts and the bolts.
-
To install, tighten to 63 Nm (46 lb-ft).
20. Using a suitable lift, support the front subframe.
21. NOTE:
-
Do not allow the front subframe rear bolts to come out of the lower control arm bushing.
-
When installing the front subframe rear bolts, make sure both of the front subframe rear bolts are fully engaged in their cage nuts before
tightening to specification.
Loosen the 2 front subframe rear bolts.
-
To install, tighten to 175 Nm (129 lb-ft).
22. Remove the 2 front subframe nuts.
-
To install, tighten to 150 Nm (111 lb-ft).
23. NOTE: The lower control arm ball joints must be disconnected from the spindles at the same time the subframe is lowered.
With an assistant, remove the front subframe.
24. To install, reverse the removal procedure.
-
Transfer the components as necessary.