
Escape 4WD V6-3.0L VIN 1 (2005)
Oil Pan: Service and Repair
Oil Pan
Oil Pan
Material
Removal
CAUTION: During engine repair procedures, cleanliness is extremely important. Any foreign material, including any material created while cleaning
gasket surfaces that enters the oil passages, coolant passages or the oil pan, can cause engine failure.
1. With the vehicle in NEUTRAL, position it on a hoist.
2. Remove the exhaust flexible pipe.
3. Drain the engine oil and install the drain plug.
^
Tighten to 26 Nm (19 ft. lbs.).
4. Remove and discard the oil filter.
5. NOTE: For reference during installation, mark the location of the stud bolts.
Remove the 10 bolts, 5 stud bolts and the oil pan.
Installation
1. CAUTION: Do not use metal scrapers, wire brushes, power abrasive discs or other abrasive means to clean the sealing surfaces. These tools
cause scratches and gouges which make leak paths.
Use a plastic scraping tool to remove all traces of the oil pan gasket.
^
Clean all surfaces with metal surface cleaner.
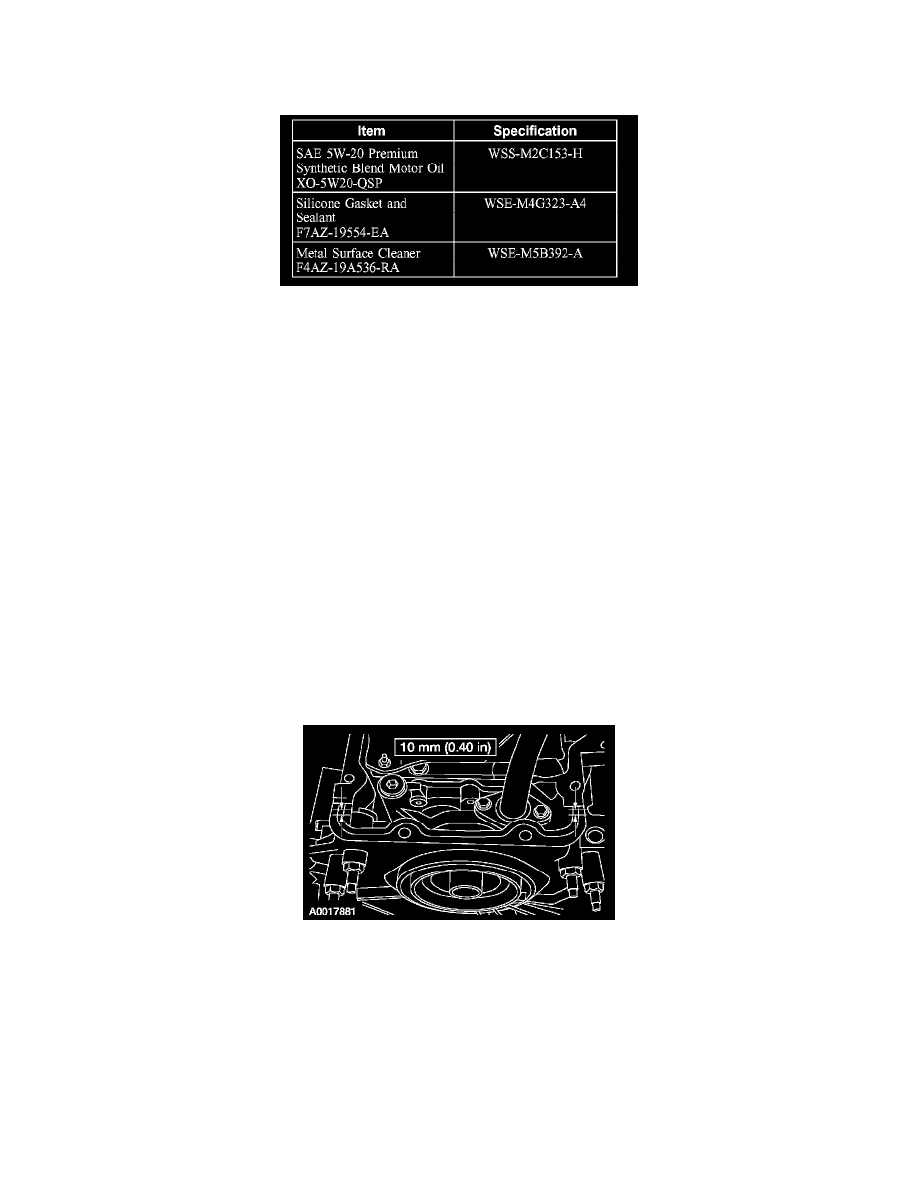
2. NOTE: The oil pan must be installed and the bolts tightened within four minutes of sealant application.
Apply a 10-mm (0.39 inch) diameter dot of silicone sealant to the areas indicated.
3. Position the oil pan and loosely install the bolts and stud bolts.
4. Install the oil pan-to-transaxle bolts.
^
Tighten to 40 Nm (30 ft. lbs.).