
Escort L4-116 1.9L SOHC HO (1989)
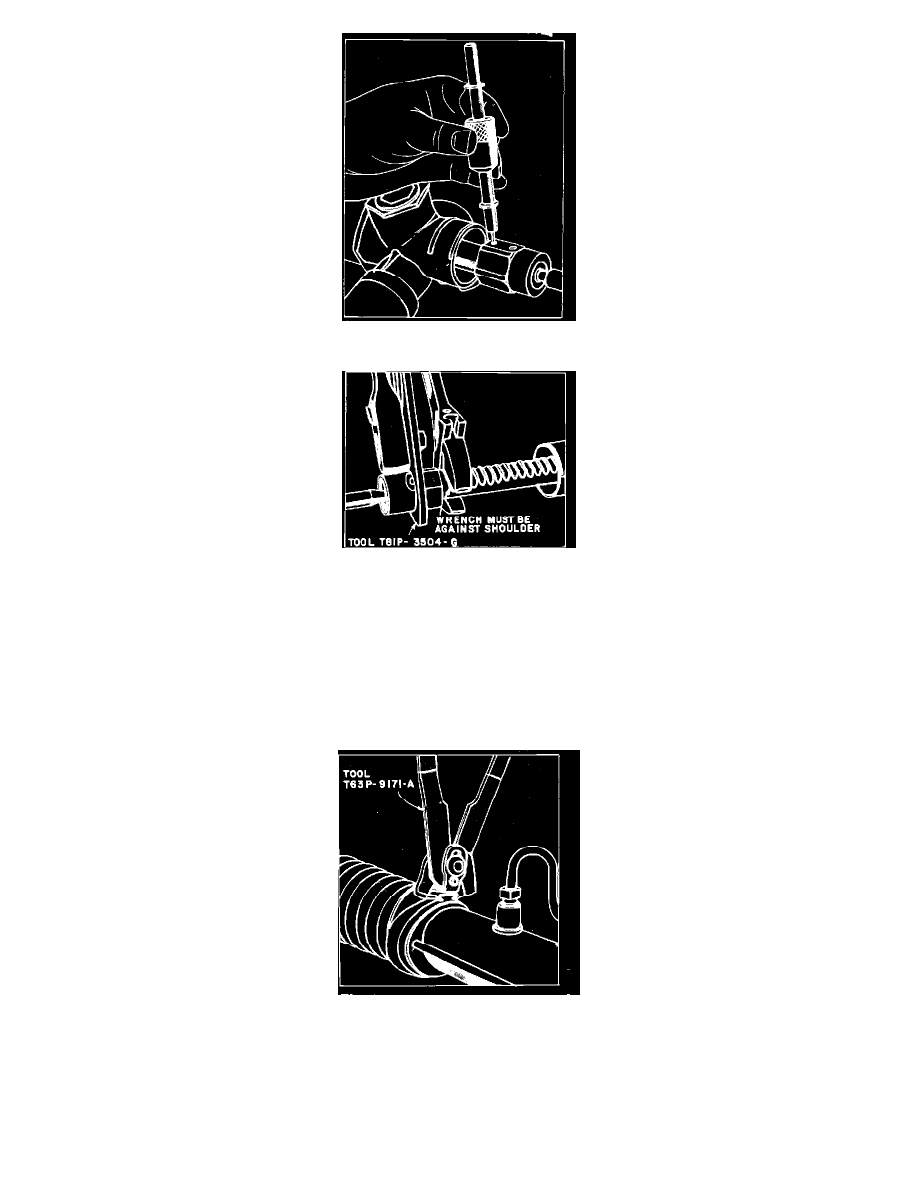
Fig. 7 Removing Tie Ball Retaining Pin Using Tool T78P-3504-N
Fig. 8 Tie Rod Ball Socket Removal & Installation
Disassembly
1.
Mount power steering in a vise, clamping only by the steel tube section between the rack pressure ports.
2.
Remove tie rod ends and jam nuts, Fig. 2. Mark position of tie rod ends on tie rod for reassembly.
3.
Remove bellow clamps, bellows and breather tube. Use care not to damage bellows.
4.
Using an easy-out, Fig. 6, or tool No. T78P-3504-N, Fig. 7, remove spiral pin which locks each tie rod socket to the rack.
5.
The following tools must be used to remove the socket, tool No. T81P-3504-G, or equivalent, a torque wrench and an adjustable wrench to hold
the rack from rotating, Fig. 8.
Fig. 9 Installing Power Rack & Pinion Bellows
Assembly
1.
Install and tighten tie rod ball sockets hand tight.
2.
Using an adjustable wrench to prevent rack from rotating, tighten lefthand ball socket to specifications using tool No. T81P-3504-G, or equivalent,
Fig. 8. If rack is not restrained from rotating, damage to rack or pinion teeth may result.
3.
Install spiral pin for lefthand socket using a pair of pliers and a small hammer.