
Escort L4-98 1.6L SOHC VIN 4 2-bbl HP (1984)
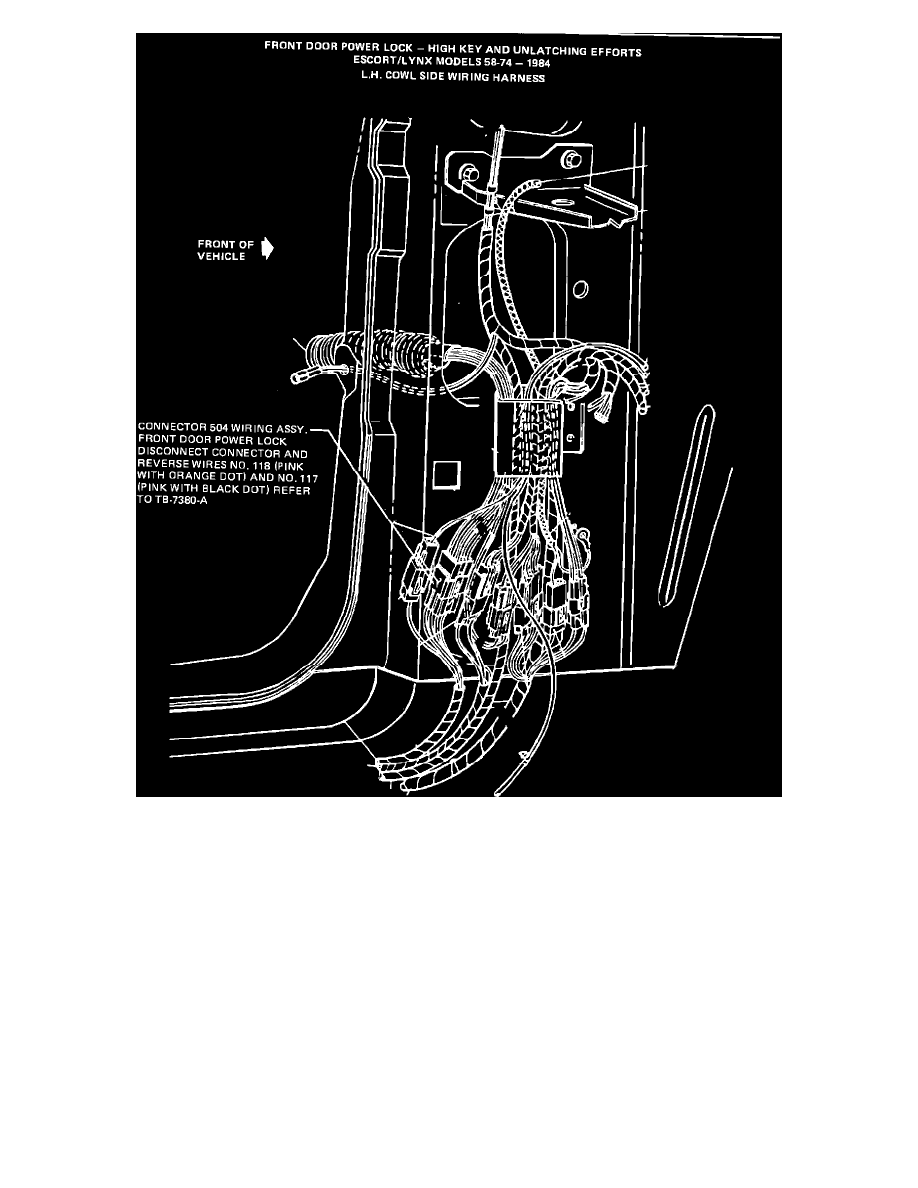
FIGURE 8
NOTE:
To reverse the wires it is necessary to depress the red tab on the side of each connector and pull out the red spacer within the center of the
connector. Press prongs within connector away from wire end and pull wire from the connector. Insert wires fully into connector for positive
retention and slide red spacer into connector until red tab locks into side slot of connector (Figures 7 and 8 show connector locations).
5.
Cycle each power lock system to assure correct lock/unlock modes.
6.
Reinstall cowl side trim panels.
7.
Reinstall door watershield and trim panel.
8.
Install a plastic push pin (388577-S) or rubber plug button (377934-S) into sheet metal hole which retained the bellcrank rivet.
^
Actuator Assy. Front Door Latch (1 required R.H.)
^
Actuator Assy. Front Door Latch (1 required L.H.)
^
Push Pin (use rubber plug button as alternate) (1 required)
^
Plug Button Rubber (alternate) (1 required)
PART NUMBER
PART NAME
CLASS
E4FZ-74218A42-B
Actuator Assy. Front Door Latch
R