
Excursion 2WD V10-6.8L VIN Z CNG (2003)
Windshield: Service and Repair
WINDSHIELD GLASS
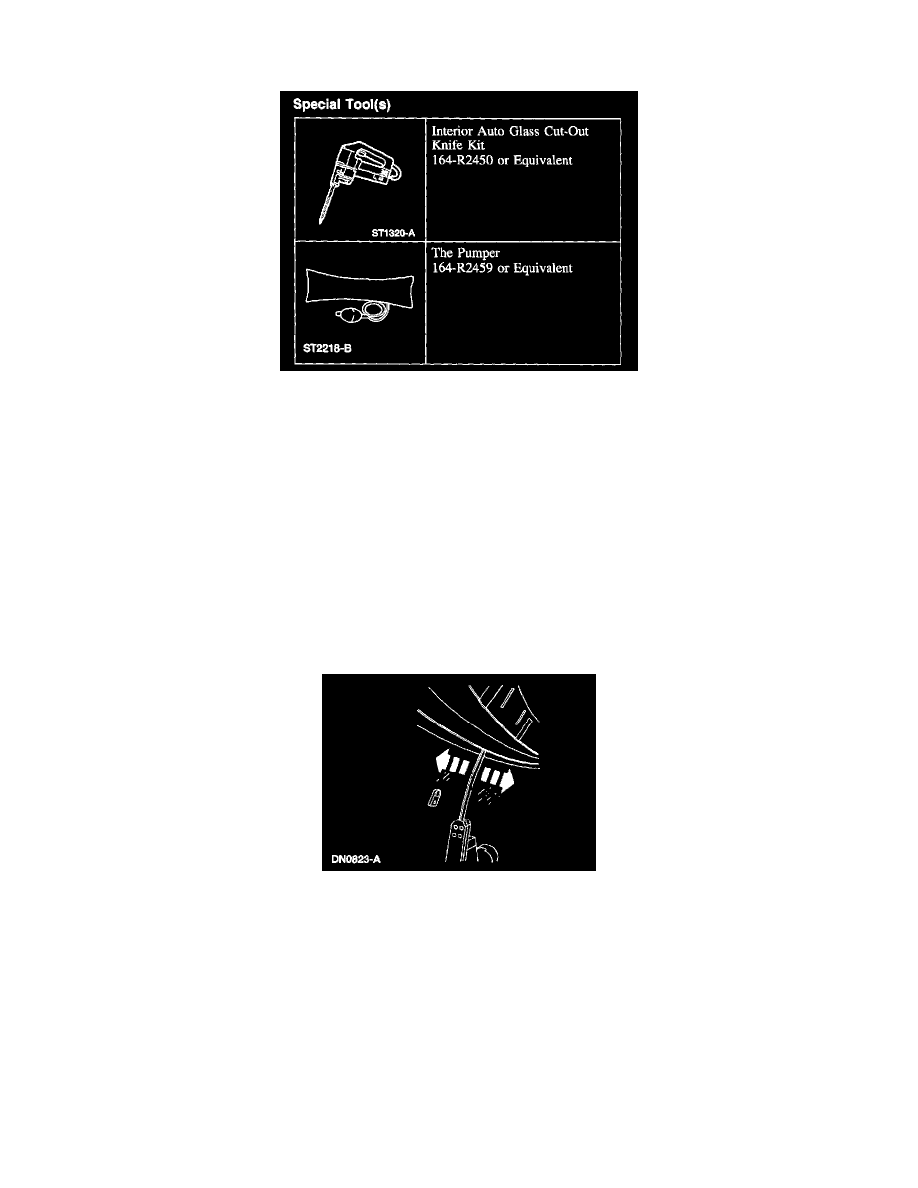
Special Tool(s)
REMOVAL
1. Remove the cowl vent grille.
2. Remove the interior rear view mirror.
3. Remove the windshield side garnish mouldings.
4. Remove the overhead console.
5. Remove the inside visor.
6. Lower the front portion of the roof trim panel.
7. Cover the seats, instrument panel and hood to prevent possible damage.
8. Before cutting the urethane adhesive, remove dirt and other foreign material from the windshield pinchweld area.
-
Use a clean rag or oil-free compressed air.
9. NOTE: Refer to manufacturer's instructions before using the tool.
Lubricate the urethane adhesive with water to aid the Interior Auto Glass Cut-Out Knife Kit when cutting the urethane adhesive.
10. WARNING: To prevent glass splinters from entering the eyes or cutting the hands, wear safety glasses and heavy gloves when cutting
the glass from the vehicle.
CAUTION: To avoid rust formation, use extreme care not to scratch the paint or primer or otherwise damage the pinchweld during glass
removal.
NOTE: Insert the blade into the Cut-Out Knife so that the flat side is against the glass. This will leave the entire urethane adhesive bead on the
pinchweld and allow a dry fit of the replacement windshield glass.
Support the windshield glass to prevent the glass from dropping while cutting the urethane adhesive.
Insert the Interior Auto Glass Cut-Out Knife at the upper center of the windshield glass and work toward the bottom corners.