
Excursion 2WD V8-54L SOHC VIN L (2000) Trailer Hitch Service and Repair
Trailer Hitch: Service and Repair
TRAILER HITCH-EXCURSION
Removal and Installation
WARNING: Do not permanently remove the trailer hitch. Always reinstall the hitch before delivery of the vehicle to the customer. The trailer
hitch is designed to enhance fuel system protection, helping reduce the potential for fuel leaks in the event of a rear end collision. Failure to
follow this warning could increase the risk of injury in a rear end collision.
NOTE: Do not reuse body support mounting fasteners. New fasteners must be installed for each fastener that has been removed or loosened.
1. Raise and support the vehicle.
2. Loosen the four fuel tank shield bolts. Do not remove the bolts.
3. CAUTION: New shear bolts with the same part number must be installed. Do not use fasteners of lesser quality or substitute design.
Torque values must be used as specified during installation to ensure correct retention of the trailer hitch.
NOTE: The fuel tank shield will have to be positioned to one side and then to the opposite side to gain access to the trailer hitch mounting
fasteners. With the help of an assistant, remove the trailer hitch.
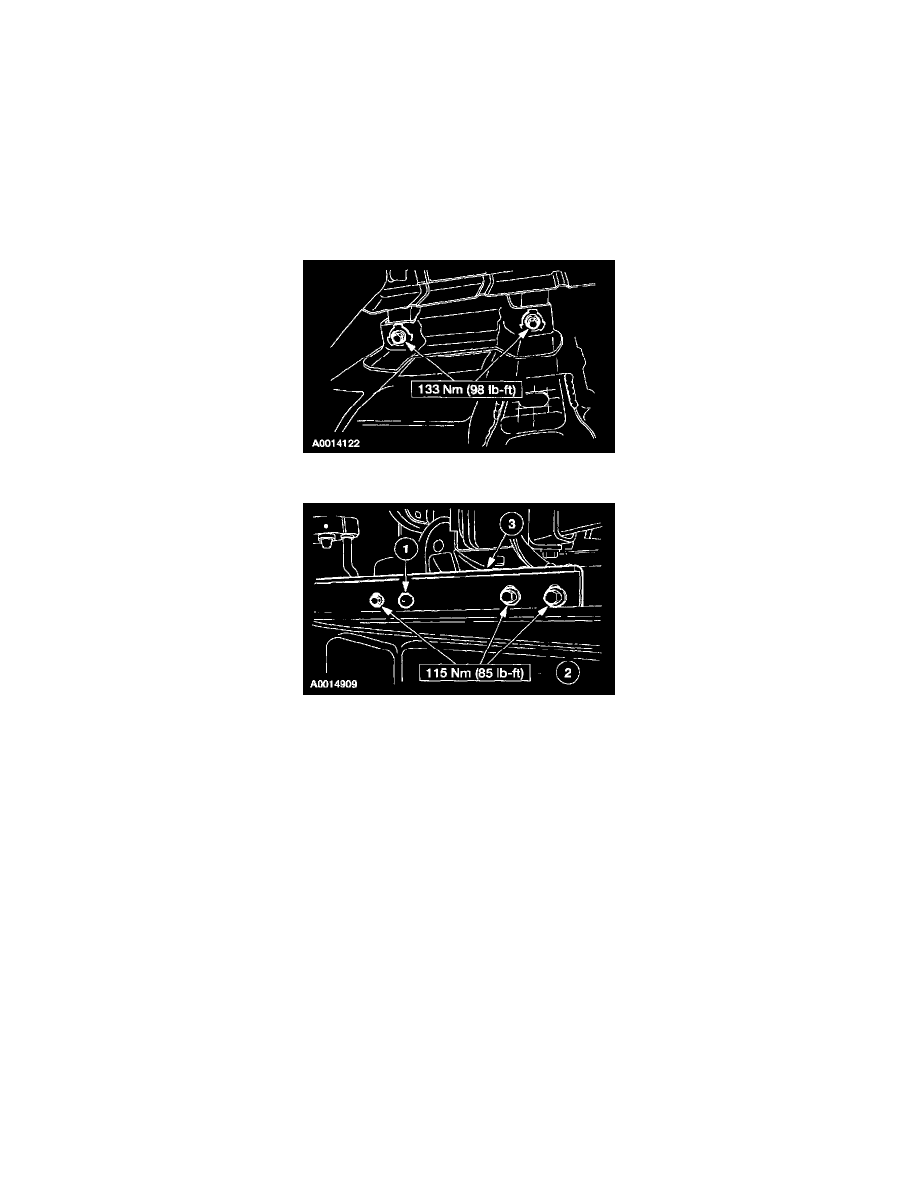
1. Note the location of the shear bolts prior to removal. Remove the two shear bolts in three stages.
-
Stage 1: Using a 1/8 in. drill bit, start a pilot hole.
-
Stage 2: Using a 1/2 in. drill bit, drill out the center of the shear bolt.
-
Stage 3: Using a suitable air chisel, remove the head from the shear bolt.
-
During installation, tighten the shear bolts until the bolt heads shear off.
2
Remove and discard the six bolts.
-
During installation, install new bolts.
3
Remove the trailer hitch.
4. Remove the four nut and retainer assemblies. Remove the remainder of the two shear bolts from the nut and retainer assemblies.
-
If the nut and retainer assembly is damaged during shear bolt removal, install a new nut and retainer.
5. To install, reverse the removal procedure.