
Excursion 2WD V8-5.4L SOHC VIN L (2000)
^
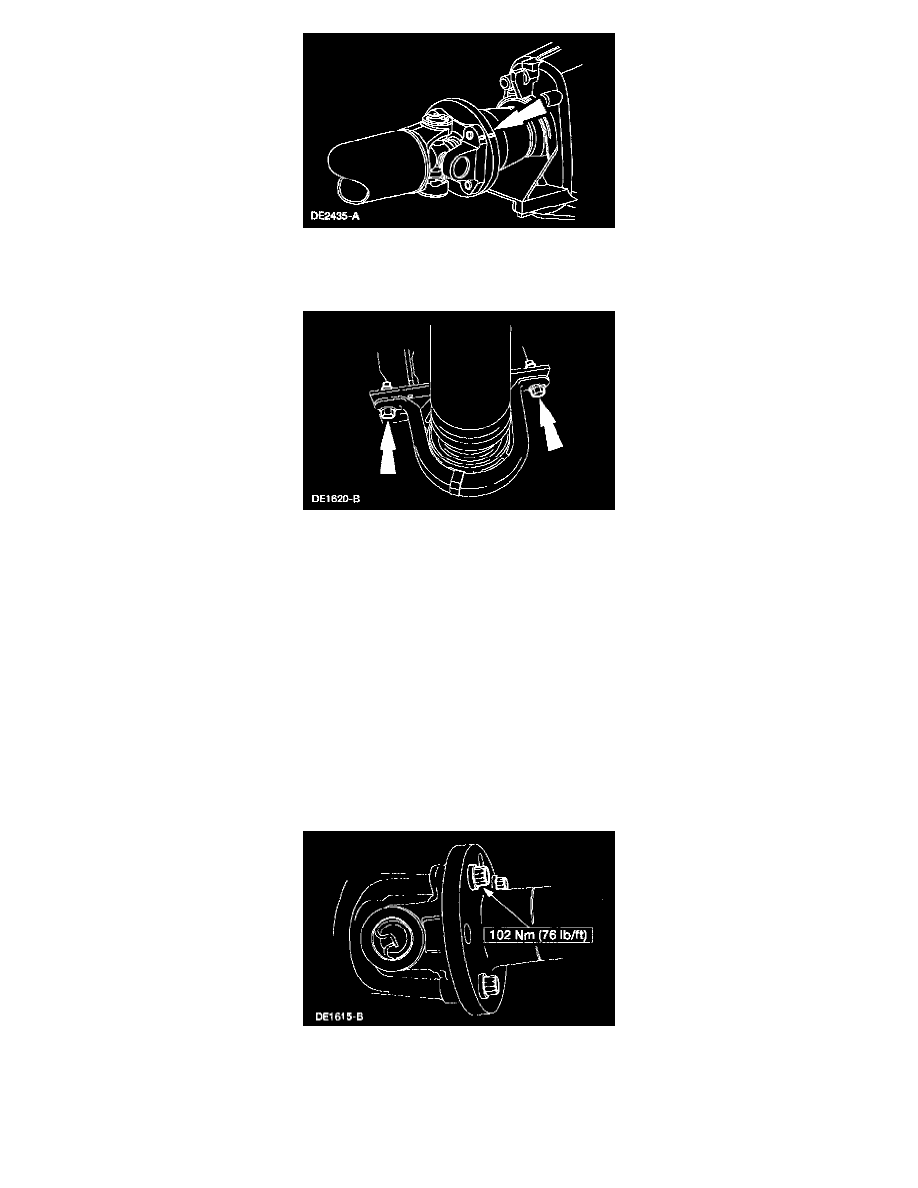
Mark and remove the driveshaft to transfer case or transmission bolts.
^
Using mechanics wire, support the driveshaft.
5. For vehicles equipped with an automatic transmission, index mark the output shaft to slip yoke.
6. Remove the center bearing support bolts.
7. Remove the driveshaft assembly.
^
For vehicles equipped with an automatic transmission, lower the driveshaft and slide the driveshaft rearward off of the transmission output
shaft.
^
Plug the extension housing to prevent fluid loss.
8. Clean grease deposits, dirt and rust from the following:
^
The driveshaft yoke areas.
^
All driveshaft components.
^
Wipe the bearing and rubber insulator of the driveshaft center bearing. Do not immerse in solvent.
9. Inspect the following:
^
The driveshaft slip yoke boot for rips or holes. Replace if necessary.
^
The driveshaft center bearing support for wear or rough action. If roughness or wear is evident, replace the driveshaft center bearing support.
^
The center bearing rubber insulator for evidence of hardening, cracking or deterioration. Replace if necessary.
Installation
1. WARNING: Replace with new bolts and retainers after the third removal.
Note:
^
Inspect the transmission, transfer case and axle seals for damage. Replace as necessary.
^
Lubricate the slip yoke spline with Premium Long-Life Grease XG-1-C or equivalent meeting Ford specification ESA-M1C75-13.
^
Install the driveshaft so that the index marks made before removal are aligned or the yellow mark on the driveshaft tube is in line with the
yellow mark on the rear axle flange.
^
Prior to the third removal, clean the bolt threads and apply Loctite(R) 242 or equivalent.