
Expedition 4WD V8-4.6L SOHC VIN 6 (1997)
^
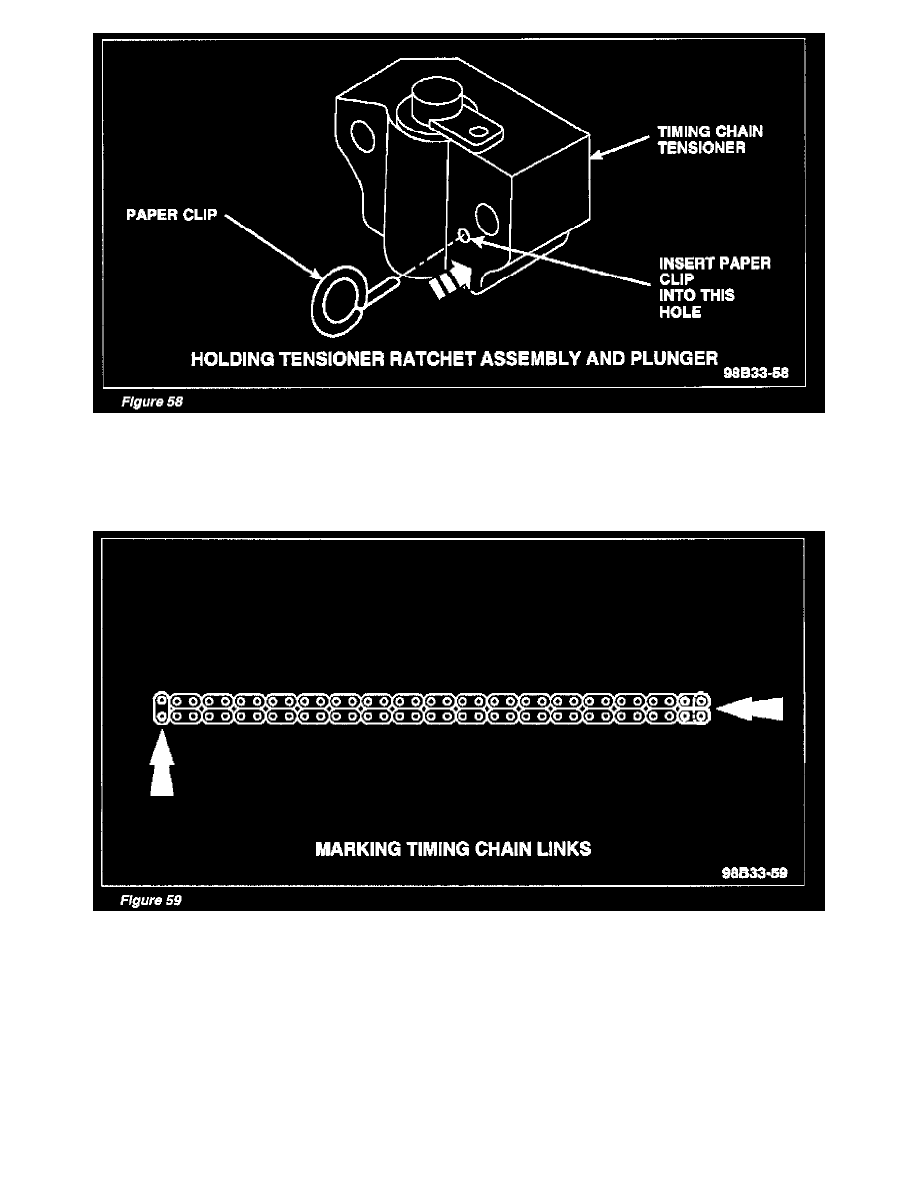
Install paper clip into hole in tensioner housing. This will hold ratchet assembly and plunger in during installation. See Figure 58.
^
Remove tensioner from vise.
^
Repeat procedure for second tensioner.
32.
If copper links are not visible, mark one (1) link on each end of the timing chain. One link will be an inside link. Use these marks as timing marks.
See Figure 59. Repeal this step for other timing chain, if necessary.
33.
Install right side timing chain guide. Tighten retainers to 8-12 Nm (71-106 lb-in).
34.
Install left side timing chain guide. Tighten retainers to 8-12 Nm (71-106 lb-in).
35.
Install timing chains and sprockets as follows:
^
Position left side crankshaft sprocket in left side timing chain. Make sure crankshaft sprocket hub is facing outward. Align mark on timing
chain with corresponding dot on crankshaft sprocket.
^
Slide left side sprocket and chain on crankshaft.