Expedition 4WD V8-4.6L SOHC VIN 6 (1997)

Evaporator Core: Testing and Inspection
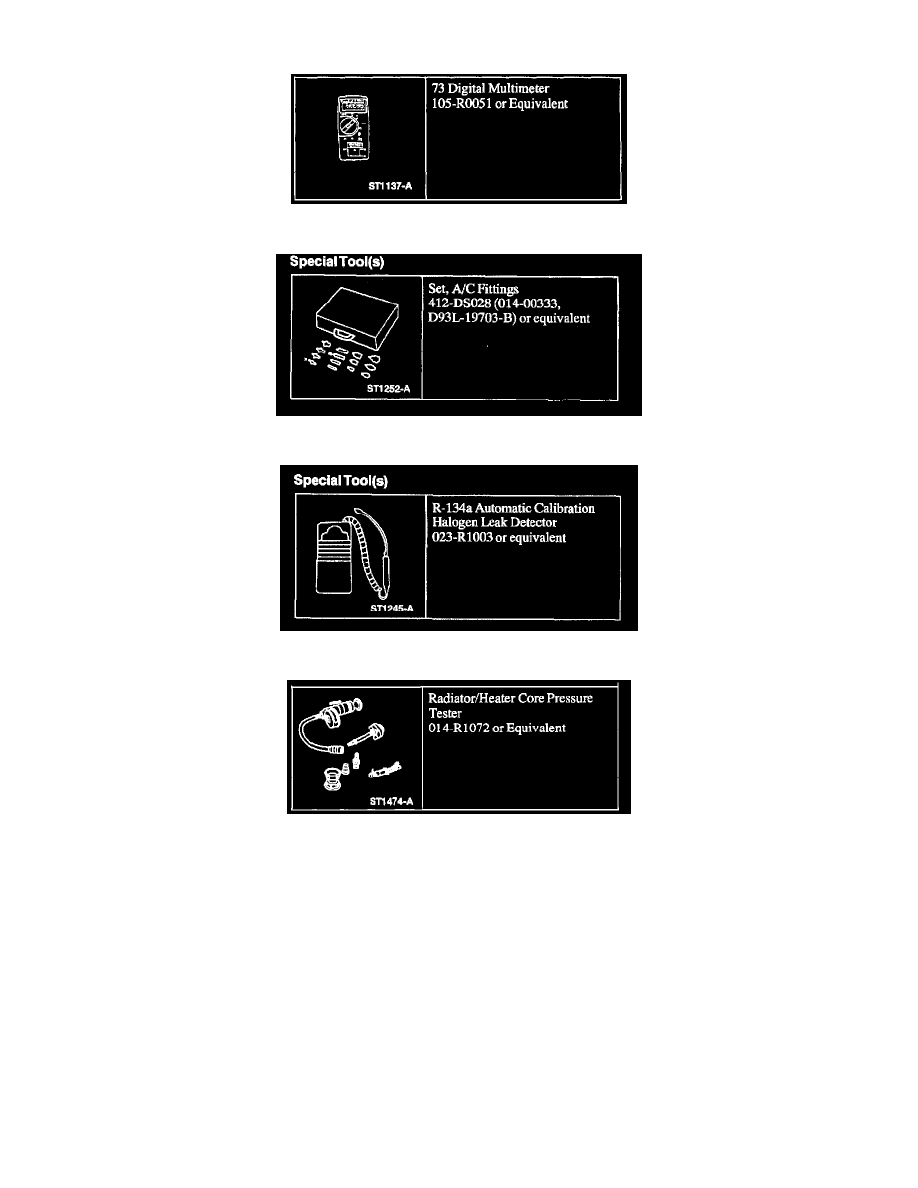
Digital Multimeter
Set, A/C Fittings
R-134a Automatic Calibration Halogen Leak Detector
Radiator/Heater Core Pressure Tester
Special Tools
ON-VEHICLE LEAK TEST
1. Recover the A/C system. See: Service and Repair/Refrigerant Recovery
2. Disconnect the liquid line and suction accumulator/drier from the evaporator core tubes. Do not leak test an A/C evaporator core with the suction
accumulator/drier attached to the A/C evaporator core. If the evaporator core tube fittings are the female spring lock design, check the inside of
each fitting if possible for scratches and/or corrosion. If scratches or corrosion are found, the leak test results may not be accurate if a leak is
indicated because of possible leaks at the fitting(s).
3. Connect the appropriate test fittings from the A/C Test Fitting Set to the evaporator tube connections. Then, connect the gauge set RED and BLUE
hoses to the test fittings. Connect the YELLOW gauge set hose to a vacuum pump.
NOTE: The automatic shut-off valves on some gauge set hoses do not open when connected to the test fittings. Use hoses without shut-off valves
if available. If hoses with shut-off valves are used, check to be sure the valve opens when attached to the test fittings before installing the fittings
and proceeding with the leak test. The test is not valid if the shut-off valve does not open because only the hose will be tested.
4. Open both gauge set valves and start the vacuum pump. Turn the heater blower motor on speed 1 and allow the vacuum pump to operate for a
