
Expedition 4WD V8-4.6L SOHC VIN W (1999)
1/2 inch
25 X 50 mm (1 X 2 inch)
5/8 inch
25 X 76 mm (1 X 3 inch)
3/4 inch
25 X 102 mm (1 X 4 inch)
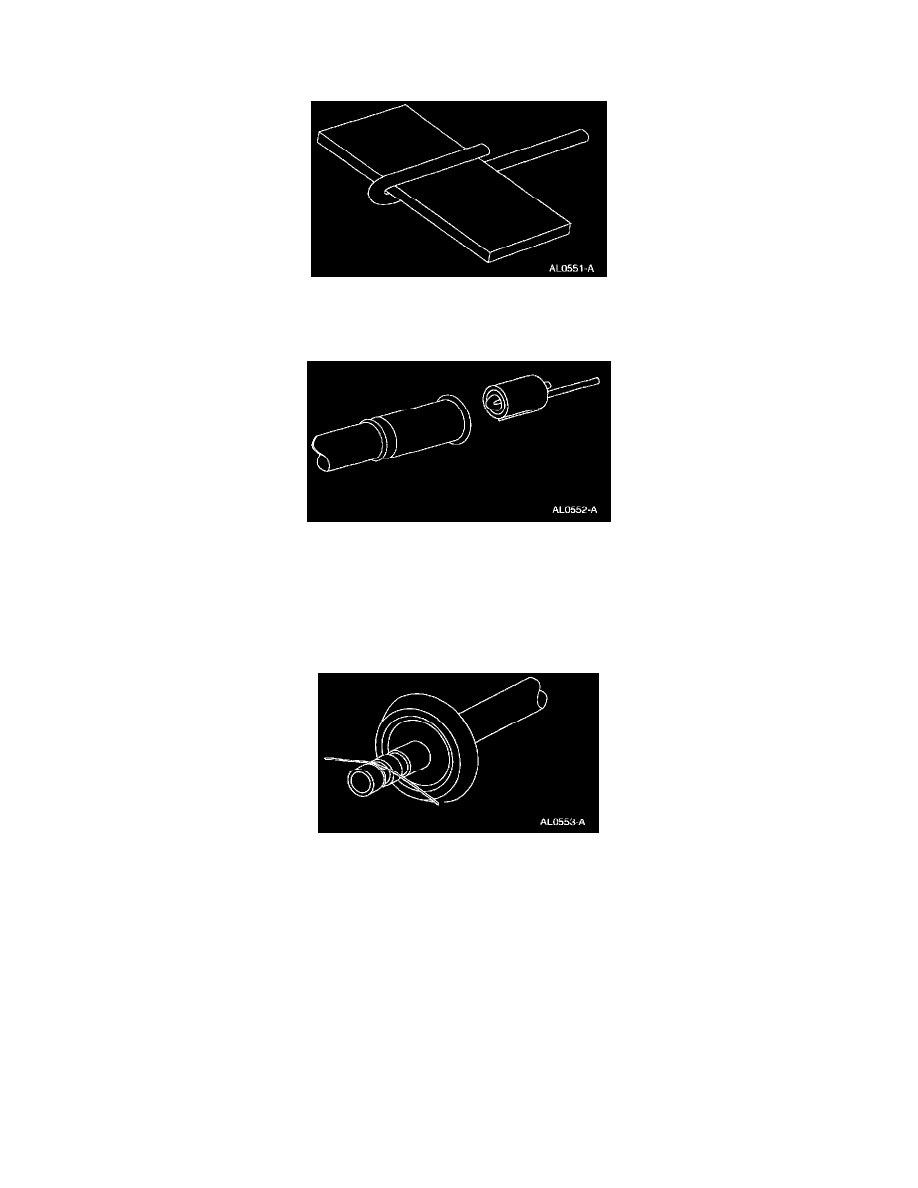
3. Assemble the pad to the tool.
4. Coat the abrasive pad with PAG Compressor Oil F7AZ-19589-DA or equivalent meeting Ford specification WSH-M1C231-B.
5. Roll the pad on the tool and install it in a variable speed motor drill.
6. Polish for one minute at moderate speed (less than 1500 rpm) or until the surface is clean and free of scratches or foreign material.
CAUTION: Maintain low speed drill rotation when inserting or removing the cleaning tool to prevent axial scratches which may cause future
leaks.
7. Clean the fitting with a lint-free cloth.
8. Inspect the surface for grooves or scratches. If grooves and scratches are still present, install a new component.
9. Clean the O-ring seal grooves with a 300 mm (12 inch) length of natural fiber string.
1
Loop the string around the grooves and pull the string back and forth.
10. Remove any foreign material from the grooves with a lint-free cloth.
CONNECT