
Explorer 2WD V6-245 4.0L (1994)
Explorer Liftgate Enhancement Bracket Installation
Installation
1.
Open liftgate and position a protective cover over cargo area.
2.
Support liftgate with a tall jack stand covered with a cloth to protect the trim panel.
3.
Using a small screwdriver, pry the locking springs out of the ball sockets of the hydraulic lift cylinders at the liftgate only. Keep hydraulic lift
cylinders connected to the body.
CAUTION:
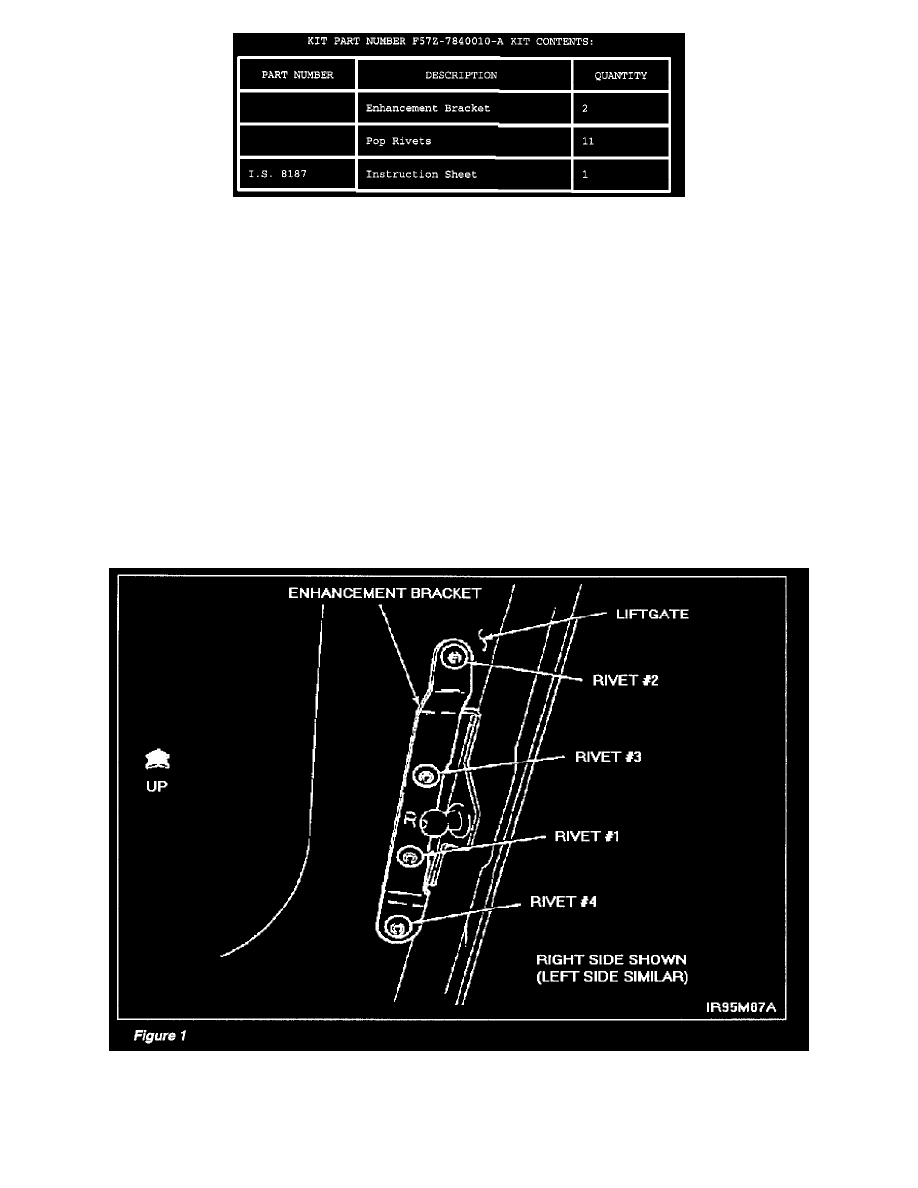
BE SURE TO USE THE CORRECT ENHANCEMENT BRACKET ON EACH SIDE OF THE VEHICLE.
BRACKETS ARE MARKED "R" OR "L".
CAUTION:
MARK AND DRILL HOLES ONLY IN ORDER GIVEN TO ENSURE ACCURATE POSITIONING OF BRACKET.
NOTE:
If the fusion weld extends above the surface of the bracket, grind the fusion weld flush with the surface of the bracket.
4.
Position enhancement bracket over existing lift bracket following body contours and mark location of hole indicated for rivet # 1 in Figure 1. DO
NOT drill into the existing welds. Center punch the location.
NOTE: