
Explorer 2WD V6-245 4.0L SOHC VIN E EFI (1997)
1.
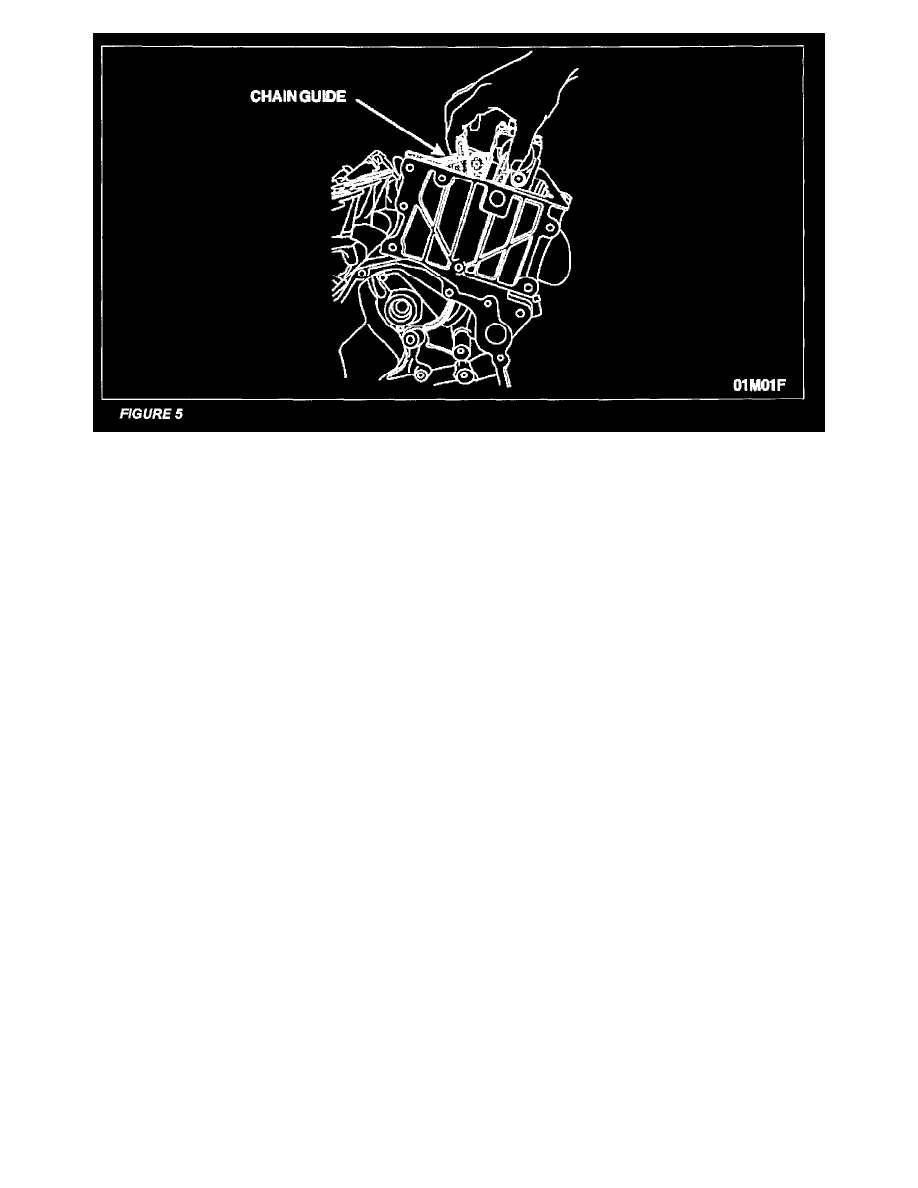
Install the new chain guide through the cylinder head. See Figure 5.
2.
Install the new chain.
3.
Install the new chain guide bolts. Tighten the upper bolt to 12 Nm (9 lb-ft) and the lower bolt to 19 Nm (14 lb-ft).
NOTE:
The camshaft sprockets must be oriented correctly.
4.
Install the new lower chain sprocket on the jackshaft and the new upper chain sprocket on the camshaft.
5.
Install, but DO NOT tighten, the camshaft sprocket bolt.
6.
Install the primary chain, crankshaft sprocket, jackshaft sprocket and the new jackshaft sprocket bolt.
7.
Install the primary drive chain tensioner. Tighten bolts to 9 Nm (80 lb-in).
8.
Hold the crankshaft from turning with special tool 303-674 and tighten the new jackshaft sprocket bolt in two stages.
^
Stage 1: Tighten the bolt to 45 Nm (33 lb-ft).
^
Stage 2: Tighten the bolt an additional 90 degrees.
NOTE:
When performing engine front cover installation, omit step 15 - installing accessory bracket. This will be performed later in the procedure.
9.
Install the engine front cover with the new crank seal, crankshaft pulley and damper. Refer to Engine Front Cover in Section 303-01B in the 2001
Workshop Manual.
The following camshaft timing procedure must be read thoroughly and performed exactly as written.
The procedure includes information that has been updated from Workshop Manual. Do NOT follow Workshop Manual procedures for can timing
on this engine.
NOTE:
The special tool must be installed on the damper and should contact the engine block. This positions the engine at TDC.