
Explorer 2WD V6-4.0L (2009)
Seat Track: Service and Repair
Seat Track
Seat Track
Removal and Installation
All seats
1. Remove the front seat. For additional information, refer to Seat - Front See: Service and Repair/Front Seats/Seat - Front.
Passenger seat with failed horizontal motor
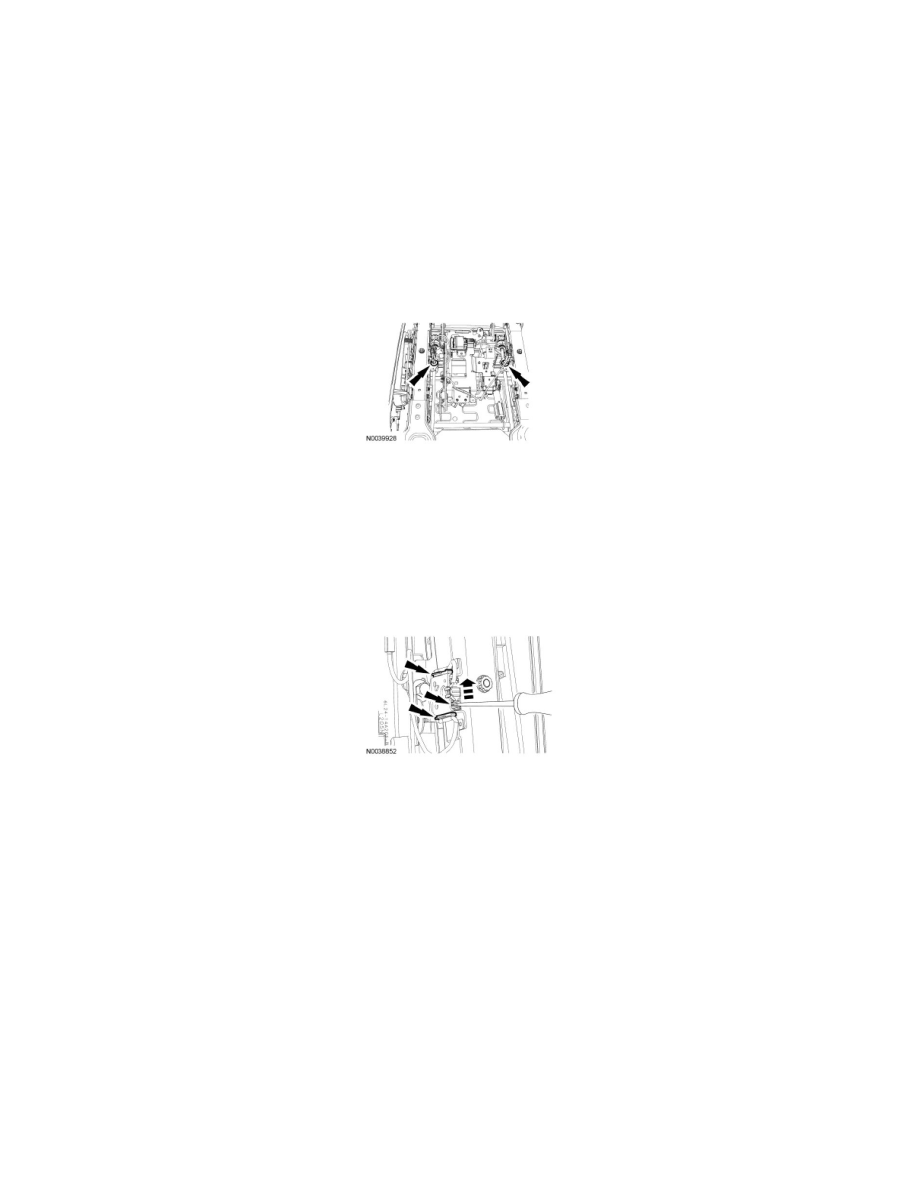
2. To remove the Occupant Classification Sensor (OCS) rails, remove the 2 horizontal screw block bolts. This will allow the power seat tracks to
move independently of each other for access to the 8 OCS rail bolts.
Passenger seat receiving a new seat track
3. Remove the inboard and outboard OCS rails. For additional information, refer to Occupant Classification Sensor (OCS) in the removal and
installation portion of Air Bag Systems.
Passenger seat not receiving a new seat track
4. NOTE: Note the position and the routing of the OCS wiring, connector and wiring retainers for installation. Detach the 2 OCS wiring retainers at
each OCS rail. Then using a suitable tool, release the tab and disconnect the RH and LH OCS rail electrical connectors.
All seats
5. Remove the cushion side shield in the following sequence.
1. Remove the clip and manual recline handle (if equipped).
2. Pull and remove the manual lumbar control knob (if equipped).
3. Remove the scrivet.
4. Remove the retention bracket screw and the retention bracket (if equipped).
5. Release the cushion side shield front clip.
6. From under the cushion side shield, release the 3 hook retainers.
7. Pull out on the cushion side shield at the back and release the pin-type retainer.
8. Separate the cushion trim cover elastic strap from the cushion side shield.
-
With manual seat track, remove the cushion side shield.
9. With power seat track, remove the seat control switch knob and separate the seat control switch from the cushion side shield.