Explorer 2WD V6-4.0L (2009)

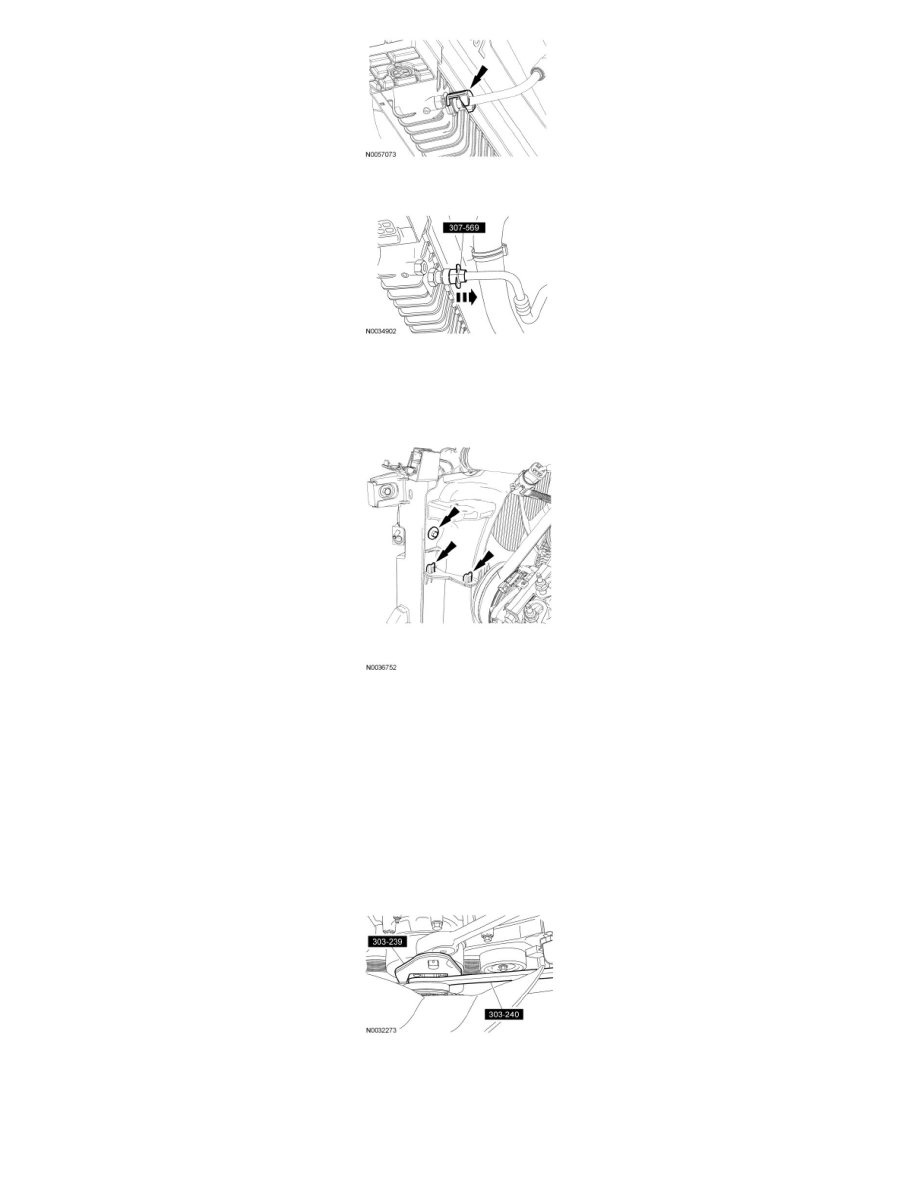
12. Using the Transmission Cooler Line Disconnect Tool, disconnect the 2 transmission cooler tubes.
13. Remove the 2 upper fan shroud bolts, then unclip the upper fan shroud from the lower fan shroud and remove the upper fan shroud.
-
To install, tighten to 7 Nm (62 lb-in).
14. Disconnect the fan clutch electrical connector.
15. Remove the fan clutch wiring harness bracket bolt.
-
To install, tighten to 7 Nm (62 lb-in).
16. NOTICE: Do not side load the cooling fan clutch coil or the cooling fan clutch coil may be damaged.
NOTE: 4.6L (3V) engine shown, 4.0L SOHC engine similar.
Using the Fan Pulley Holding Wrench and the Fan Clutch Nut Wrench, remove the cooling fan.
-
To install, tighten to 55 Nm (41 lb-ft).
17. Remove the 2 bolts and the lower fan shroud.
18. Detach the A/C tube from the retainer on the radiator support bracket.
19. NOTE: LH shown RH similar.
