
Explorer 2WD V6-4.0L (2009)
Removal
1. Remove the flexplate. For additional information, refer to Flexplate See: Transmission and Drivetrain/Flex Plate/Service and Repair/Removal and
Replacement.
2. Remove the spacer plate.
3. Remove the flexplate-to-crankshaft spacer.
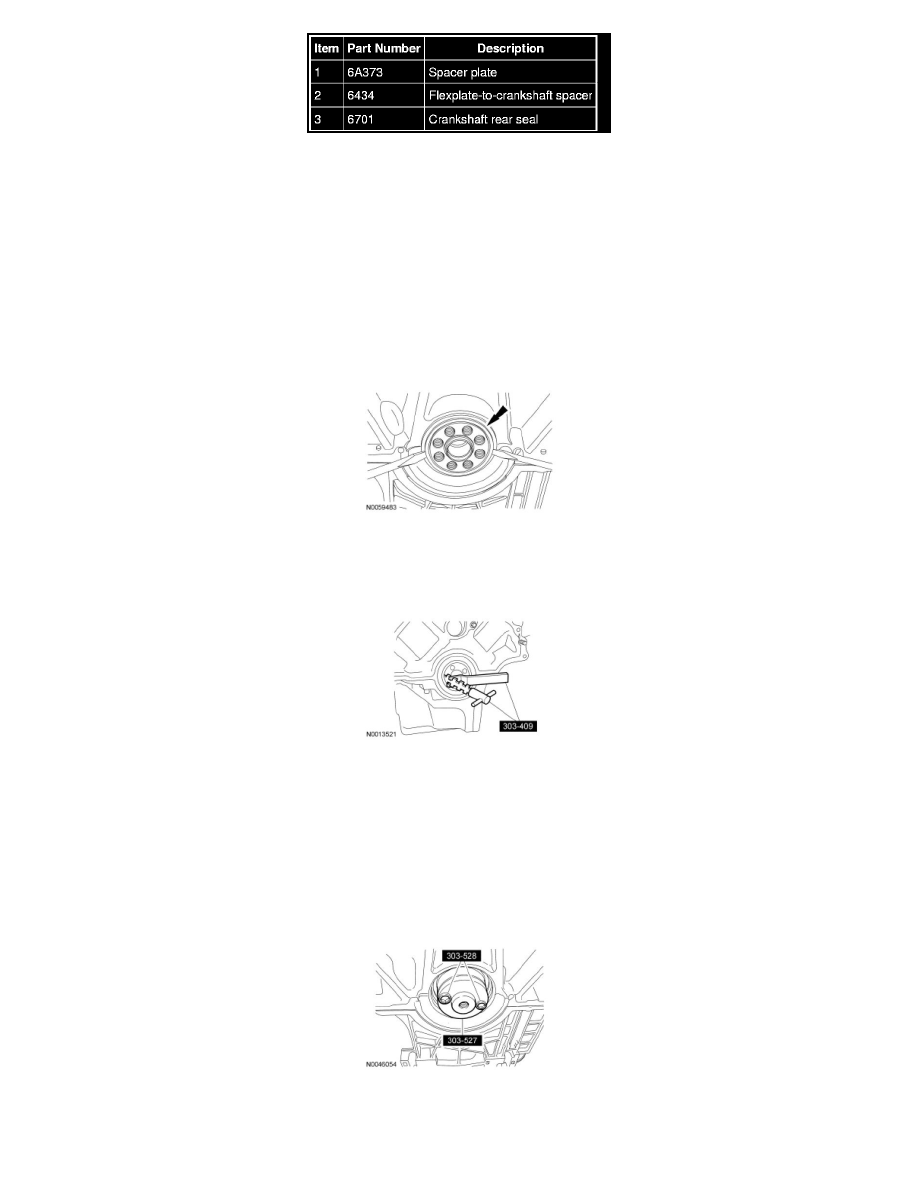
4. NOTE: The original crankshaft rear seal does not have a metal speedy sleeve. Replacement rear crankshaft seals come with a speedy sleeve. If
present, this sleeve must be removed before attempting to remove the seal.
If necessary, remove the speedy sleeve using 2 screwdrivers or small pry bars.
5. NOTICE: Avoid scratching or damaging the crankshaft rear seal running surface during removal of the crankshaft rear seal. Scratches
or other damage to the crankshaft may cause oil leaks.
Using the Oil Seal Remover, remove the crankshaft rear seal.
Installation
1. NOTE: The new replacement crankshaft rear seal comes with a speedy sleeve. The speedy sleeve must be installed with the crankshaft rear seal.
NOTE: Be sure the crankshaft rear sealing surface is clean and free of any rust or corrosion. To clean the crankshaft rear seal surface area, use
extra-fine emery cloth or extra-fine 0000 steel wool with metal surface prep.
Lubricate the crankshaft rear oil seal with clean engine oil.
2. Install the Adapter for 303-579 and the Crankshaft Rear Oil Seal Screws.
3. Position the crankshaft rear seal with speedy sleeve on the Adapter for 303-579 and the Crankshaft Rear Oil Seal Screws.