
Explorer 2WD V6-4.0L VIN K (2007)
1. Remove the front seat and depower the supplemental restraint system (SRS).
2. Remove the front seat backrest.
3. Remove the head restraint.
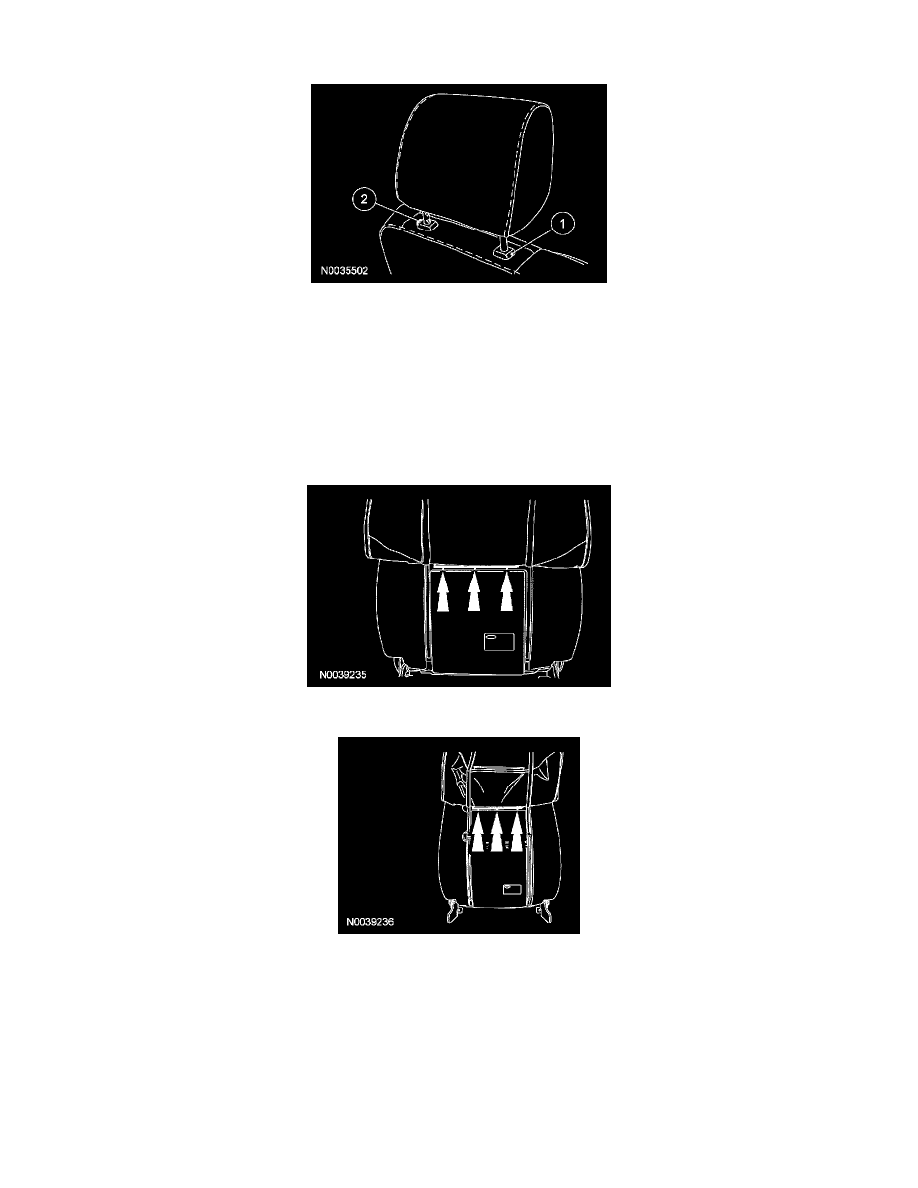
1. Using an appropriate tool, push in the hole while lifting up and release the head restraint from the head restraint guide.
2. Push in on the head restraint guide release tab and remove the head restraint.
4. Remove the plastic rivets attaching the backrest trim cover to the inboard and outboard recliners.
5. CAUTION: Use care when separating the seat back trim cover from the hook-and-loop strip, or the hook-and-loop strip can be torn
from the backrest foam pad.
Release the backrest trim cover lower J-clip, hook-and-loop strips and invert the trim cover to the first row of hog rings.
6. Remove the first row of hog rings.
7. Release the hook-and-loop strips, invert the trim cover and remove the second row of hog rings.
8. NOTE: The head restraint guides are not interchangeable. Note location for installation.
Reach up into the backrest and squeeze the head restraint guide ends together to release. Pull the 2 head restraint guides out of the backrest frame.
9. Remove the backrest trim cover.
10. To install, reverse the removal procedure.
11. Install the front seat backrest.
12. Install the front seat and repower the SRS. If a passenger seat has been serviced, do not prove out the SRS at this time.