
Explorer 2WD V6-4.0L VIN K (2007)
Explorer/Mountaineer (Part 2)
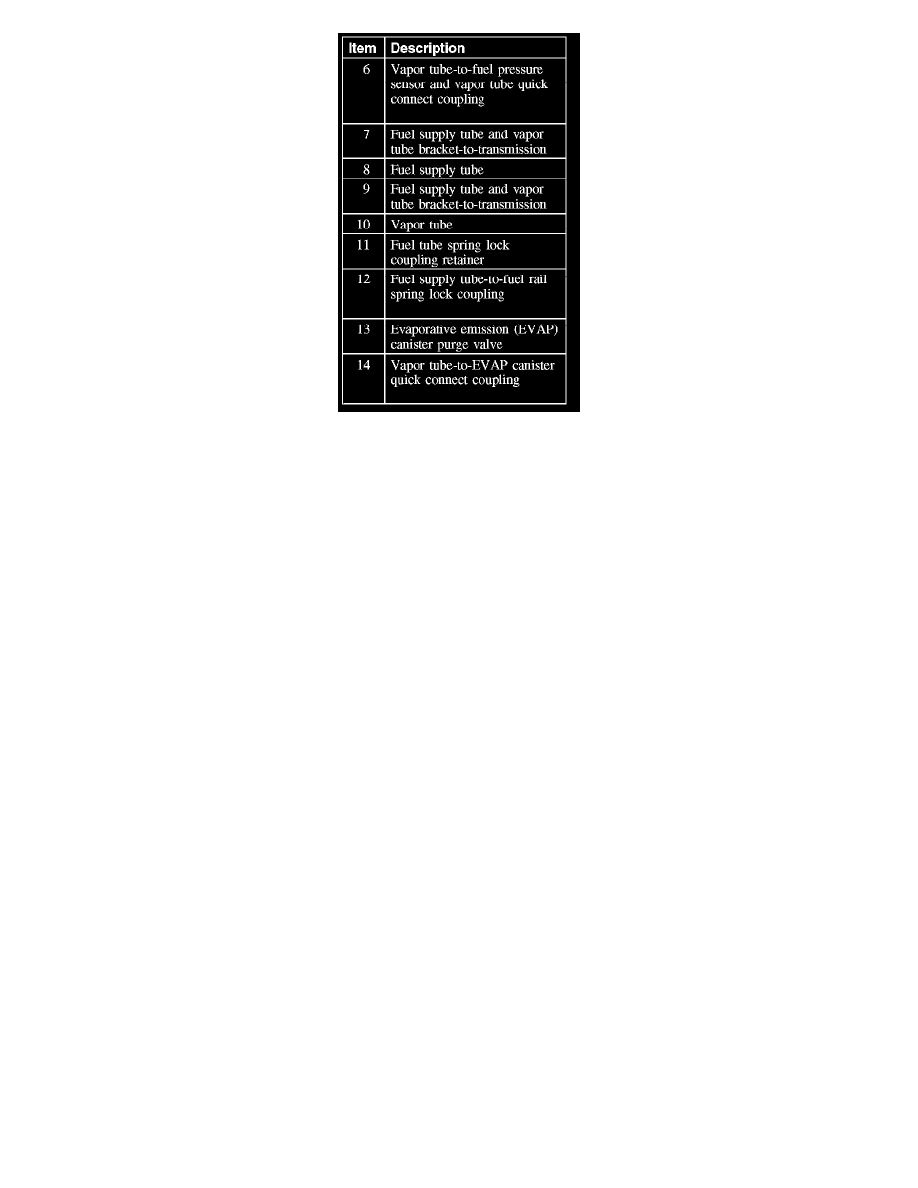
Exploded View
Removal and Installation
WARNING:
-
Do not smoke or carry lighted tobacco or open flame of any type when working on or near any fuel-related component. Highly flammable
mixtures are always present and can be ignited. Failure to follow these instructions may result in personal injury.
-
Fuel in the fuel system remains under high pressure even when the engine is not running. Before servicing or disconnecting any of the fuel
lines or fuel system components, the fuel system pressure must be relieved to prevent accidental spraying of fuel, which can cause a fire
hazard. Failure to follow these instructions may result in personal injury.
CAUTION: Fuel injection equipment is manufactured to very precise tolerances and fine clearances. It is therefore essential that absolute
cleanliness is observed when working with these components. Always install blanking plugs to any open orifices or tubes.
NOTE: During the repair or replacement of fuel-related components, all liquid and vapor fuel openings shall be capped, taped or otherwise
appropriately protected to prevent the ingress of dirt or other contamination. All caps, tape and other protective materials shall be removed prior to
installation.
1. With the vehicle in NEUTRAL, position it on hoist.
2. Release the fuel system pressure.
3. Disconnect the battery ground cable.
4. Disconnect the spring lock coupling at the engine and the vapor tube quick connect coupling at the purge valve.
5. Disconnect the quick connect coupling at the fuel filter and the vapor tube quick connect coupling at the fuel tank.
6. Remove the transmission.
7. Remove the fuel lines from the vehicle.
8. To install, reverse the removal procedure.