Explorer 2WD V6-4.0L VIN K (2007)

2. With the vehicle in NEUTRAL, position it on a hoist. For additional information, refer to Maintenance/Service and Repair.
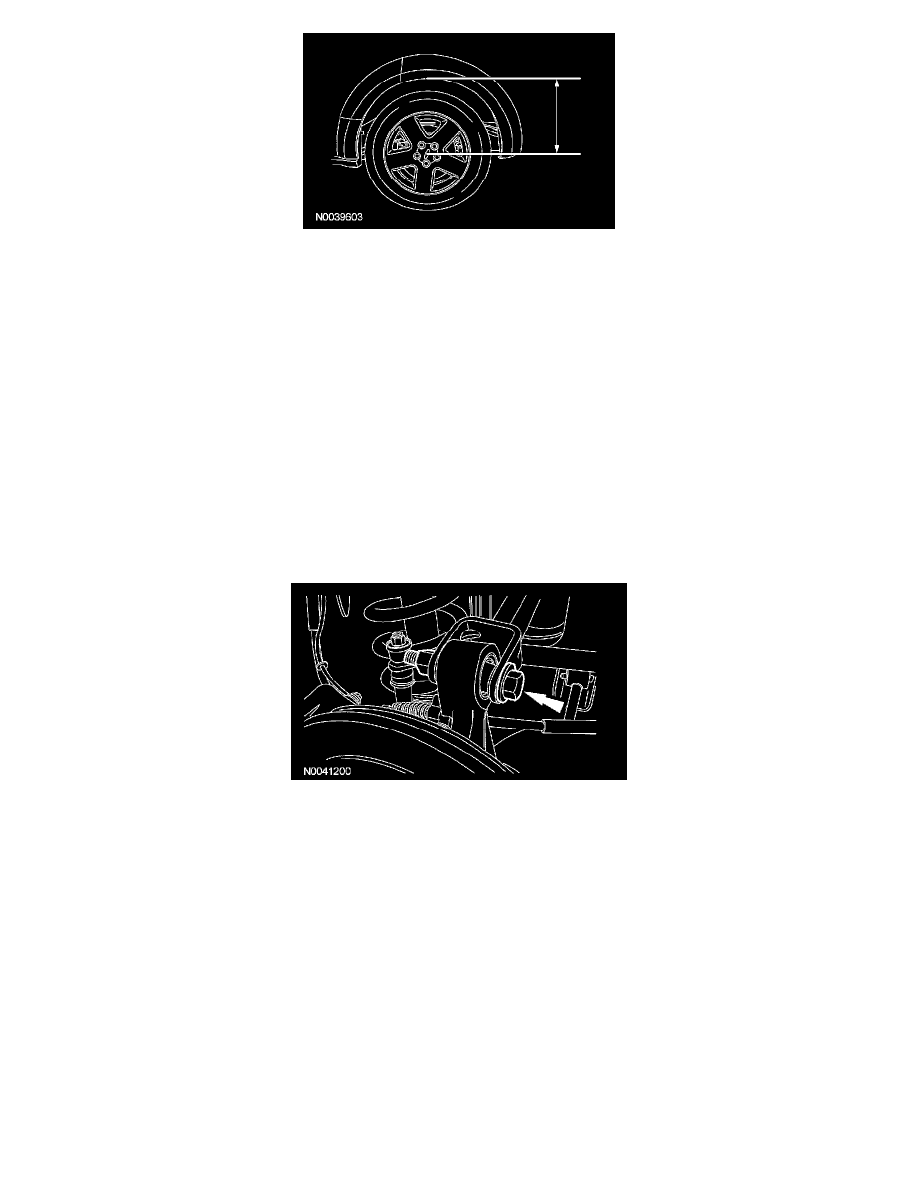
3. Position a suitable jack under the wheel knuckle and raise the suspension until the distance between the center of the hub and the lip of the fender
is equal to the measurement taken in Step 1.
4. Remove and discard the upper arm outboard nut and bolt.
5. NOTE: The inboard nut that is installed at the assembly plant is a flag nut. This flag nut is used to set and maintain the rear camber settings.
Discard the flag nut and install a non-flag nut to allow the rear camber to be adjusted.
Remove and discard the upper arm inboard bolt and flag nut and remove the upper arm.
Installation
1. Position the upper arm and install a new inboard bolt and non-flag nut.
^
Tighten to 250 Nm (185 ft. lbs.)
2. CAUTION: The upper arm outboard bolt must be installed with the bolt head toward the front of the vehicle or wheel damage can
occur.
Install a new outboard bolt and nut with the bolt head toward the front of the vehicle.
^
Tighten to 275 Nm (203 ft. lbs.)
3. Lower the suspension and remove the jack.
4. Check and, if necessary, align the rear end.
Lower Arm
Lower Arm
