
Explorer 2WD V8-302 5.0L VIN P SFI (1999)
NOTE: Make sure the ends of the swing rods are positioned beneath the listing wires at the rear of the seat cushion foam.
2. Install the hog rings.
5. Invert the seat cushion trim cover.
6. Connect the seat cushion trim cover J-clips.
7. Assemble the 6-way power front bucket seat.
NOTE: Be sure to read and follow all air bag warnings.
Limited
DISASSEMBLY
WARNING:
^
ALWAYS WEAR SAFETY GLASSES WHEN REPAIRING AN AIR BAG SUPPLEMENTAL RESTRAINT SYSTEM (SRS) VEHICLE
AND WHEN HANDLING AN AIR BAG MODULE. THIS WILL REDUCE THE RISK OF INJURY IN THE EVENT OF AN
ACCIDENTAL DEPLOYMENT.
^
AFTER DEPLOYMENT, THE AIR BAG SURFACE CAN CONTAIN DEPOSITS OF SODIUM HYDROXIDE, A PRODUCT OF THE
GAS GENERANT COMBUSTION THAT IS IRRITATING TO THE SKIN. WASH YOUR HANDS WITH SOAP AND WATER
AFTERWARD.
1. Disassemble the seat.
NOTE: Be sure to read and follow all air bag warnings.
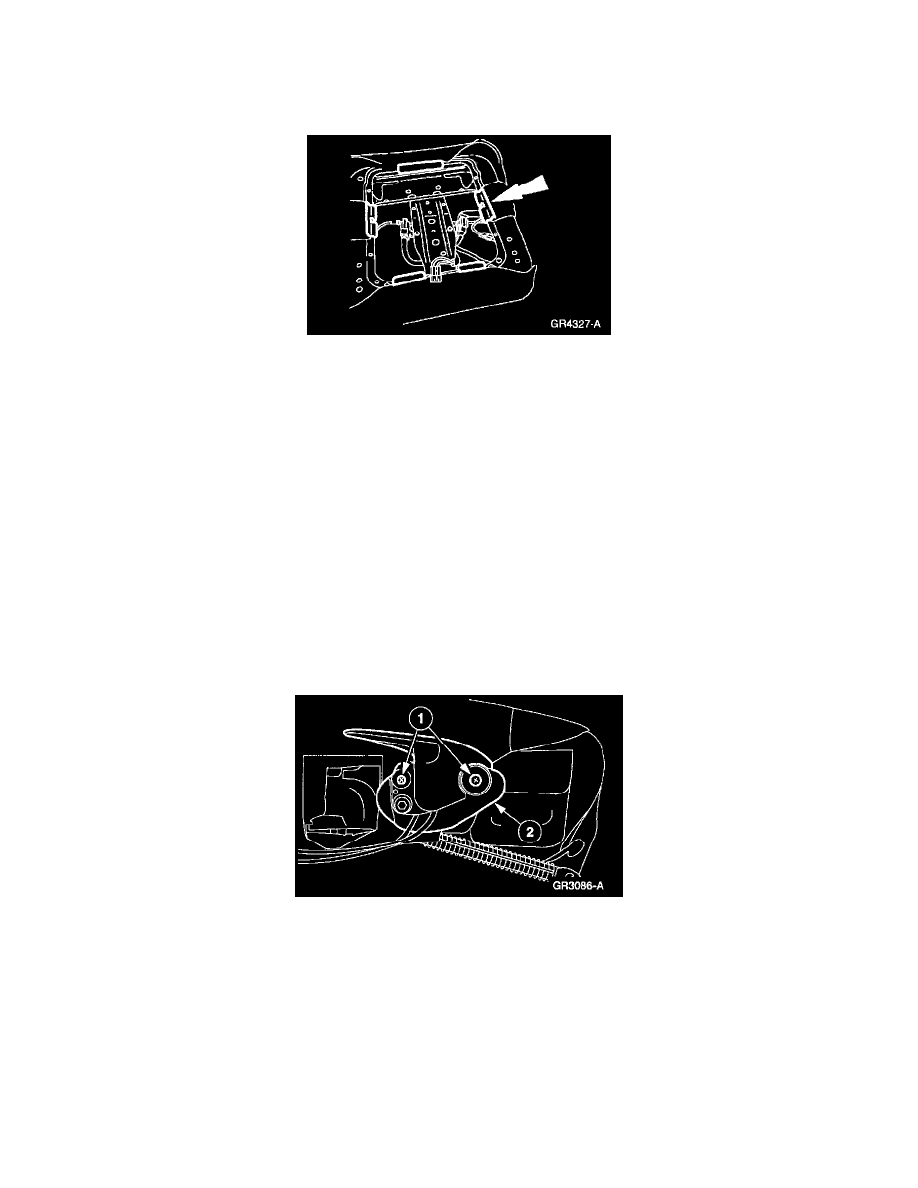
2. Disconnect the seat backrest recliner actuator.
1. Remove the screws.
2. Disconnect the seat backrest recliner actuator.
3. If equipped, disconnect the seat cushion heating element electrical connector.