
Explorer 2WD V8-4.6L VIN 8 (2006)
Seat Belt Height Adjuster: Service and Repair
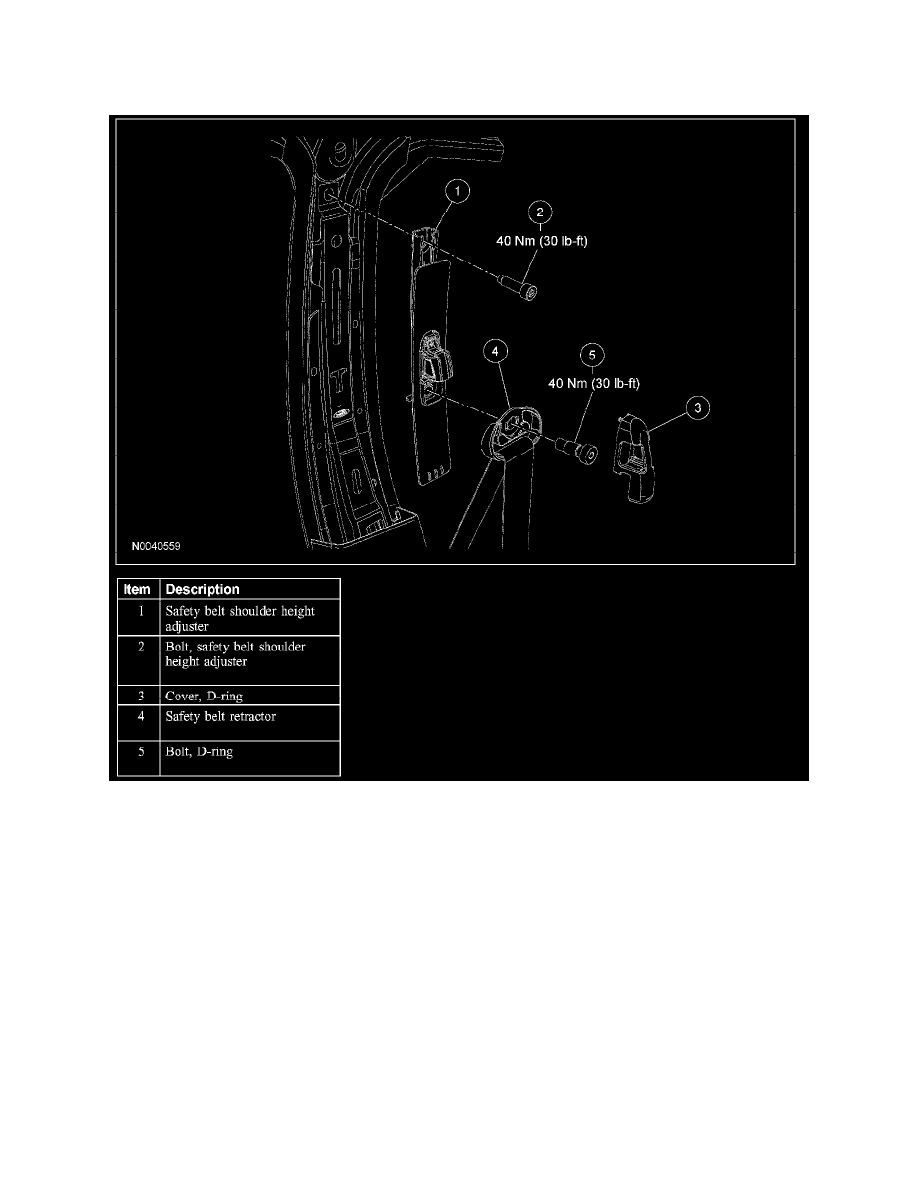
Safety Belt Shoulder Height Adjuster
SAFETY BELT SHOULDER HEIGHT ADJUSTER
Removal and Installation
WARNING: All safety belt assemblies (including retractors, belt tension sensors [BTS] if equipped, buckles, shoulder belt height adjusters [if
equipped], child safety seat tether attachments and attaching hardware) should be inspected after any collision. All new belt assemblies should
be installed unless a qualified technician finds the assemblies show no damage and operate correctly. Belt assemblies not in use during a
collision should also be inspected and new assemblies installed if either damage or incorrect operation is noted. Failure to follow these
instructions could increase the risk of injury in collisions.
1. NOTE: Inspect the D-ring cover for damage. If the cover is damage or does not remain attached, install a new D-ring cover.
Remove the D-ring cover.
2. Remove the bolt and D-ring.
-
To install, tighten to 40 Nm (30 lb-ft).
3. Remove the upper B-pillar trim panel.
4. Lower the shoulder safety belt height adjuster to the most downward position.
5. Remove the bolt.
-
To install, tighten to 40 Nm (30 lb-ft).