
Explorer 2WD V8-4.6L VIN 8 (2006)
^
To install, tighten to 35 Nm (26 ft. lbs.) at curb height.
4. Remove and discard the 2 stabilizer bar studs.
5. Remove the 2 stabilizer bar links.
6. NOTE: Inspect and clean the mating surfaces and the internal threads. Make sure all mating surfaces are free of foreign material and remove any
thread locking compound from the internal threads.
NOTE: Rotate the stabilizer bar and pull outward to remove.
Remove the 4 stabilizer bar bracket bolts and the stabilizer bar, and the brackets and bushings.
^
Discard the bolts.
^
To install, tighten to 55 Nm (41 ft. lbs.) at curb height.
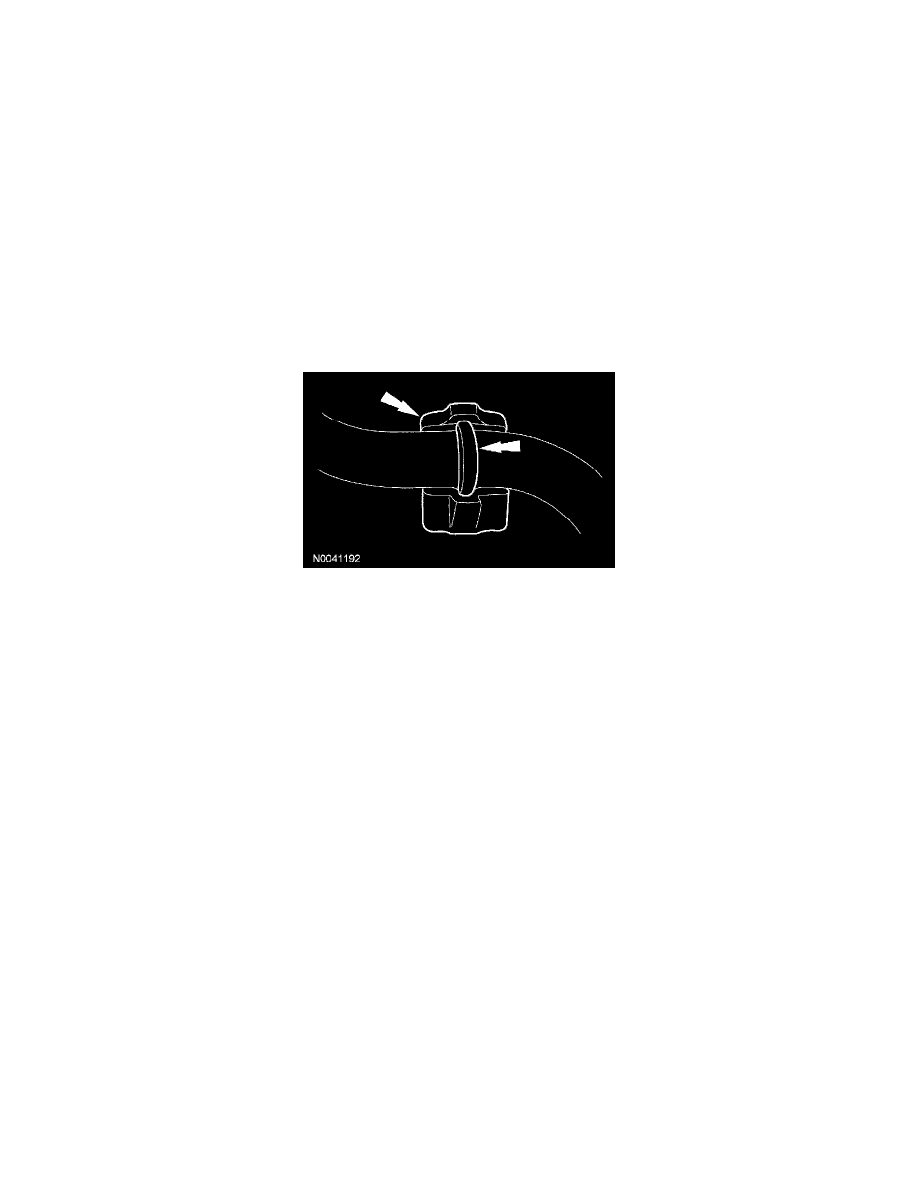
7. NOTE: When installing the sway bar bushings into the sway bar, match the groove in the bushing to the upset on the sway bar.
NOTE: Inspect the stabilizer bar bushings for wear or damage. Install new bushings as necessary.
NOTE: Tighten LH side first.
Remove the 2 stabilizer bar bushings.
8. CAUTION: Before tightening any suspension bushing fasteners, use a suitable back to raise the suspension until the distance between the center
of the hub and the lip of the fender is equal to the measurement taken in Step 1 (curb height).
To install, reverse the removal procedure.