
Explorer 2WD V8-4.6L VIN 8 (2006)
Pressure Regulating Solenoid: Diagram Information and Instructions
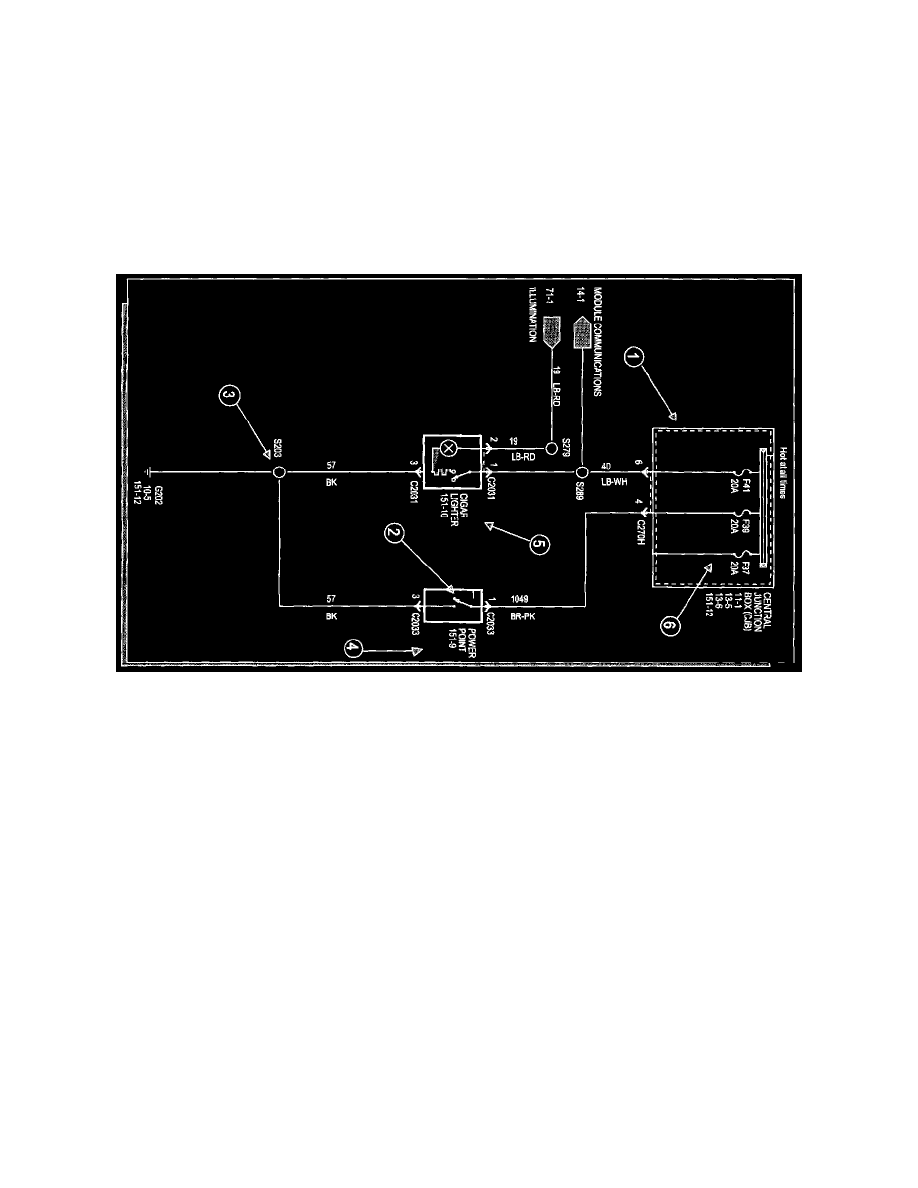
Introduction
Note
All wiring connections between components are shown exactly as they exist in the vehicles. It is important to realize, however, that no attempt has
been made on the diagrams to represent components and wiring as they physically appear on the vehicle. For example, a 4-foot length of wire is
treated no differently in a diagram from one that is only a few inches long. Furthermore, to aid in understanding electrical (electronic) operation,
wiring inside complicated components has been simplified.
Complete Circuit Operation
Each circuit is shown completely and independently in one set. Other components that are connected to the circuits may not be shown unless they
influence the circuit operation.
Current Flow (1)
Each set normally starts with the component that powers the circuit, such as a fuse or the ignition switch. Current flow is shown from the power source
at the top of the diagram to ground at the bottom of the diagram. A full representation of the power supply of a fuse or the power distribution from a
fuse to various components is given in the Power and Ground Distribution Diagrams. Full representation of the ground connections are shown in the
Power and Ground Distribution Diagrams.
Switch Positions (2)
Within a diagram, all switches, sensors and relays are shown "at rest" (as if the ignition switch were OFF).
Splices (3)
Splices directly connecting to the power distribution are best represented on the power distribution diagram in the Power and Ground Distribution
Diagrams. Splices connected to grounds can be seen completely in the Power and Ground Distribution Diagrams. For all other splices, a reference is
given to each off diagram where that particular splice can be best viewed.
Component Referencing (4)
Each Component on a diagram has a reference to the component location view or the diagram where it is shown completely. It is located to the right of
each component.
Component Names (5)
Component names are placed on the right hand side of each component when possible. Descriptions of the internals of the component are also
included when available. The diagram where the component appears in full is listed in the Index. The base part number for a component is listed in
parentheses next to or under a component.
Internal Name and Function Identification Numbers (6)
Some components on each diagram have internal symbols with an identification number located within it. You can identify the internal symbol or
function by finding the corresponding number under the component name.