Explorer 4WD V6-4.0L (2009)

Removal and Installation
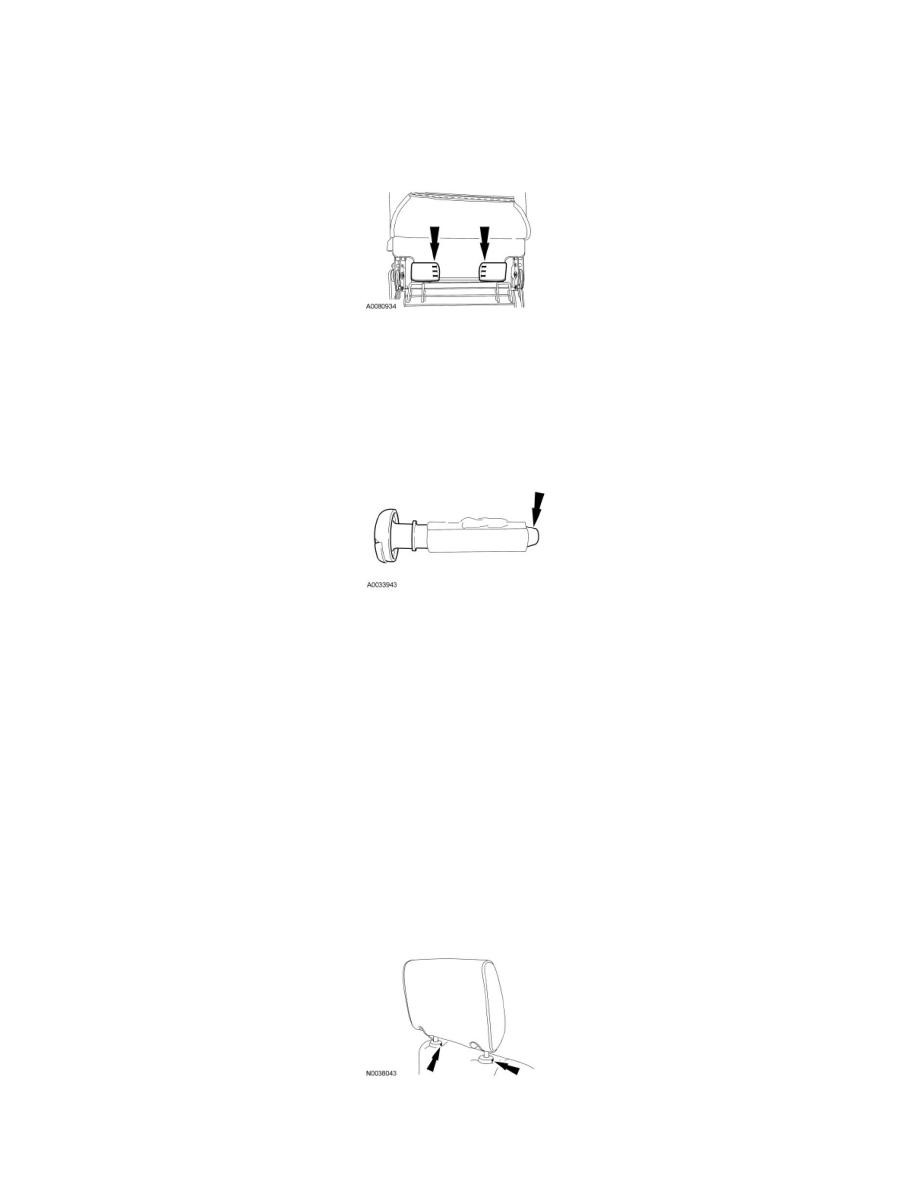
1. Remove the head restraint.
2. Release the seat backrest J-clip.
3. Remove all the staples holding the backrest trim cover to the backrest support panel.
4. Invert the seat backrest trim cover and foam pad to access the head restraint sleeve.
5. NOTE: The inboard and outboard head restraint sleeves are not interchangeable.
NOTE: The head restraint sleeves incorporate an alignment tab that must face forward when installed.
Squeeze together the tip of the head restraint sleeve and pull the sleeve out of the frame tube.
6. NOTICE: Use care when separating the seat backrest trim cover from the hook-and-loop strip, or the hook-and-loop strip can be torn
from the backrest foam pad.
Separate the hook-and-loop fasteners. Remove the seat backrest trim cover.
7. To install, reverse the removal procedure.
Seat Backrest Cover - Second Row, 60 Percent, Bench
Seat Backrest Cover - Second Row, 60 Percent, Bench
Removal and Installation
All vehicles
1. Remove the second row 60 percent seat of the 60/40 bench seat. For additional information, refer to Seat - Second Row, Sport Trac or Seat -
Second Row, Explorer, 60/40 Bench See: Service and Repair/Second Row Seating/Seat - Second Row, 60/40 Bench.
2. Using an appropriate tool, push in the hole of each head restraint guide while lifting up and remove the head restraint.
3. NOTE: Before installation, make sure the safety belt webbing is not twisted and the safety belts and buckles are accessible to the occupants.
Remove the safety belt anchor bolt.
