
Explorer 4WD V6-4.0L (2009)
replacement part of lesser quality or substitute design. Torque values must be used as specified during reassembly to make sure of correct retention of
these parts.
NOTICE: Orientation of the suspension fasteners is important. Make sure the fasteners are installed in the same direction as they were in when
removed or incorrect clamp load and damage to components may occur.
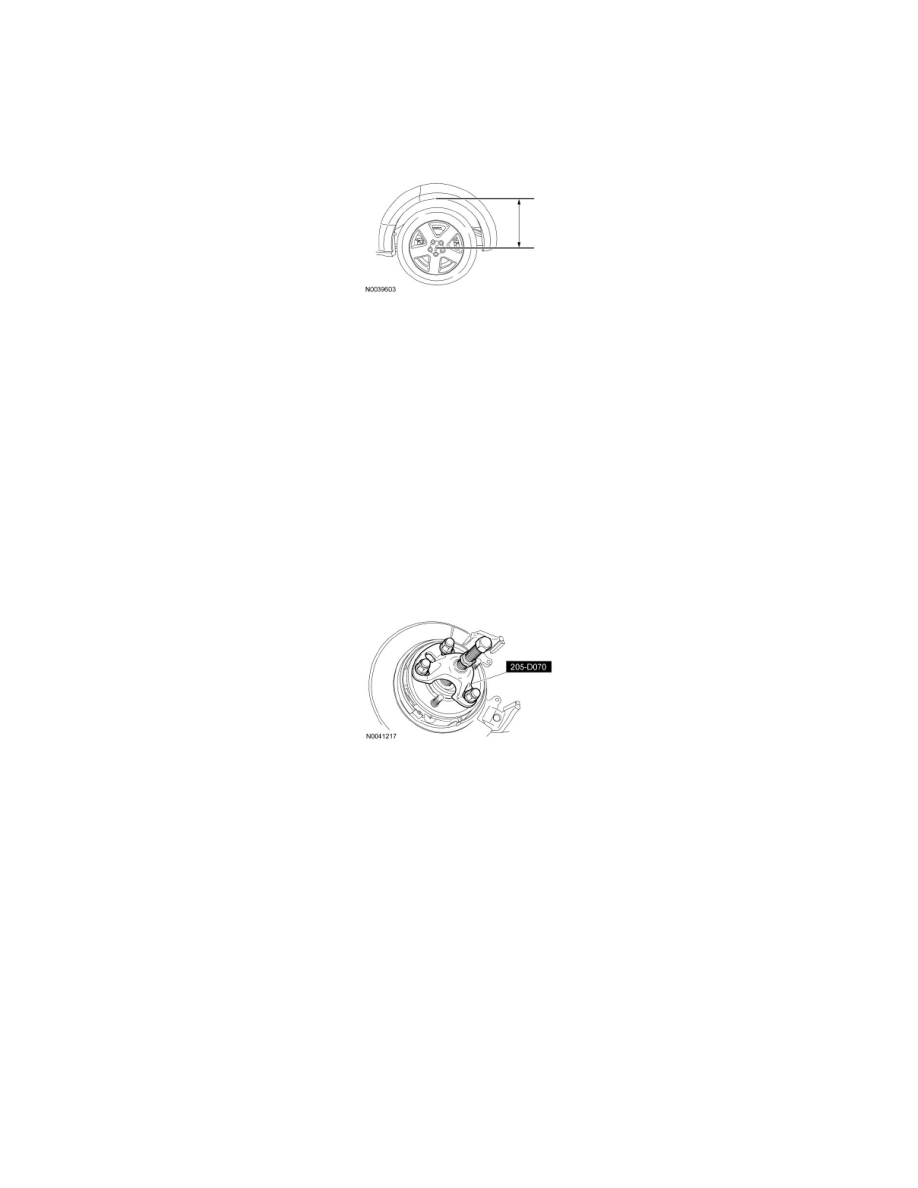
1. Measure the distance from the center of the hub to the lip of the fender with the vehicle in a level, static ground position (curb height).
2. If equipped, remove the wheel speed sensor bolt and position the sensor aside.
3. NOTICE: Do not loosen the halfshaft nut and washer until the wheel and tire are removed from the vehicle. Wheel bearing damage will
occur if the wheel bearing is unloaded with the weight of the vehicle applied.
NOTE: Apply the brake to keep the halfshaft from rotating.
NOTE: Do not discard the halfshaft nut at this time.
Remove the halfshaft nut.
4. Remove the parking brake shoes.
5. NOTICE: Do not use a hammer to separate the halfshaft from the hub. Damage to the threads and internal Constant Velocity (CV) joint
components may result.
Using the Front Wheel Hub Remover, press the halfshaft from the hub.
6. Position a suitable jack under the wheel knuckle and raise the suspension until the distance between the center of the hub and the lip of the fender
is equal to the measurement taken in Step 1.
7. Remove and discard the toe link outboard nut and bolt.
8. Remove and discard the upper arm outboard nut and bolt.
9. Remove and discard the lower arm outboard nut and bolt.
10. Remove and discard the 3 wheel knuckle bolts and remove the wheel knuckle.
11. If a new wheel knuckle is being installed, remove the wheel bearing and wheel hub. For additional information, refer to Wheel Bearing and Wheel
Hub See: Wheel Bearing/Service and Repair/Rear Suspension.
Installation
1. Position the wheel knuckle and install 3 new wheel knuckle bolts.
-
Tighten to 275 Nm (203 lb-ft).
2. Install a new lower arm outboard bolt and flagnut.
-
Tighten the nut to 275 Nm (203 lb-ft).
3. NOTICE: The upper arm outboard bolt must be installed with the bolt head toward the front of the vehicle or wheel damage may occur.