
Explorer 4WD V8-4.6L (2008)
Explorer Sport Trac only
2. NOTE: The headliner is removed through the rear passenger door. To facilitate removal, the front passenger seat must be removed.
Remove the front passenger seat.
All vehicles
3. Remove the overhead console.
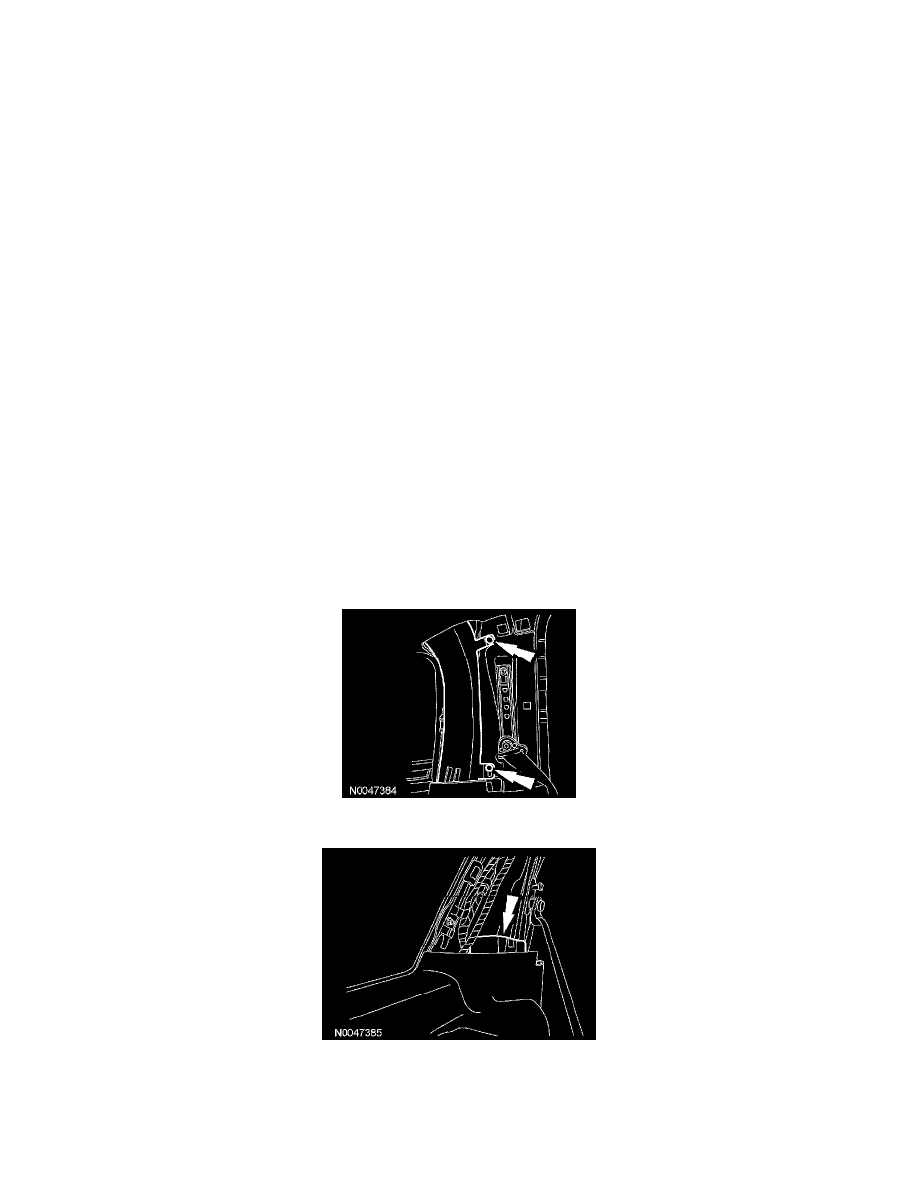
4. Remove the A-pillar trim panel.
5. Position the B-pillar upper trim panel aside.
Explorer and Mountaineer only
6. Remove the C-pillar trim panel.
7. Remove the D-pillar trim panel.
Explorer Sport Trac
8. Position the C-pillar upper trim panel aside.
All vehicles
9. Remove the gimp around the roof opening panel, if equipped.
10. Remove the 4 sun visor retainer screws.
11. Remove the sun visors.
12. Carefully lower the headliner at the corner of the sun visor location to access the electrical connector and disconnect the electrical connector.
13. Disconnect the roof opening panel, if equipped.
14. Disconnect the interior mirror electrical connector and electronic compass sensor connector, if equipped.
15. Use a thin-blade tool and carefully remove the dome lamp cover.
16. Disconnect the dome lamp electrical connectors.
Explorer and Mountaineer only
17. Remove the upper air duct.
-
Remove the pin-type retainers.
-
Push down on the duct, tilt the top outward and pull upward to remove.
18. Remove the lower air duct.
19. Disconnect the electrical connector located at the C-pillar.
-
Release the wiring harness pin-type retainers.